4. Secure the enclosure with a screw in the rack mounting screw hole.
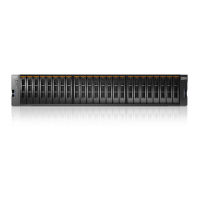
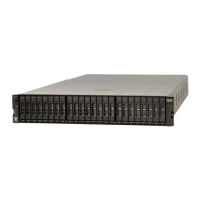
5. Reinstall the left and right end caps. (See Figure 17.) The left end cap has
indicator windows that align with the status LEDs (light-emitting diodes) on
the edge of the enclosure.
a. Ensure that the serial number of the end cap matches the serial number on
the rear of the enclosure.
b. Fit the slot on the top of the end cap over the tab on the chassis flange.
c. Rotate the end cap down until it snaps into place.
d. Ensure that the inside surface of the end cap is flush with the chassis.
Connecting SAS cables to expansion enclosures
If you have installed expansion enclosures, you must connect them to a control
enclosure.
About this task
This task applies if you are installing one or more expansion enclosures.
The number of SAS chains and enclosures varies per each type of system, as
shown in Table 13 on page 24.
Figure 17. Inserting the enclosure
Chapter 2. Installing the system hardware 23
 Loading...


