Removing a hot-swap hard disk drive backplane
Use this information to remove a hot-swap hard disk drive backplane.
About this task
To remove the hot-swap hard disk drive backplane, complete the following steps:
Procedure
1. Read the safety information that begins on “Safety” on page vii and
“Installation guidelines” on page 122.
2. Turn off the server and peripheral devices and disconnect the power cords and
all external cables, if necessary.
3. Remove the cover (see “Removing the cover” on page 126).
4. Remove the filler panels from the drive bay.
5. Pull the hard disk drives out of the server slightly to disengage them from the
hard disk drive backplane (see “Removing hot-swap hard disk drives” on page
143).
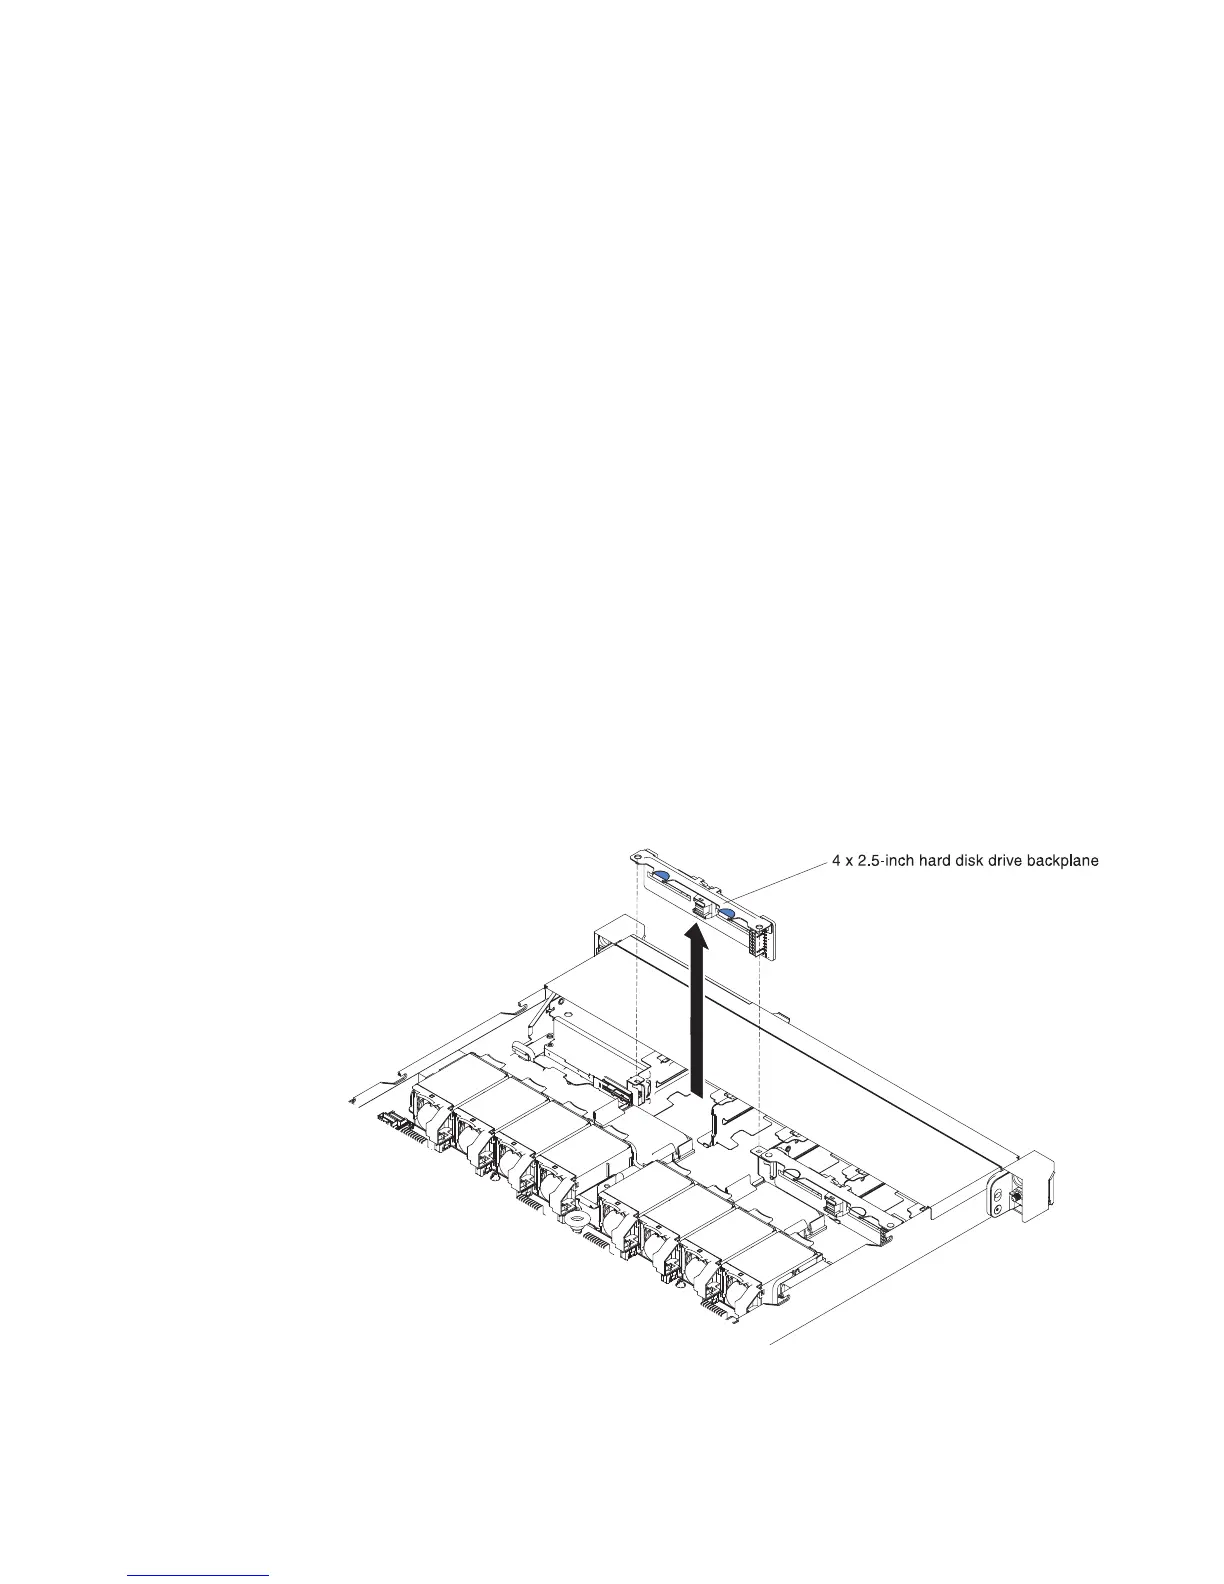
6. Remove the hot-swap hard disk drive backplane. Based on the server
configuration, the hot-swap hard disk drive backplane may appear as either of
the following three.
Steps for removinga4x2.5-inch hot-swap hard disk drive backplane.
Note: Two 4 x 2.5-inch hot-swap hard disk drive backplane are used for the
eight 2.5-inch hard disk drive server configuration.
a. Carefully lift the backplane out of the chassis by pulling outwards and
lifting it up.
Steps for removing a 10 x 2.5-inch hot-swap hard disk drive backplane.
Figure 117. 4 x 2.5-inch hot-swap hard disk drive backplane removal
Chapter 5. Removing and replacing components 201
 Loading...