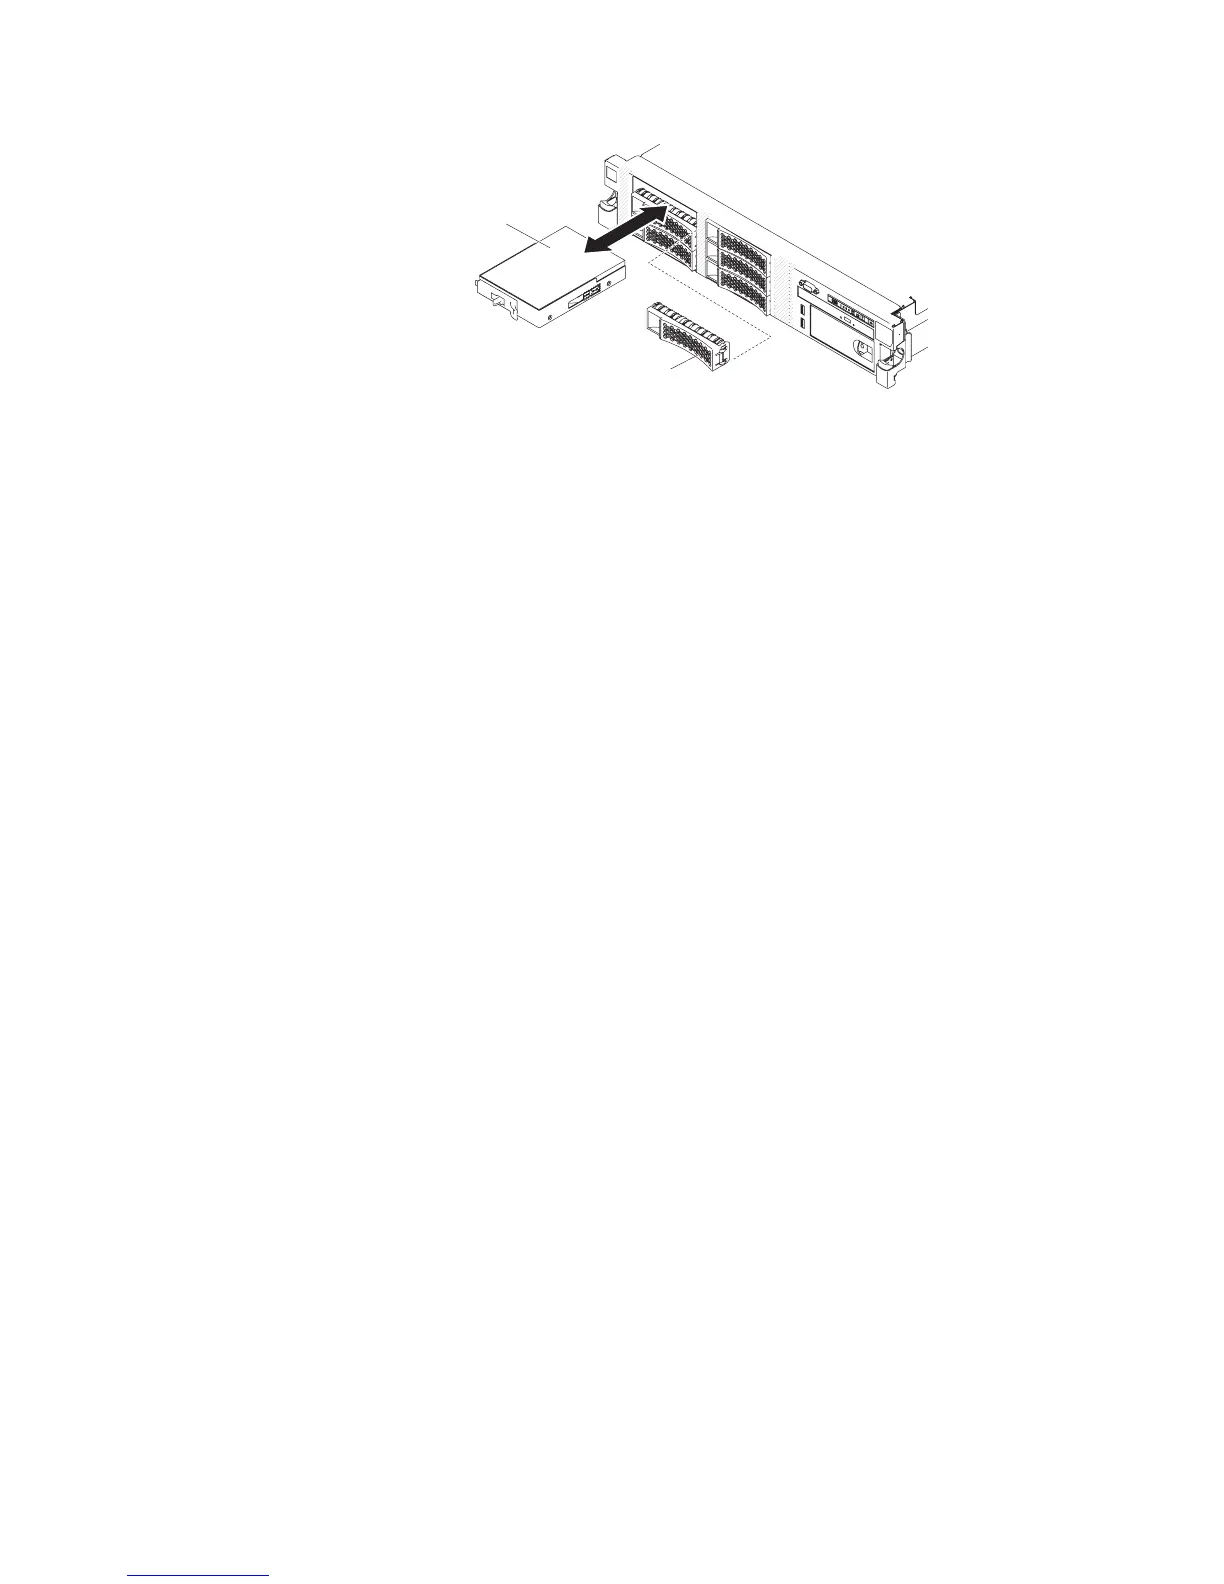
Filler panel
3.5 inch simple-swap
hard disk drive
To install a drive in a simple-swap bay, complete the following steps.
Attention: To maintain proper system cooling, do not operate the server for more
than 10 minutes without either a drive or a filler panel installed in each bay.
1. Read the safety information that begins on page vii, “Handling static-sensitive
devices” on page 193, and “Installation guidelines” on page 191.
2. Turn off the server and peripheral devices and disconnect the power cords and
all external cables.
Note: When you disconnect the power source from the server, you lose the
ability to view the LEDs because the LEDs are not lit when the power source is
removed. Before you disconnect the power source, make a note of which LEDs
are lit, including the LEDs that are lit on the operation information panel, on the
light path diagnostics panel, and LEDs inside the server on the system board;
then, see Chapter 3, “Diagnostics,” on page 25 for information about how to
solve the problem.
3. Remove the filler panel from the empty drive bay.
4. Touch the static-protective package that contains the drive to any unpainted
metal surface on the server; then, remove the drive from the package and place
it on a static-protective surface.
5. Install the hard disk drive in the drive bay:
a. Grasp the black drive handle and slide the blue release latch to the right
and align the drive assembly with the guide rails in the bay.
b. Gently push the drive into the bay until the drive stops.
6. Reinstall the drive bay filler panel that you removed earlier.
7. If you are installing additional simple-swap hard disk drives, do so now.
8. Turn on the peripheral devices and the server.
After you replace a failed hard disk drive, the green activity LED flashes as the disk
spins up. The yellow LED turns off after approximately 1 minute. If the new drive
starts to rebuild, the yellow LED flashes slowly, and the green activity LED remains
lit during the rebuild process. If the yellow LED remains lit, see “Hard disk drive
problems” on page 104.
Note: You might have to reconfigure the disk arrays after you install hard disk
drives. See the RAID documentation on the IBM ServeRAID Support CD for
information about RAID controllers.
Chapter 5. Removing and replacing server components 239