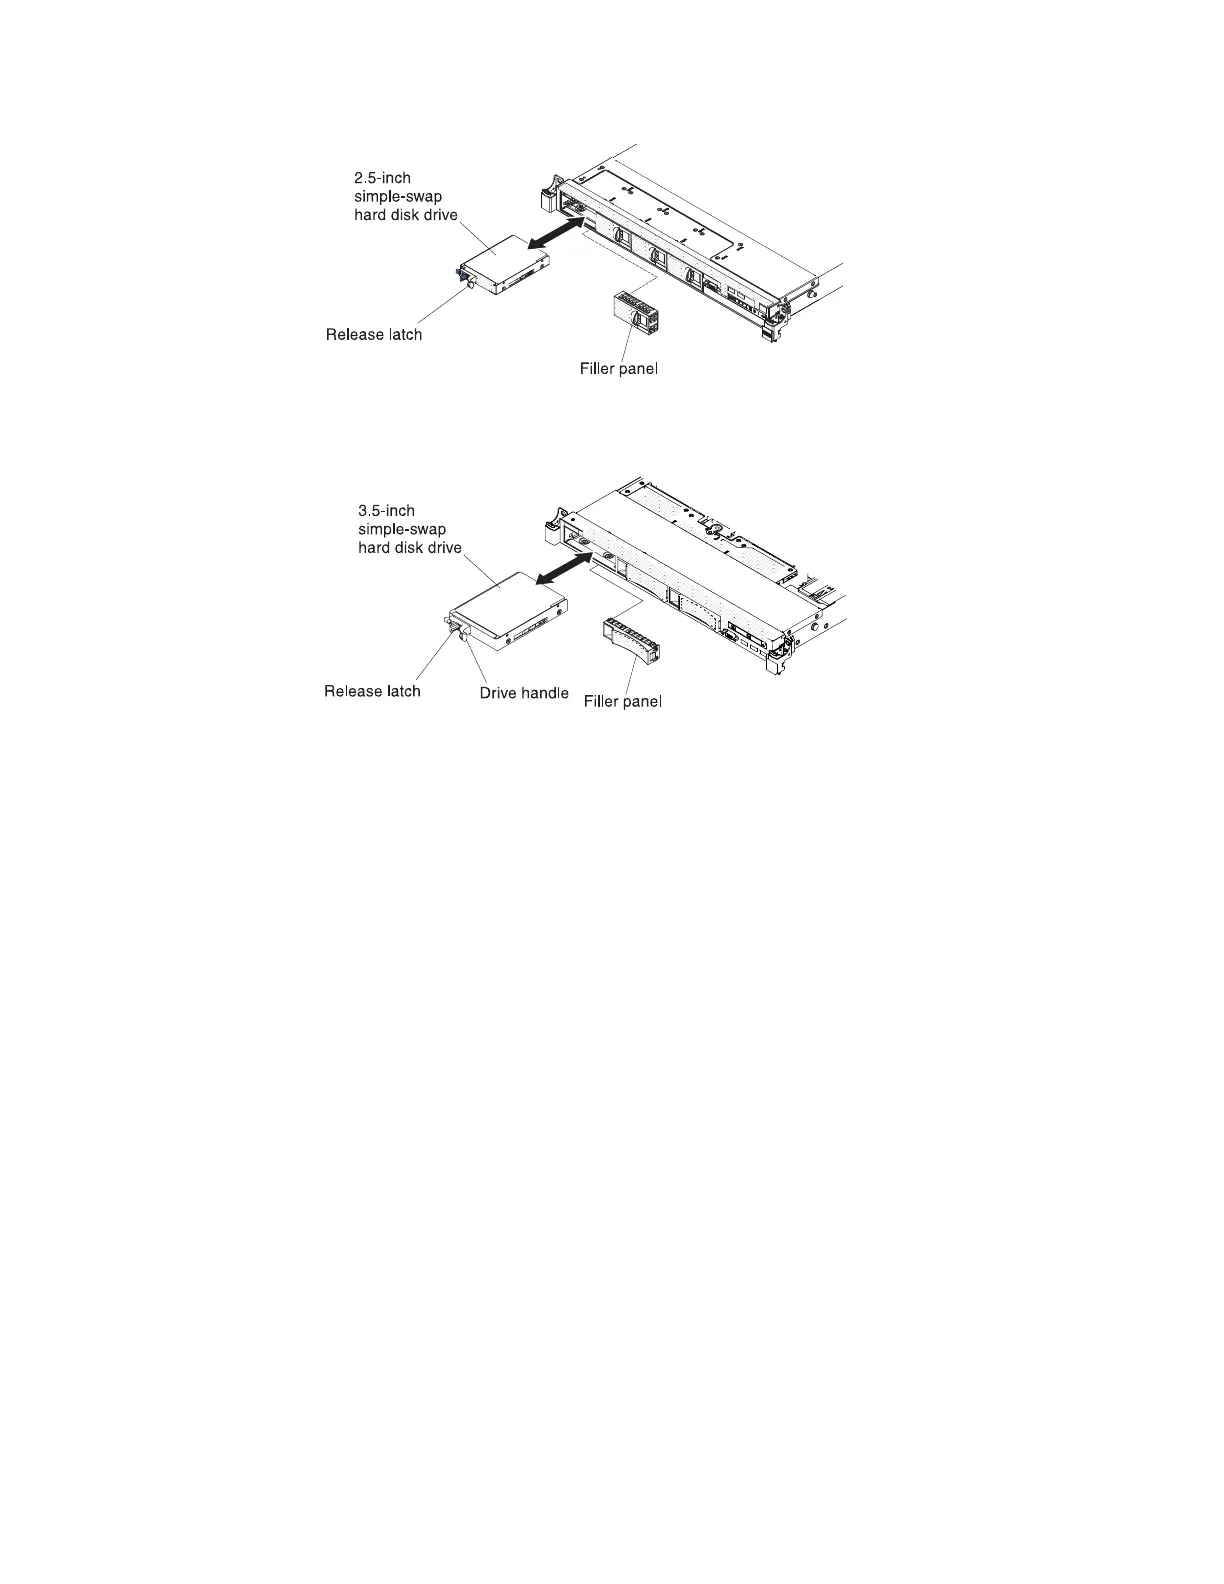
b. Gently push the drive into the bay until the drive stops.
6. Reinstall the drive bay filler panel that you removed earlier.
7. If you are installing additional simple-swap hard disk drives, do so now.
8. Turn on the peripheral devices and the server.
Drive IDs:
The drive ID that is assigned to each drive is printed on the front of the server.
The following illustrations show the locations of the IDs of the drives. The ID
numbers and the drive bay numbers are the same.
2.5-inch simple-swap hard disk drive IDs:
The simple-swap-drive ID that is assigned to each drive is printed on the front of
the server.
The following illustration shows the location of the IDs of the hard disk drives.
The ID numbers and the drive bay numbers are the same.
Figure 121. 2.5-inch simple-swap hard disk drive installation
Figure 122. 3.5-inch simple-swap hard disk drive installation
224 IBM System x3550 M4 Type 7914: Installation and Service Guide
 Loading...