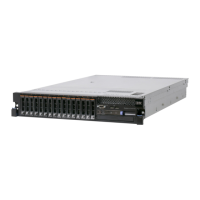
To remove and store the full-length-adapter bracket, complete the following steps:
1. Press the bracket tab 3 and slide the bracket to the left until the bracket falls
free of the riser-card assembly.
2. Align the bracket with the storage location on the riser-card assembly as
shown.
3. Place the two hooks 1 in the two openings 2 in the storage location on the
riser-card assembly.
4. Press the bracket tab 3 and slide the bracket toward the expansion-slot-
opening end of the assembly until the bracket clicks into place.
5. Return to “Installing a PCI adapter” or “Installing a PCI riser-card assembly”
on page 47, as applicable.
Installing a PCI adapter
Use this information to install a PCI adapter.
About this task
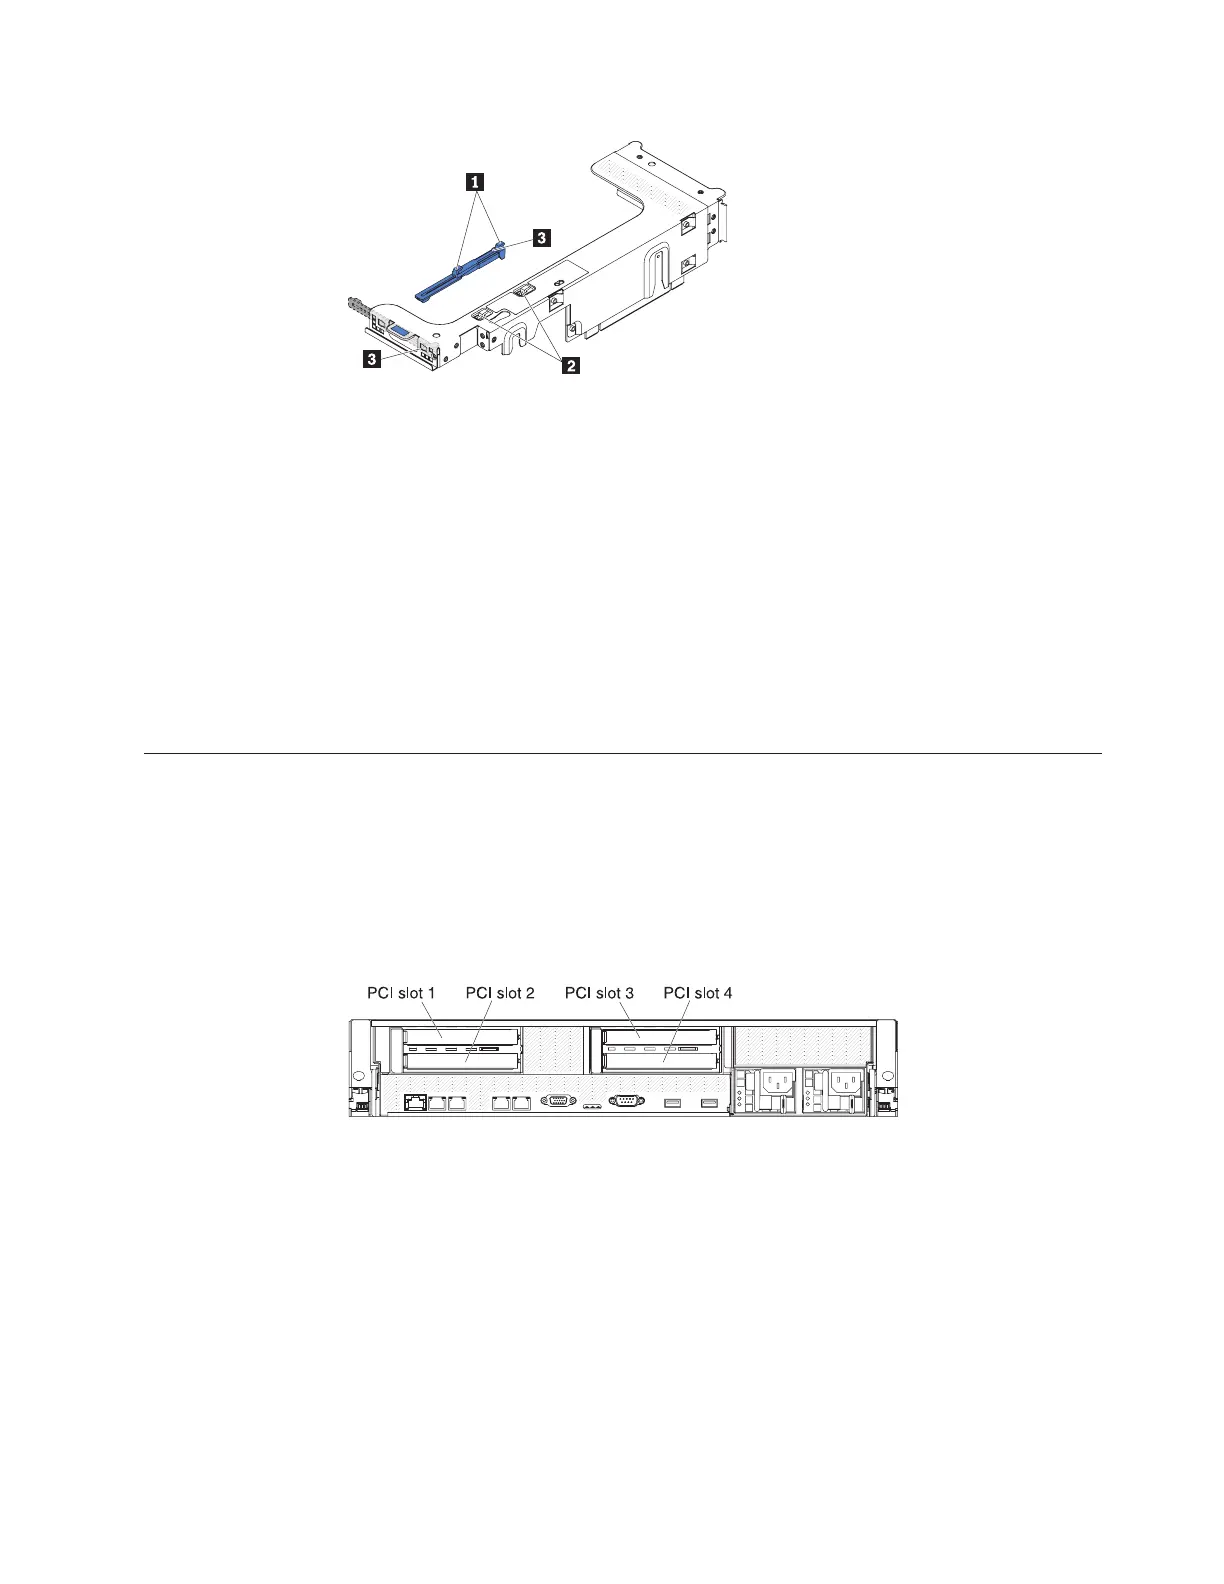
The following illustration shows the PCI adapter expansion slots from the rear of
the server.
The following notes describe the types of adapters that the server supports and
other information that you must consider when you install an adapter:
v Locate the documentation that comes with the adapter and follow those
instruction in addition to the instructions in this section. If you have to change
switch settings or jumper settings on the adapter, follow the instructions that
come with the adapter.
v To ensure that a ServeRAID-10i, ServeRAID-10is, or ServeRAID-10M adapter
works correctly in your UEFI-based server, make sure that the adapter firmware
is at the latest level.
Figure 38. Full-length-adapter bracket removal
Figure 39. PCI adapter expansion slots
Chapter 2. Installing optional devices 53
 Loading...