9
9
!0
!1
!2
!4
!3
!5
!6
!8
!7
@0
!9
b
c
a
e
g
f
e
a
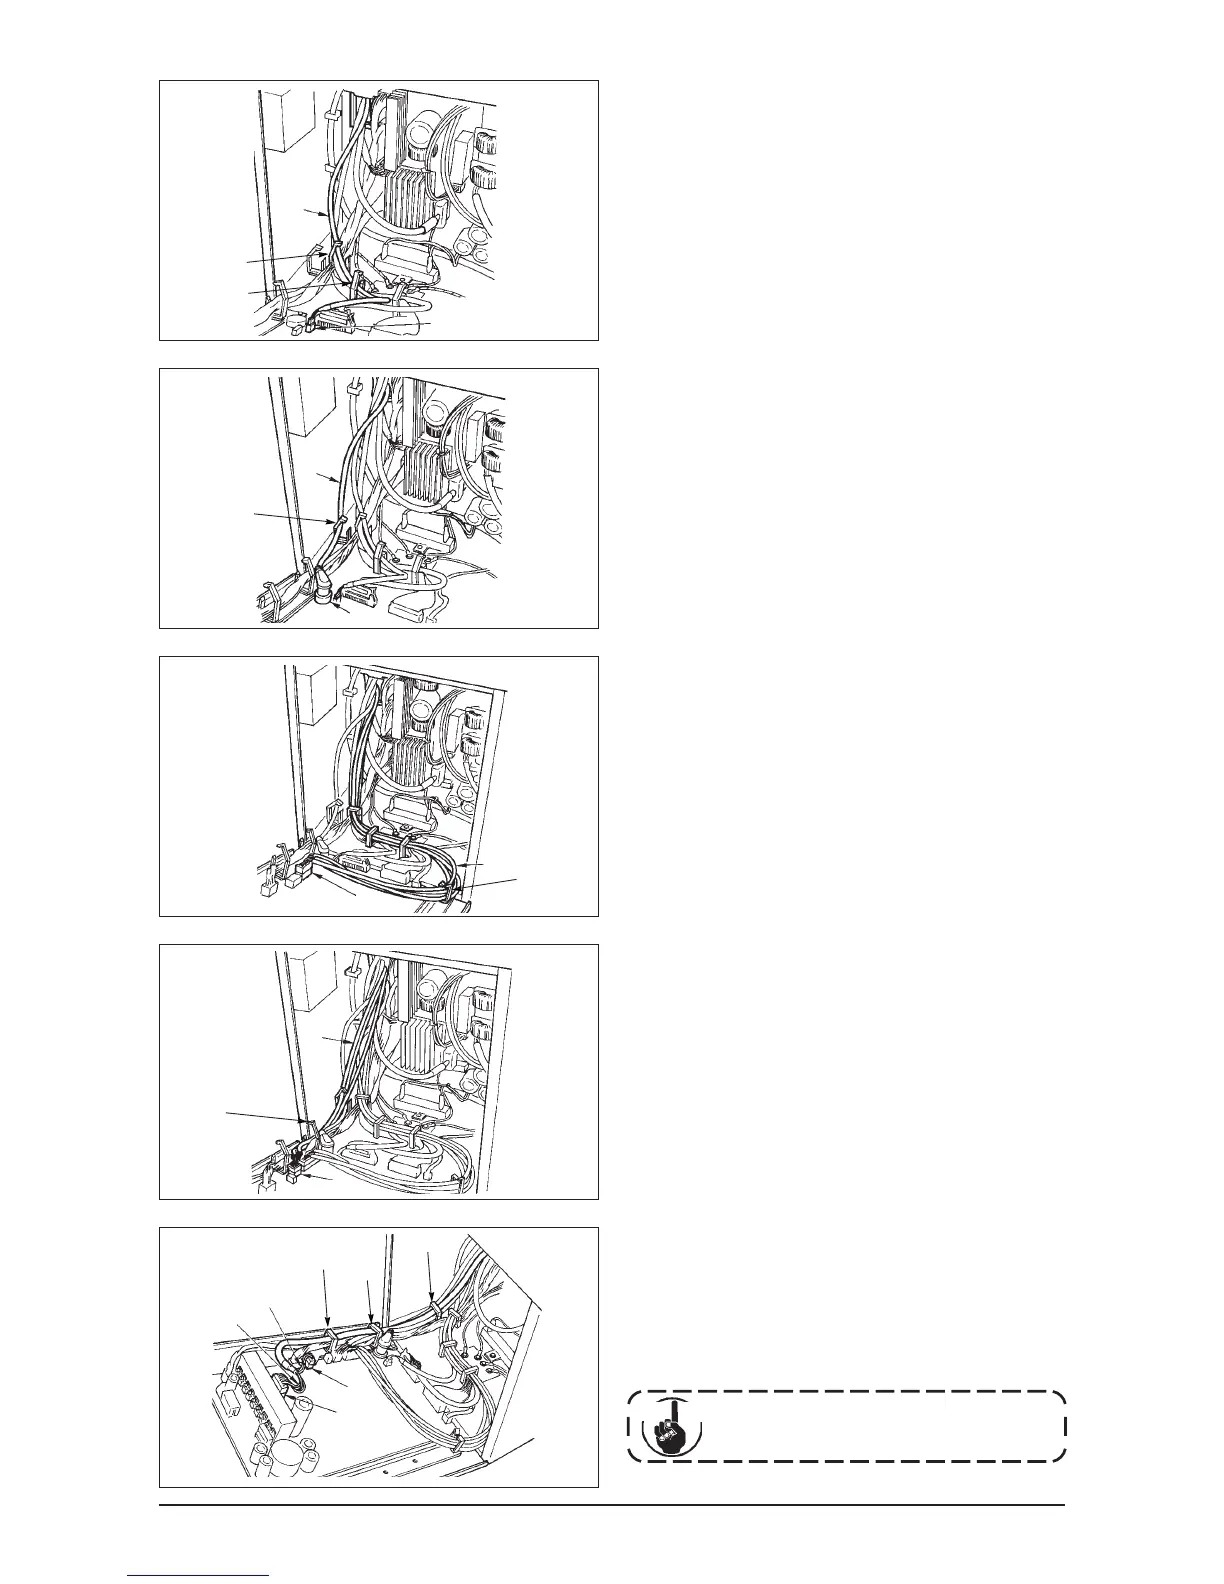
9) Insert black connector 4P white cord 9 coming from
the machine head inside the electrical box through
front cover through hole B, and insert it into
connector CN31 !0.
10) Insert gray round connector 7P cord !1 coming
from the machine head inside the electrical box
through front cover through hole B, pass it through
cord clamp “a”, and insert it into connector CN30
!2.
11) Insert white connector 12P cord !3 coming from
the machine head inside the electrical box through
front cover through hole B, pass it through cord
clamps “b”, “c”, “d” and “g”, and insert it into
connector CN53 !4.
Close cord clamps “b”, “c” and “d”.
12) Insert white connector 6P three cords !5 coming
from the machine head inside the electrical box
through front cover through hole B, pass it through
cord clamps “a” and “e”, and insert it into connector
CN54 !6.
13) Insert white connector 10P cord !7 and blue
connector 2P cord ! 8 coming from the machine
head inside the electrical box through front cover
through hole B, pass them through cord clamps
“a”, “e” and “f”, and insert the white 10P into
connector CN51 !9 and the blue 2P into CN46 @0.
Close cord clamps “a”, “e” and “f”.
The blue 2P connector is attached only
for the machine with thread trimmer.
Cau tion

 Loading...


