−1−
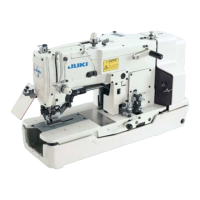
!.仕様
ここに列記していない項目は、LBH-771-1,781と同じです。
1)縫い速度 :最高速度3,300sti/min
:標準速度3,000sti/min
2)縫い目形式 :ウイップ縫い
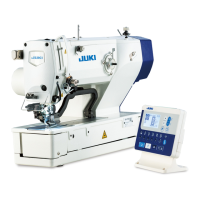
3)使用範囲
機種 a.穴の長さ(最大) b.穴の幅 c.メス長さ
LBH-772NV-1 9.5mm〜25.4mm
LBH-782NV 2.5mm〜5mm (3/8"〜1")
LBH-772NB-1 (3/32"〜13/64") 11.5mm〜25.4mm
LBH-782NB (29/64"〜1")
LBH-773NV-1 9.5mm〜31.8mm
LBH-783NV 2.5mm〜5mm (3/8"〜11/4")
LBH-773NB-1 (3/32"〜13/64") 11.5mm〜31.8mm
LBH-783NB (29/64"〜11/4")
LBH-774NV-1
LBH-784NV 2.5mm〜5mm 12.7mm〜38.1mm
LBH-774NB-1 (3/32"〜13/64") (1/2"〜11/2")
LBH-784NB
※丸形閂止め仕様も同様です。
4)糸切り機構 :押え上げレバーに連動(NBタイプ)
5)推奨使用芯ひも :#60〜#10、毛糸極細
6)段縫い可能範囲 :ジャージ4枚分段差(前後段部)
ジャージ2枚分段差(左右段部)
7)最大可能縫い布厚さ :4mm
8)押え上げ高さ :12mm(NVタイプ)
:11.5mm(NBタイプ)
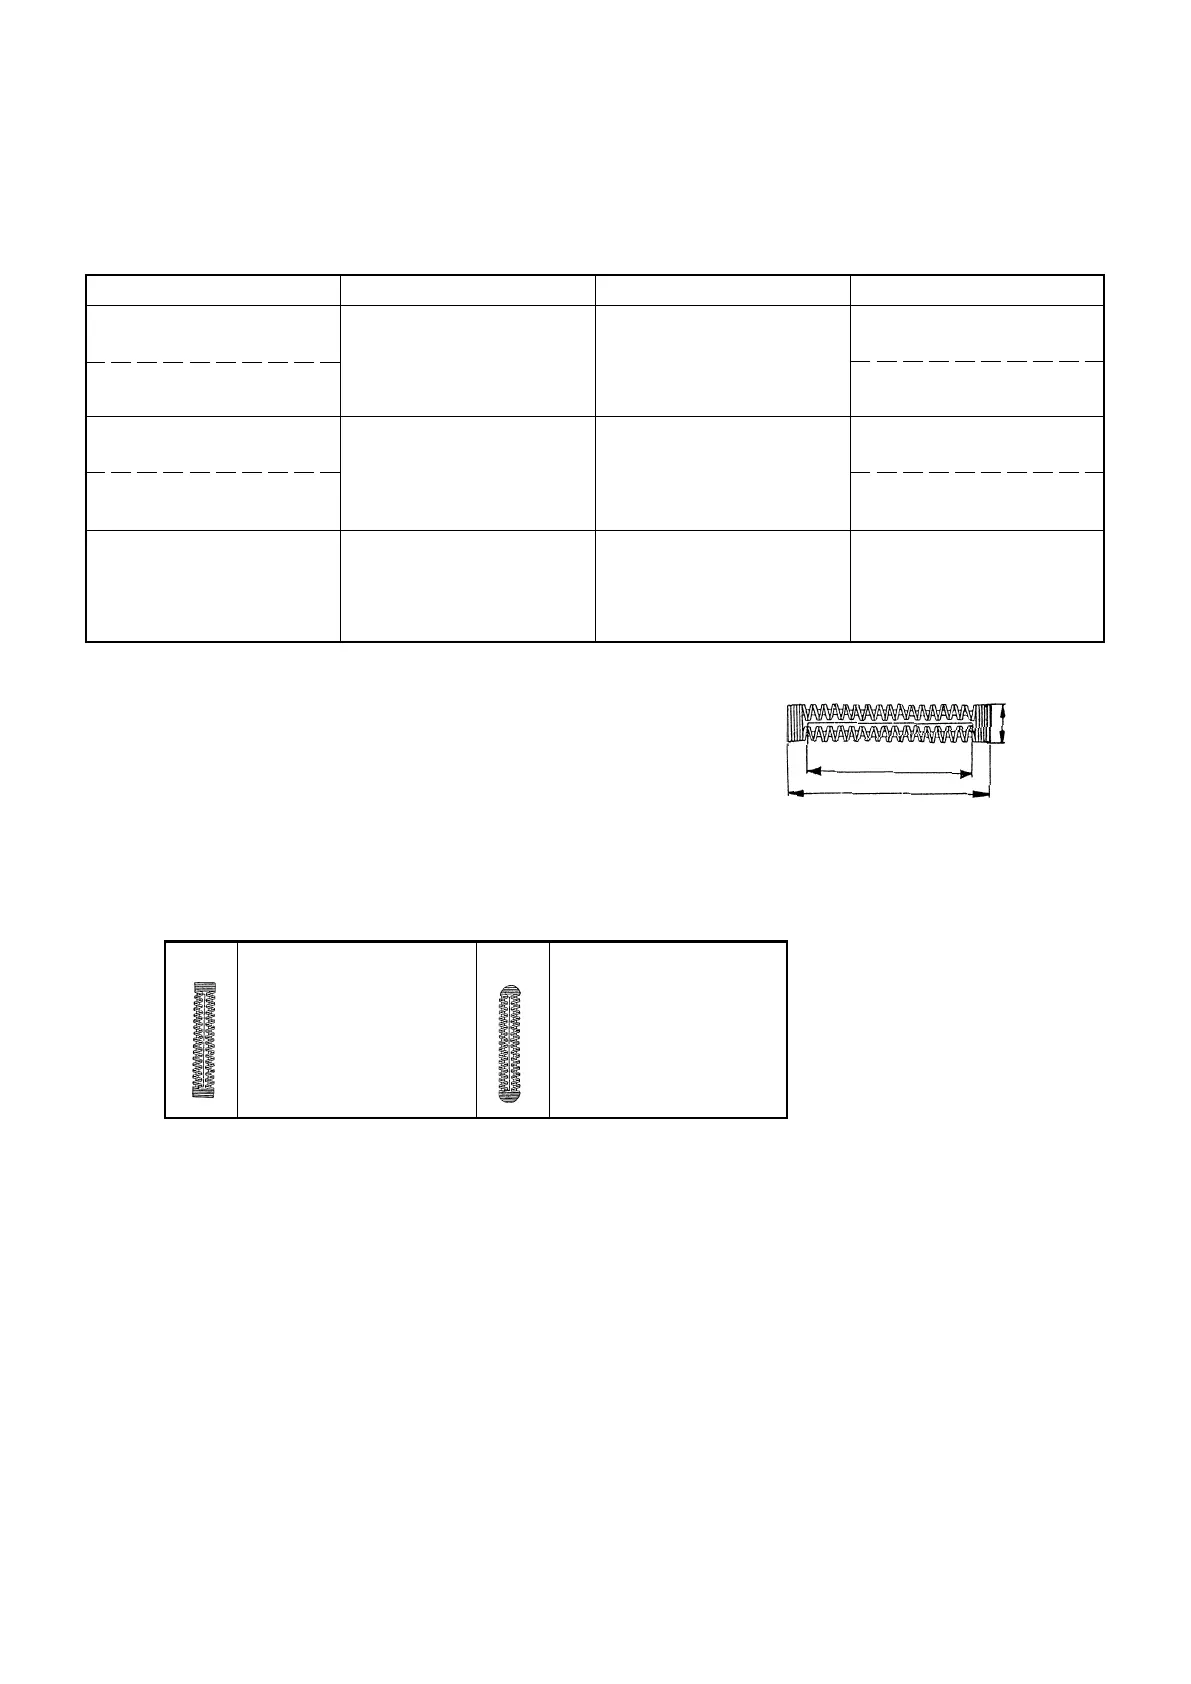
9)縫い形状(閂止め)
33mm
40mm
46mm
a
b
c
角形 丸形
LBH-77 △
LBH-78 △
NV-1
NB-1
NV
NB
LBH-77 △
LBH-78 △
NV1-1
NB1-1
NV1
NB1
−10−
1) 糸取りばね1の動き始めの強さは0.1〜0.25Nで、
動き量は5〜12mmが適当です。
2) 糸取りばね1の動き量を変えるには、ねじ2をゆる
め、細いドライバを糸調子棒3のすり割部に入れて
回します。
3) 糸取りばね1の強さを変えるには、ねじ2が締まっ
ている状態で、細いドライバを糸調子棒3のすり割
部に入れて回します。
右に回すと、糸取りばねの強さは強くなり、左に回
すと弱くなります。
1) Normally, thread take-up spring 1 provides a counter
force of 0.1 to 0.25N when it starts to move and its
stroke is 5 to 12 mm.
2) To change the stroke of thread take-up spring 1,
loosen screw 2 and turn tension post 3 while fitting a
small screwdriver onto the slot on the tension post.
3) To change the force provided by thread take-up
spring 1, turn tension post 3 with screw 2 tightened
while fitting a small screwdriver onto the slot on the
tension post.
Turn the tension post clockwise to increase the force
provided by the thread take-up spring or
counterclockwise to decrease it.
(3)芯ひも張力の調整/Adjusting the gimp tension /芯繩張力的調整
1)芯ひも調子つまみ1を右へ回すと、芯ひも張力は強
くなり、左へ回すと弱くなります。
2)芯ひもを芯ひも調子から引張った時の張力は0.05〜
0.1Nです。張力が強すぎますと、芯ひも巻き込み
が悪くなり、特に閂止め部分より、芯ひもがはずれ
てしまいます。
(注意) 芯ひも調子つまみ1 は、ダブルナット方式と
なっておりますので、調整後は必ず固定してく
ださい。
1) Turn gimp tension regulator 1 clockwise to increase
the gimp tension or counterclockwise to decrease it.
2) The tension applied to the gimp by the gimp tension
regulator when drawing the gimp from it is 0.05 to
0.1N. If the gimp tension is too high, the gimp will fail
to be properly sewn in and it may slip out from the
bartack stitches in particular.
(Caution)
Gimp tension regulator 1 employs a double-nut
system. After the adjustment, be sure to fix the
regulator.
1)向右轉動芯繩調整旋鈕 1 ,芯繩張力變強,向左轉動
張力變弱。
2)從芯繩張力調整器到拉芯繩時的張力,為 0.05 ∼ 0.1N
。張力過強的話,特別是加縫部分的芯繩會脫落。的部
分芯繩會脫落。
(注意)
芯繩張力器旋鈕 1 ,為雙螺母,所以調整後避需固
定。
1)拉線彈簧 1 的始動強度為 0.1 ∼ 0.25N ,移動量為 5 ∼
12 mm 。
2)改變拉線彈簧1的移動量時,請擰忪螺絲2,把細螺
絲刀插進線張力桿 3 的折縫部,轉動調節。
3)改變拉線彈簧1的強度時,在螺絲2 擰緊的狀態,把
細螺絲刀插進線張力桿 3 的折縫處轉動調節。
1
2
3
1
 Loading...