−9−
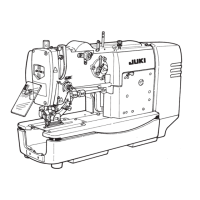
#.調整/ADJUSTMENT/調整
1.縫い調整/Adjusting the seam quality/縫認調整
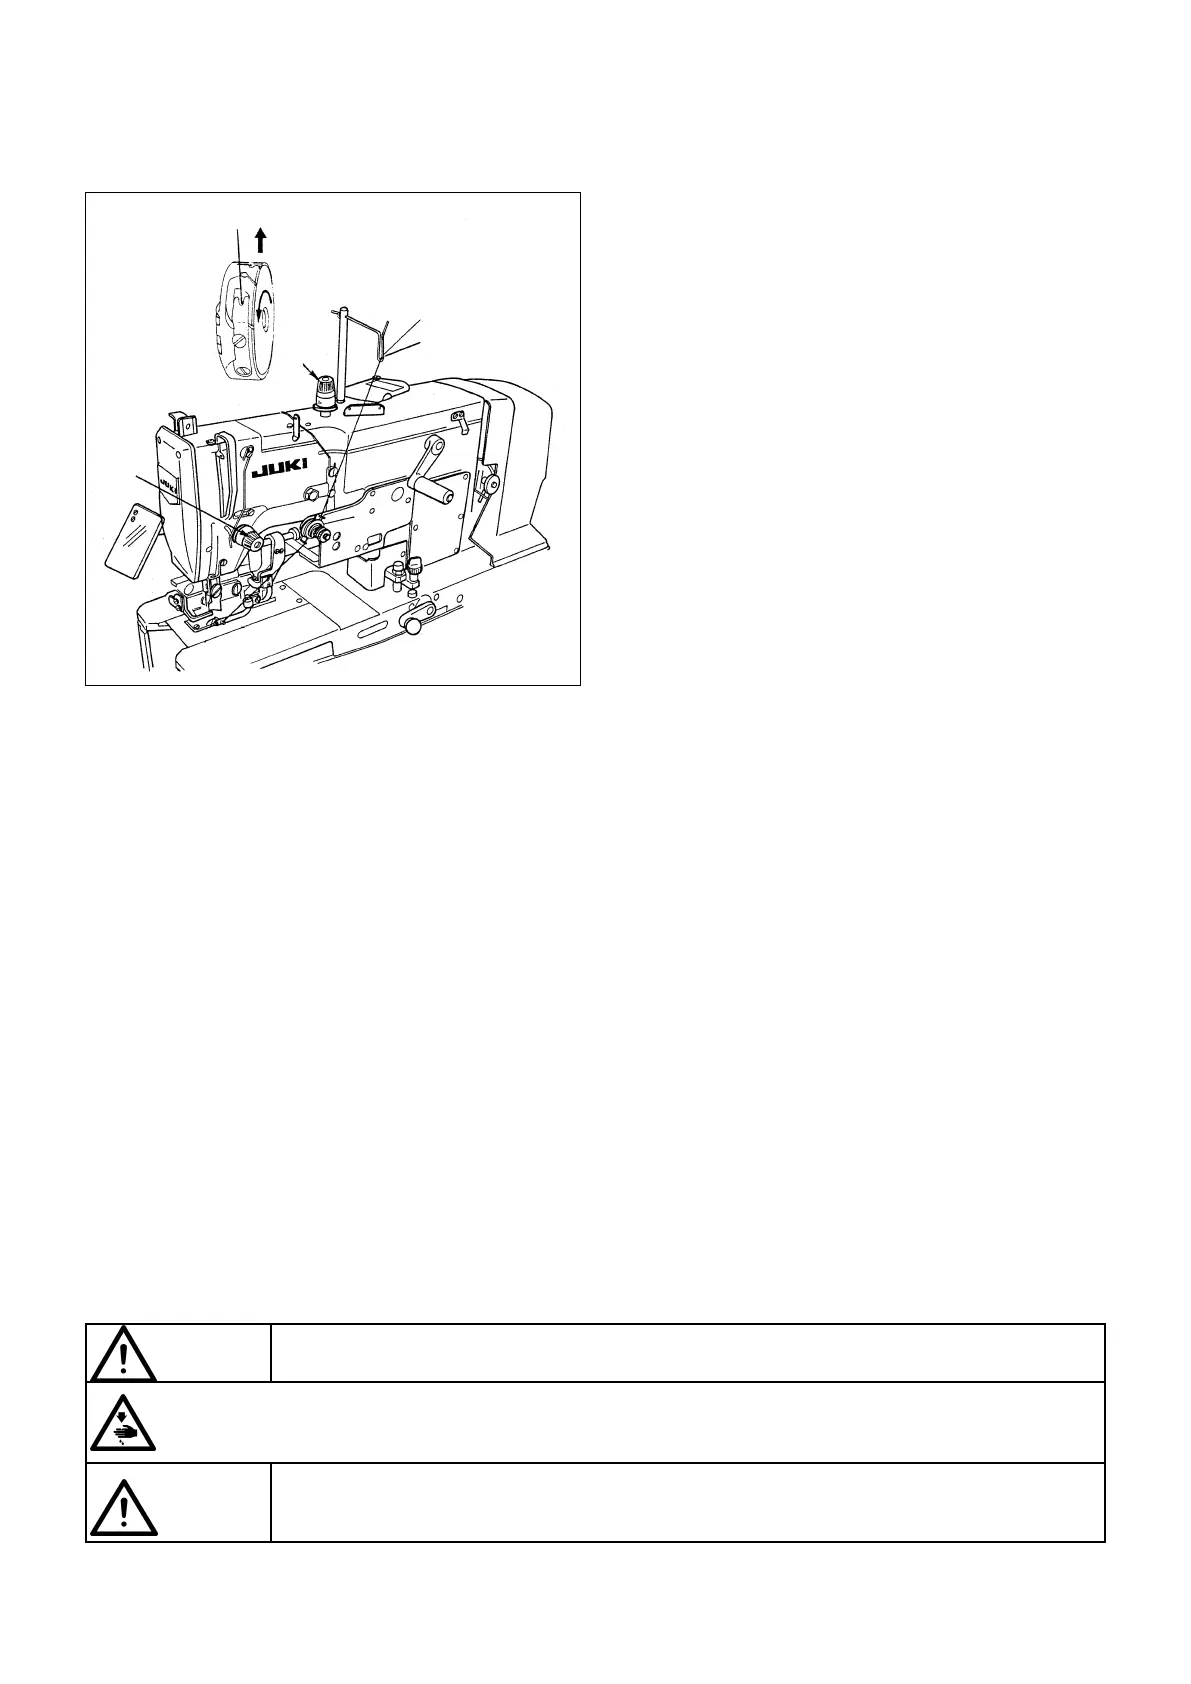
(1)糸張力の調整/Adjusting the thread tension/線張力的調整
きれいなウィップ縫いを得るには、まず下糸張力を強く
することが大切です。
1)下糸張力の標準値は0.3〜0.45Nです。糸の種類に
より調整を行います。
2)上糸張力は、第1糸調子1と第2糸調子2で行います
が、主に第1糸調子1にて縫い調整を行います。
第2糸調子2では、微調整を行います。
(注意) ミシンが停止しますと、第1糸調子皿のみ浮い
て、第2糸調子皿は浮きませんので、第2糸調子
2を強くしすぎますと、縫い始めの上糸抜けの
原因になります。
また、NVタイプでは、第2糸調子2を強くしす
ぎますと、芯ひも・上糸を切るときに、上糸が
引っ張られて切れてしまう原因となります。
In order to achieve neatly-finished buttonhole, it is
important to appropriately increase the bobbin thread
tension.
1) Standard bobbin thread tension is 0.3 to 0.45N.
Adjust the bobbin thread tension in accordance with
the type of thread to be used.
2) Needle thread tension is regulated by both thread
tension controllers No. 1 1 and No. 2 2. Mainly,
thread tension controller No. 1 1 is used to adjust the
seam quality. Tension controller No. 2 2 is used to
finely adjust it.
(Caution)
While the sewing machine is at rest, only the
tension disk No. 1 rises to release the thread
tension and tension disk No. 2 does not rise. This
means that slip-off of needle thread at the sewing
start will be caused by excessively increasing the
thread tension provided by thread tension
controller No. 2 2.
For NV type of machine, excessively increasing
the thread tension controlled by thread tension
controller No. 2 2 will cause the needle thread to
break when cutting the gimp and the needle thread.
(2)糸取りばねの調整/Adjusting the thread take-up spring/挑線彈簧的調整
為了得到漂亮的直鎖眼縫最重要的是加強底線張力。
1)底線張力的標準值為 0.3 ∼ 0.45N 。根據線的種類進行
調整。
2)上線張力用第 1 線張力器 1 和第 2 線張力器 2 來進行
調整,主要用第1線張力器來調整。第2線張力器2是
用作微調整。
(注意)縫紉機停機後,第 1 線張力器浮起,第 2 線張力器
不浮起,所以如果第 2 線張力器 2 調整得過強的
話,始縫時上線容易脫落。
另外, NV 型機種,如果第 2 線張力器 2 過強的
話,切線繩、上線時,上線容易被拉斷。
注意
ミシンの不意の起動による事故を防ぐため、電源を切ってから行ってください。
WARNING :
Turn OFF the power before starting the work so as to prevent accidents caused by abrupt start of the sewing
machine.
注意
為了防止縫紉機的意外起動,請關掉電源之後再進行操作。
1
2
0.3 – 0.45N {30 – 45g}
−2−
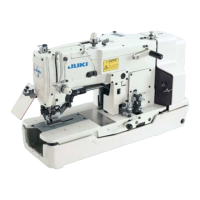
!. SPECIFICATIONS
Specification items that are not described herein are same as those for LBH-771-1 and -781.
1) Sewing speed : Max. 3,300 sti/min
: Standard 3,000 sti/min
2) Stitch system : Whip stitch
3) Intended buttonhole sizes
Model a. Buttonhole length (max.) b. Buttonhole width c. Knife length
LBH-772NV-1 9.5mm to 25.4mm
LBH-782NV 2.5mm to 5mm (3/8" to 1")
LBH-772NB-1 (3/32" to 13/64") 11.5mm to 25.4mm
LBH-782NB (29/64" to 1")
LBH-773NV-1 9.5mm to 31.8mm
LBH-783NV 2.5mm to 5mm (3/8" to 1 1/4")
LBH-773NB-1 (3/32" to 13/64") 11.5mm to 31.8mm
LBH-783NB (29/64" to 1 1/4")
LBH-774NV-1
LBH-784NV 2.5mm to 5mm 12.7mm to 38.1mm
LBH-774NB-1 (3/32" to 13/64") (1/2" to 1 1/2")
LBH-784NB
※ The above buttonhole sizes are also applicable to the machine for semi-circular bartacking.
4) Thread trimming mechanism : Mechanically linked with the work clamp lifter (NB type)
5) Recommended gimp : #60 to #10 Extra-fine woolen yarn
6) Stitching capability of overlapped section : Difference in height equivalent to four plies of jersey
(longitudinal overlapped portion)
Difference in height equivalent to two plies of jersey
(lateral overlapped portion)
7) Max. thickness of material that can be sewn : 4 mm
8) Lift of the work clamp check : 12 mm (NV type)
: 11.5 mm (NB type)
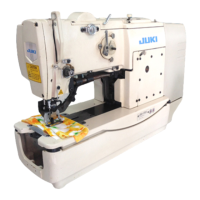
9) Stitch shape (bartacking)
33mm
40mm
46mm
a
b
c
Rectangular bartacking
LBH-77Δ
LBH-78Δ
NV-1
NB-1
NV
NB
LBH-77Δ
LBH-78Δ
NV1-1
NB1-1
NV1
NB1
Semi-circular bartacking
 Loading...