19
3. Close the holder gently.
When both Deck A and Deck B contain a tape, the last deck to have a tape inserted is selected.
To change the selected deck, press the DECK A/B button. When using the Remote Control, press the
A or B button.
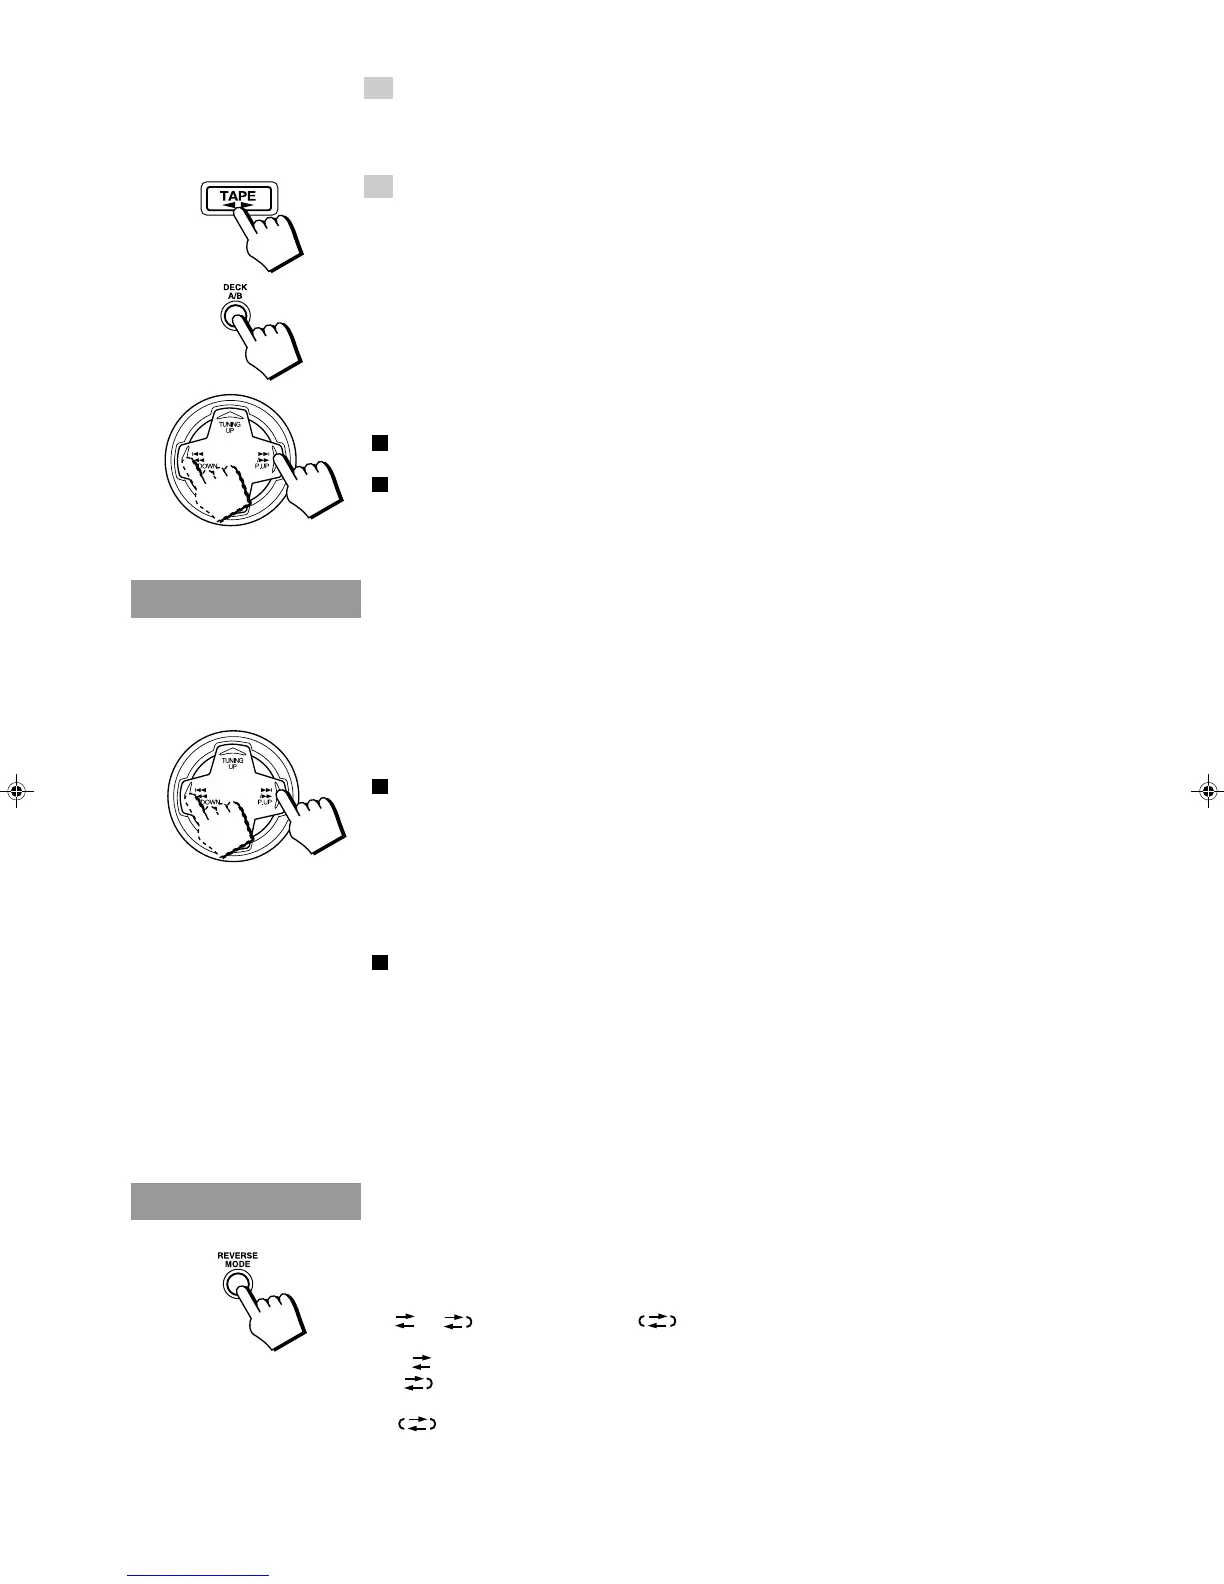
4. Press the TAPE ™£ button (or ™ or £ button on the Remote
Control).
On the Unit: The tape play starts toward the direction currently selected.
On the Remote Control: The tape play starts toward the same direction as the button is pressed for.
• The Cassette Deck automatically stops when one side of a tape has finished playing.
To stop playing, press the 7 STOP button on the Unit (or the 7 button on the Remote Control).
To remove the tape, stop the tape, and press the 0 button.
To change deck while playing a tape, press the TAPE ™£ button after pressing the DECK A/B
button on the Unit or press the ™ or £ button after pressing the A or B button on the Remote Control.
Fast Left And Fast Right——————————————————
o While the tape is stopped, press the 4/1 P. DOWN on the MULTI CONTROL (or 1 button on
the Remote Control) and the tape will wind rapidly to the left side of the cassette without playing.
o While the tape is stopped, press the ¢/¡ P. UP on the MULTI CONTROL (or ¡ button on the
Remote Control) and the tape will wind rapidly to the right side of the cassette without playing.
Note: Deck A and Deck B cannot be used for playback at the same time.
Music Scan
To find the beginning of a music track during play, use the Music Scan function. Music Scan searches for
blank portions that usually separate selections, then plays the next selection.
Finding the Beginning of the Current Selection —————
Press the 4/1 P. DOWN or ¢/¡ P. UP on the MULTI CONTROL (or
the 1 or ¡ button on the Remote Control) during play.
o Make sure that you press the 4/1 P. DOWN or ¢/¡ P. UP on the MULTI CONTROL (or the
1 or ¡ button on the Remote Control) in the opposite direction to that in which the tape is
playing. Searching stops at the beginning of the current selection, and the current selection starts
automatically.
Finding the Beginning of the Next Selection ———————
Press the 4/1 P. DOWN or ¢/¡ P. UP on the MULTI CONTROL (or
the 1 or ¡ button on the Remote Control) during play.
o Make sure that you press the 4/1 P. DOWN or ¢/¡ P. UP on the MULTI CONTROL (or the
1 or ¡ button on the Remote Control) in the same direction as that in which the tape is playing.
Searching stops at the beginning of the next selection, and the next selection starts automatically.
Music Scan works by detecting a 4-second long blank at the beginning of each selection,
so it will not work well if your tape has:
• No blank at the beginning of a selection .
• Noise (often caused by much use or poor quality dubbing) which fills the blank with noise.
• Long, very soft passages or pauses in a selection. The scan will detect these as 4-second long
blanks. If this happens, just scan again until you reach the selection you want.
Reverse Mode
You can play both sides of a cassette, or play both the tapes in the two Cassette Decks continuously.
Press the REVERSE MODE button to switch to Reverse Mode.
Each time you press the button, the Reverse Mode changes as follows:
=
= (auto reverse mode) = (auto reverse mode) = (back to the beginning)
: The Cassette Deck automatically stops after playing one side of the tape.
: The Cassette Deck automatically stops after playing reverse (2 ) side of the tape being played (or
set to play).
: After playing both sides of the tape being played (or set to play), the Unit always checks to see if
a tape is in the other deck. If there is, it automatically starts playing that tape. This Continuous
Play function works regardless of which deck starts first. The tapes are played continuously until
the 7 STOP button on the Unit (or the 7 button on the Remote Control) is pressed.
EN.MX-D302T[J]/f 98.1.13, 5:06 PM19
 Loading...