54
Detailed setting
This function allows you to configure settings to mask the
areas that you do not wish to display in the recorded screen
in single color (color setting is available).
Masks can be set in 8 locations.
䡵 Preparation
1
Select a camera for masking (
A
RM-P2580
Instruction Manual) [CAMERA] button
B
Numeric
keypad (Camera number)
B
[ENTER] button
● Images from the selected camera are output.
2 Display the [MENU] screen (A Page 34)
● The [MENU] screen is displayed.
3 Select the [CAMERA FUNCTION1] screen
● Shift up and down the [PAN/TILT] lever, move the
cursor (Z) to the [CAMERA FUNCTION1] item and
press the [SET] button.
● The [CAMERA FUNCTION1] screen is displayed.
4 Open the [PRIVATE MASK] screen
● Move the cursor (Z) to the [PRIVATE MASK] item and
press the [SET] button to display the [PRIVATE MASK]
screen.
䡵 Mask Setting
1
Open the [MASK MODE] screen
● Shift the [PAN/TILT] lever to the left and right and set
[MODE] to AONB.
● Press the [SET] button to display the [MASK MODE]
screen.
Memo :
● When AMODEB is set to AOFFB, Mask No. 1 to No. 8 will
be hidden.
2 Select mask number
● Move the cursor on the [MASK MODE] screen to the
numbers (Mask No. 1 to No. 8) for private masking, and
press the [SET] button.
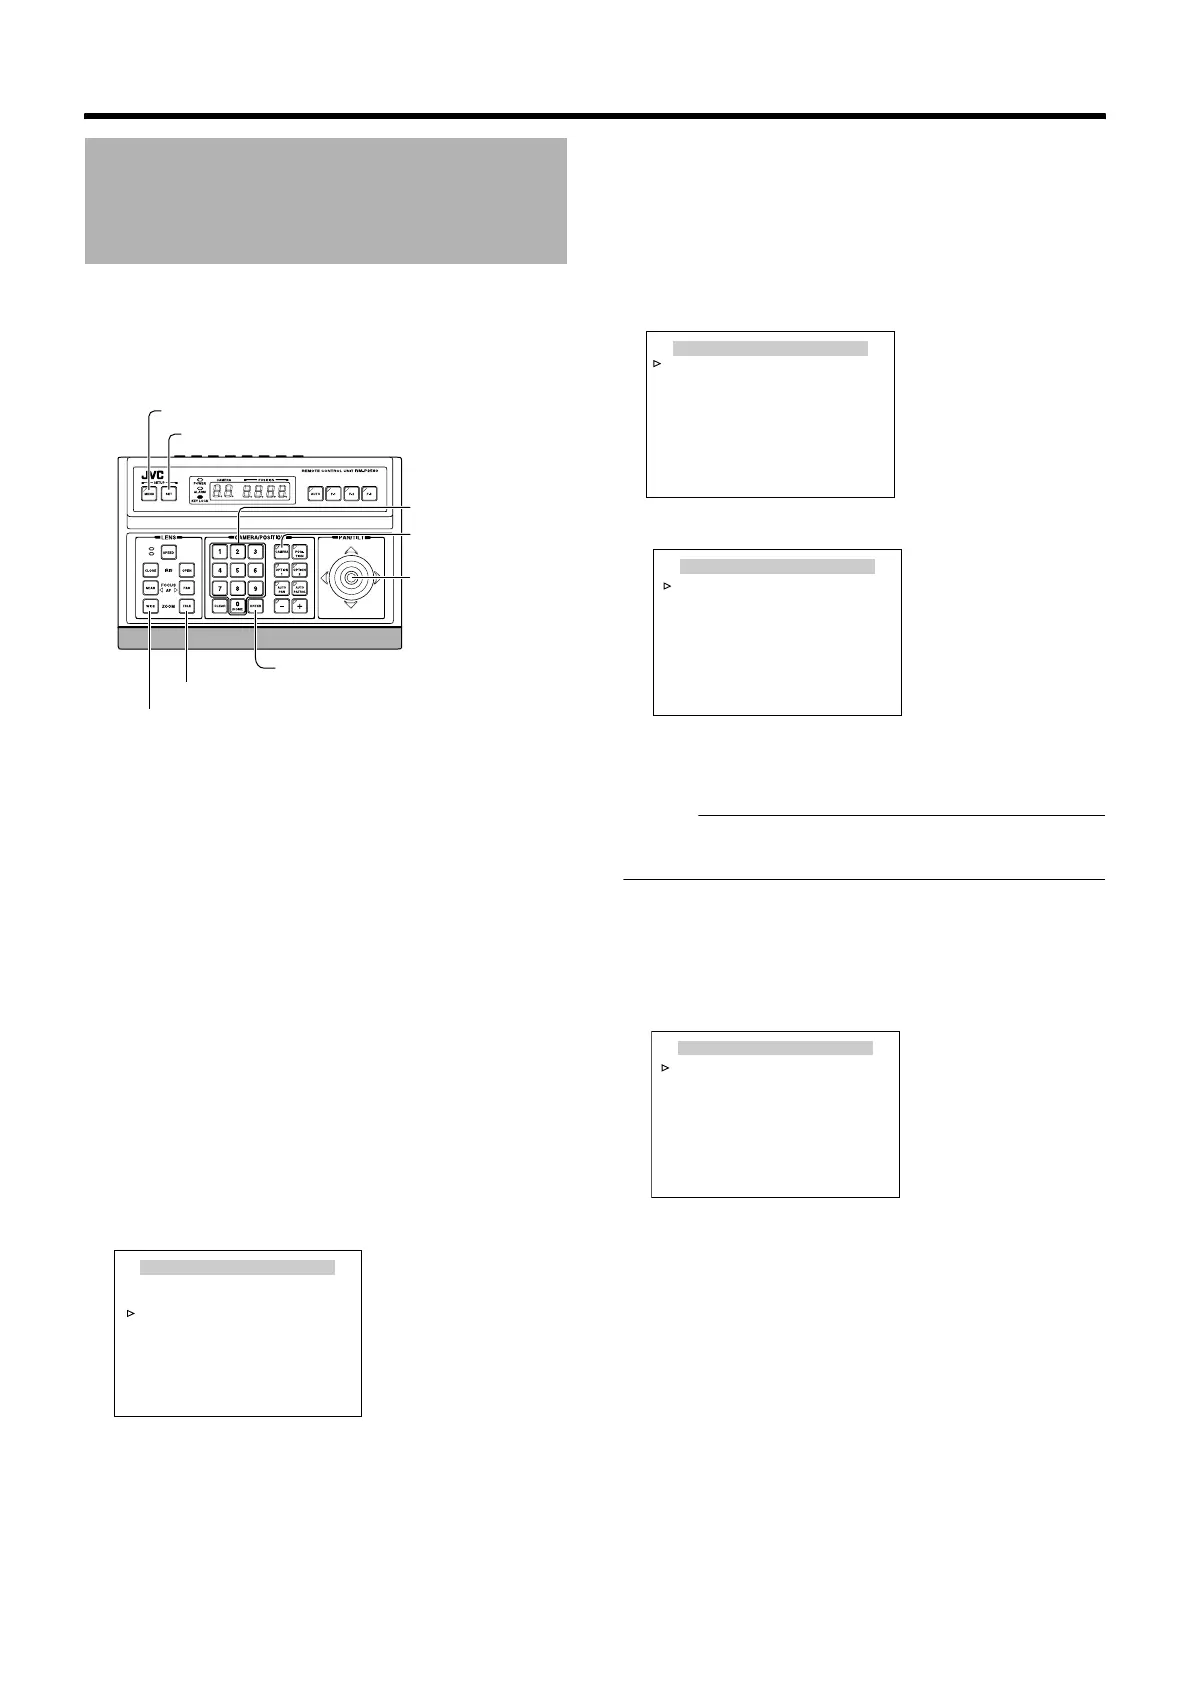
Private Mask Setting
[MENU] button
[SET] button
[CAMERA] button
[PAN/TILT] Lever
Numeric keypad
[ENTER] button
[TELE] button
[WIDE] button
CAMERA FUNCTION1
<
MENU
>
RETURN
<
SET
>
SUB MENU
V. PHASE - - -
POS. TITLE LOC. UP-L
PRIVATE MASK..
MANUAL DISPLAY ON
HOME M. DETECT OFF
D.ZOOM MAX X2
STABILIZER OFF
[CAMERA FUNCTION1] screen
PRIVATE MASK
MODE.. ON
BRIGHT 4
<
MENU
>
RETURN
MASK MODE
MASK No.1 (ー)
MASK No.2 (ー)
MASK No.3 (ー)
MASK No.4 (ー)
MASK No.5 (ー)
MASK No.6 (ー)
MASK No.7 (ー)
MASK No.8 (ー)
<
MENU
>
RETURN
<
SET
>
SUB MENU
[PRIVATE MASK] screen
[MASK MODE] screen
MASK MODE
MASK No.1 ON
MASK No.2 (ー)
MASK No.3 (ー)
MASK No.4 (ー)
MASK No.5 (ー)
MASK No.6 (ー)
MASK No.7 (ー)
MASK No.8 (ー)
<
MENU
>
RETURN
<
SET
>
SUB MENU
[MASK MODE] screen
 Loading...