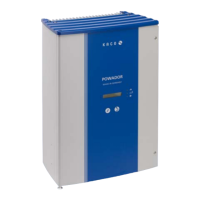
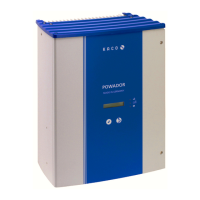
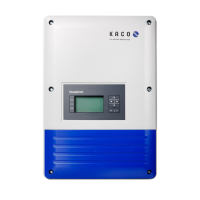
Installing the inverter
Page Operating Instructions for Powador .-. TL_EN
ENEN
Authorised electrician
MPP-Tracker 1
30.0-60.0 TL3
MPP-Tracker 3
MPP-Tracker 2
U
MPP
U
MPP
1 2 3 4 1 2 3 4 1 2 3 4
n
1
= n
2
= n
3
= n
4
n
5
= n
6
= n
7
= n
8
n
9
= n
10
= n
11
= n
12
MPP-Tracker 1
MPP-Tracker 3
MPP-Tracker 2
U
MPP
U
MPP
n
1
= n
2
= n
3
= n
4
= n
5
n
6
= n
7
= n
8
= n
9
= n
10
n
11
= n
12
= n
13
= n
14
= n
15
1 2 3 4 5 1 2 3 4 5 1 2 3 4 5
72.0 TL3
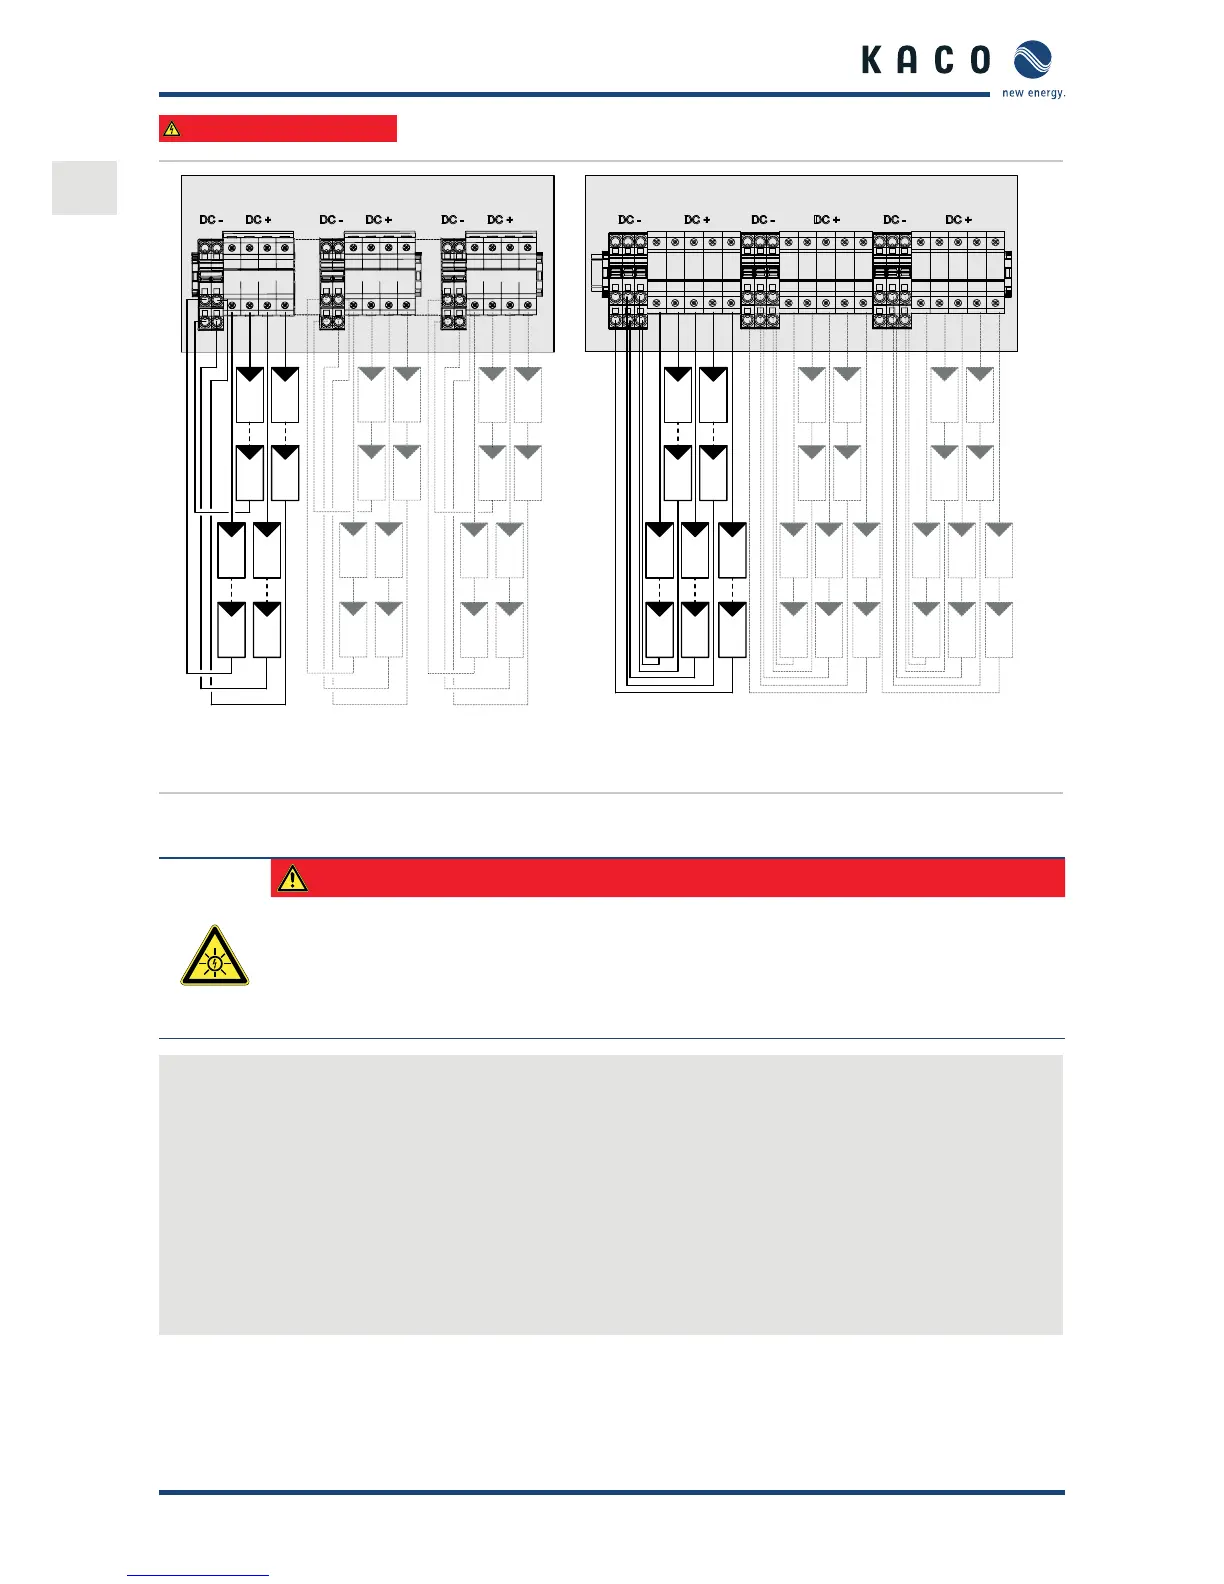
Figure : Recommended standard connection, XL variant (left: . TL, right: . TL)
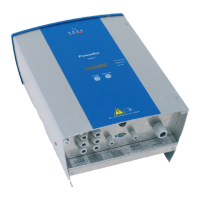
... Connecting the PV generator
DANGER
Risk of fatal injury due to electric shock
Severe injury or death will result if the live connections are touched. When there is solar radiation, DC
voltage will be present at the open ends of the DC cables.
› Do not touch the exposed ends of the cables.
› Avoid short circuits.
Connecting the PV generator
. Unscrew the cable ttings.
. Remove the outer cladding of the DC cables.
. Insert the DC cables through the cable ttings into the connection area.
. Strip the insulation from the DC cables.
. Connect the ends of the cables to the DC connections.
. Check that all connected cables are securely tted.
. Tighten the cable ttings.
. The requirements of protection rating IP are met by closing the unused cable ttings with blind caps.
» The inverter is connected to the PV generator.
. Connecting the interfaces
All interfaces are located on the connection circuit board in the upper area of the inverter door. Use the cable t-
tings provided and connect the connection cables to the circuit board.
 Loading...