2-14
Taking Pictures
The green Ready light and the Pictures Remaining number on the Status Display
blinks rapidly as the DC120 processes the picture. The Pictures Remaining
number on the Status Display is reduced by one.
You do not need to hold the camera still while the green Ready light is on, but
you will not be able to take another picture until it turns off.
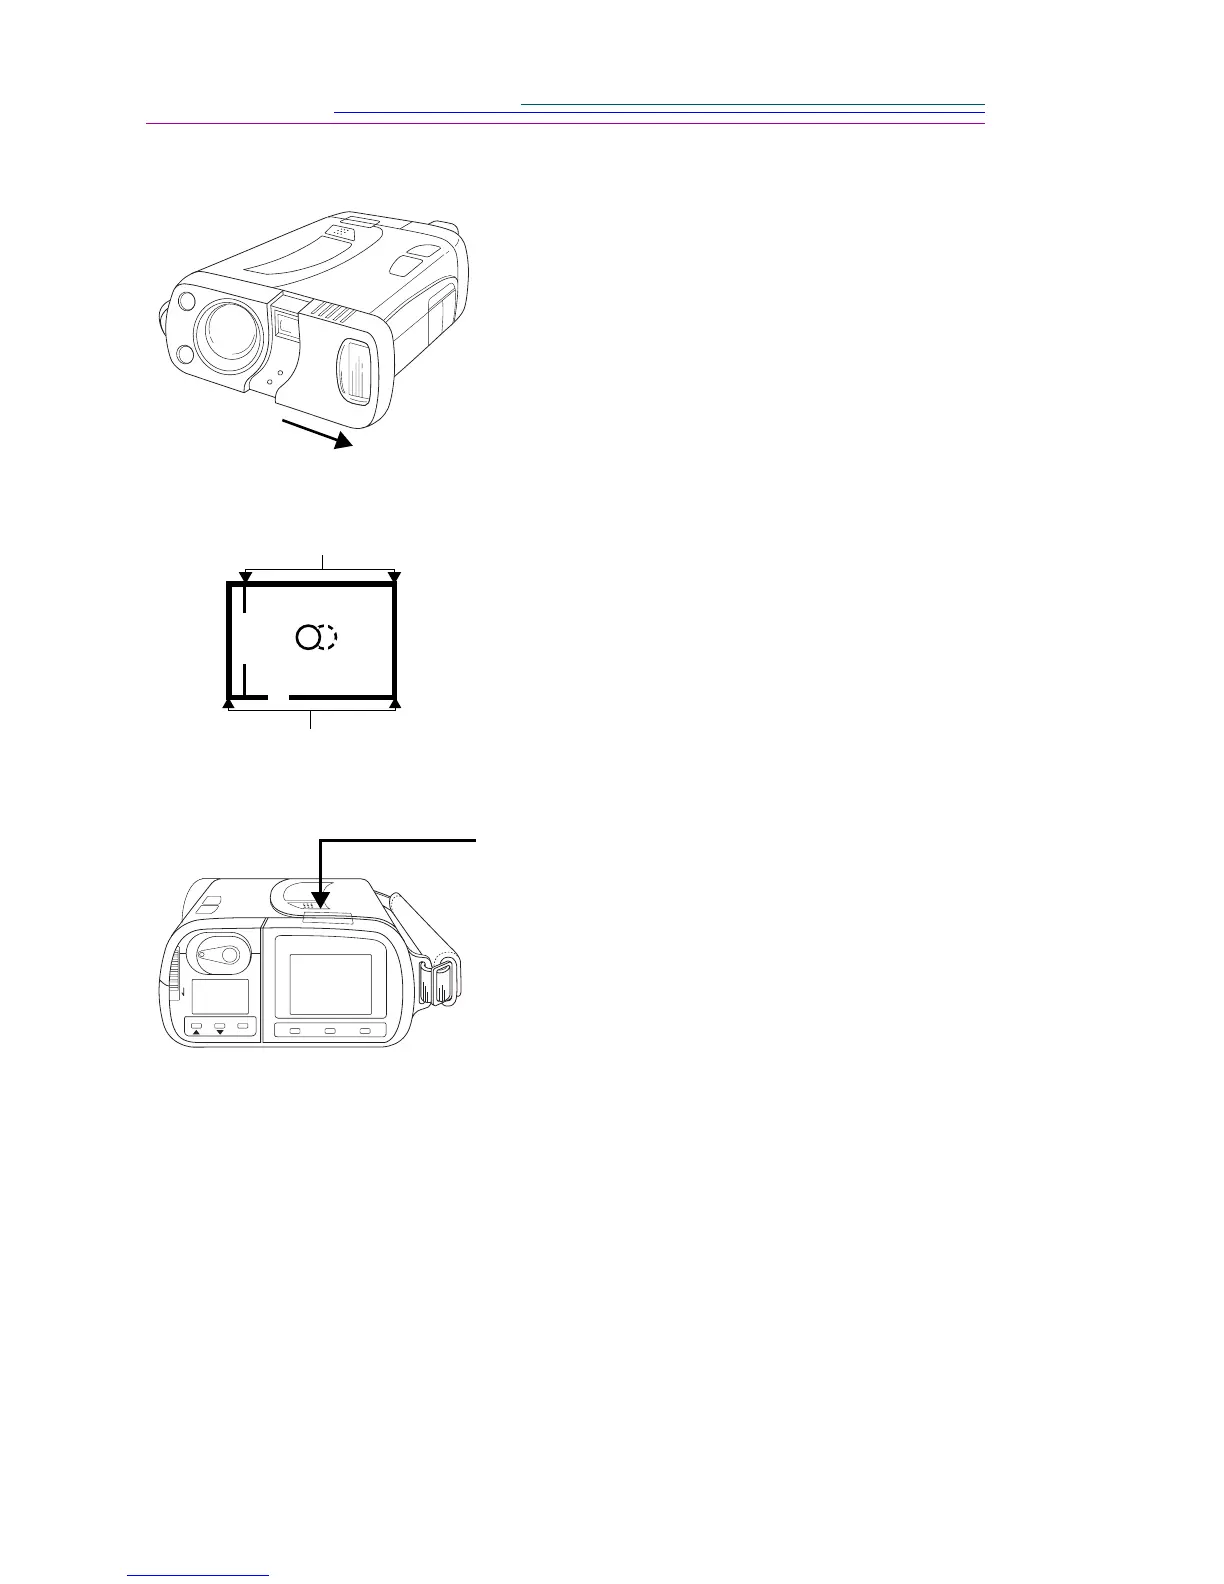
1 Turn the camera on.
2 Center subject using the:
✔ entire viewfinder area and the solid
circle when your subject is more than 3
ft. (1 m) away.
✔ viewfinder’s inside line and broken
circle when your subject is 2 to 3 ft. (0.5
to1 m) away.
✔ LCD Preview display, which is
automatically activated when the focus
is set to Macro mode, and your subject
is less than 20 in. (50 cm) away.
3 Press the Shutter button half-way down to
lock-in the focus on your subject.
The green Ready light stays on to indicate
the focus is locked-in. In Macro mode the
LCD displays a Preview of the picture.
4 Press the Shutter button completely down to
take a picture.
There is a slight delay from when the
Shutter button is fully depressed and when
the picture is captured. The picture is stored
in the camera’s or optional Kodak Picture
Card’s memory.
Camera On
Subject range 2 to 3 ft.
Subject range 3 ft. (1 m)
to infinity
(0.5 to 1 m)
PLAY • STOP
TAB SELECT ENTER
VIEW INFOMOVE • ERASE
 Loading...