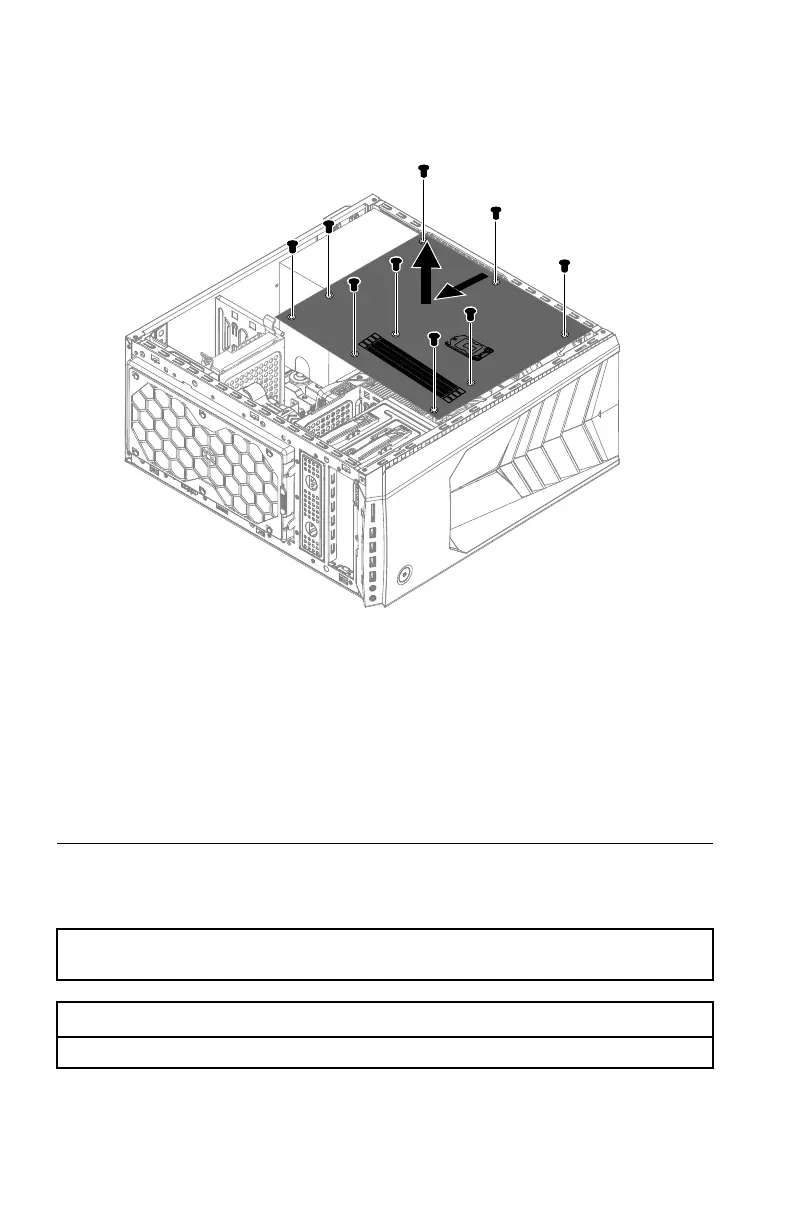
Step 12. Remove the 11 screws that secure the motherboard to the chassis.
Step 13. Slide then lift the motherboard out of the chassis to remove it.
Step 14. Install the new motherboard:
a. Line up the holes on the new motherboard with mounting holes on
the chassis and secure it with screws.
b. Reattach the memory module, Wi-Fi card, CPU, and the heat-sink to
the new motherboard.
c. Connect the all cables to the new motherboard.
d. Attach the graphic card to the new motherboard.
Step 15. Reattach the computer cover.
FRU lists
This chapter lists the information on the field replaceable units (FRUs).
Attention: Be sure to read and understand all the safety information before replacing any
FRUs.
Lenovo Legion Y720T-34ASU Service Parts Listing
MT: 90H9
56 Lenovo Legion Y720T Hardware Maintenance Manual
 Loading...