4511-xxx
3-2 Service Manual
Diagnostic aids—E238, E240, and E240n3
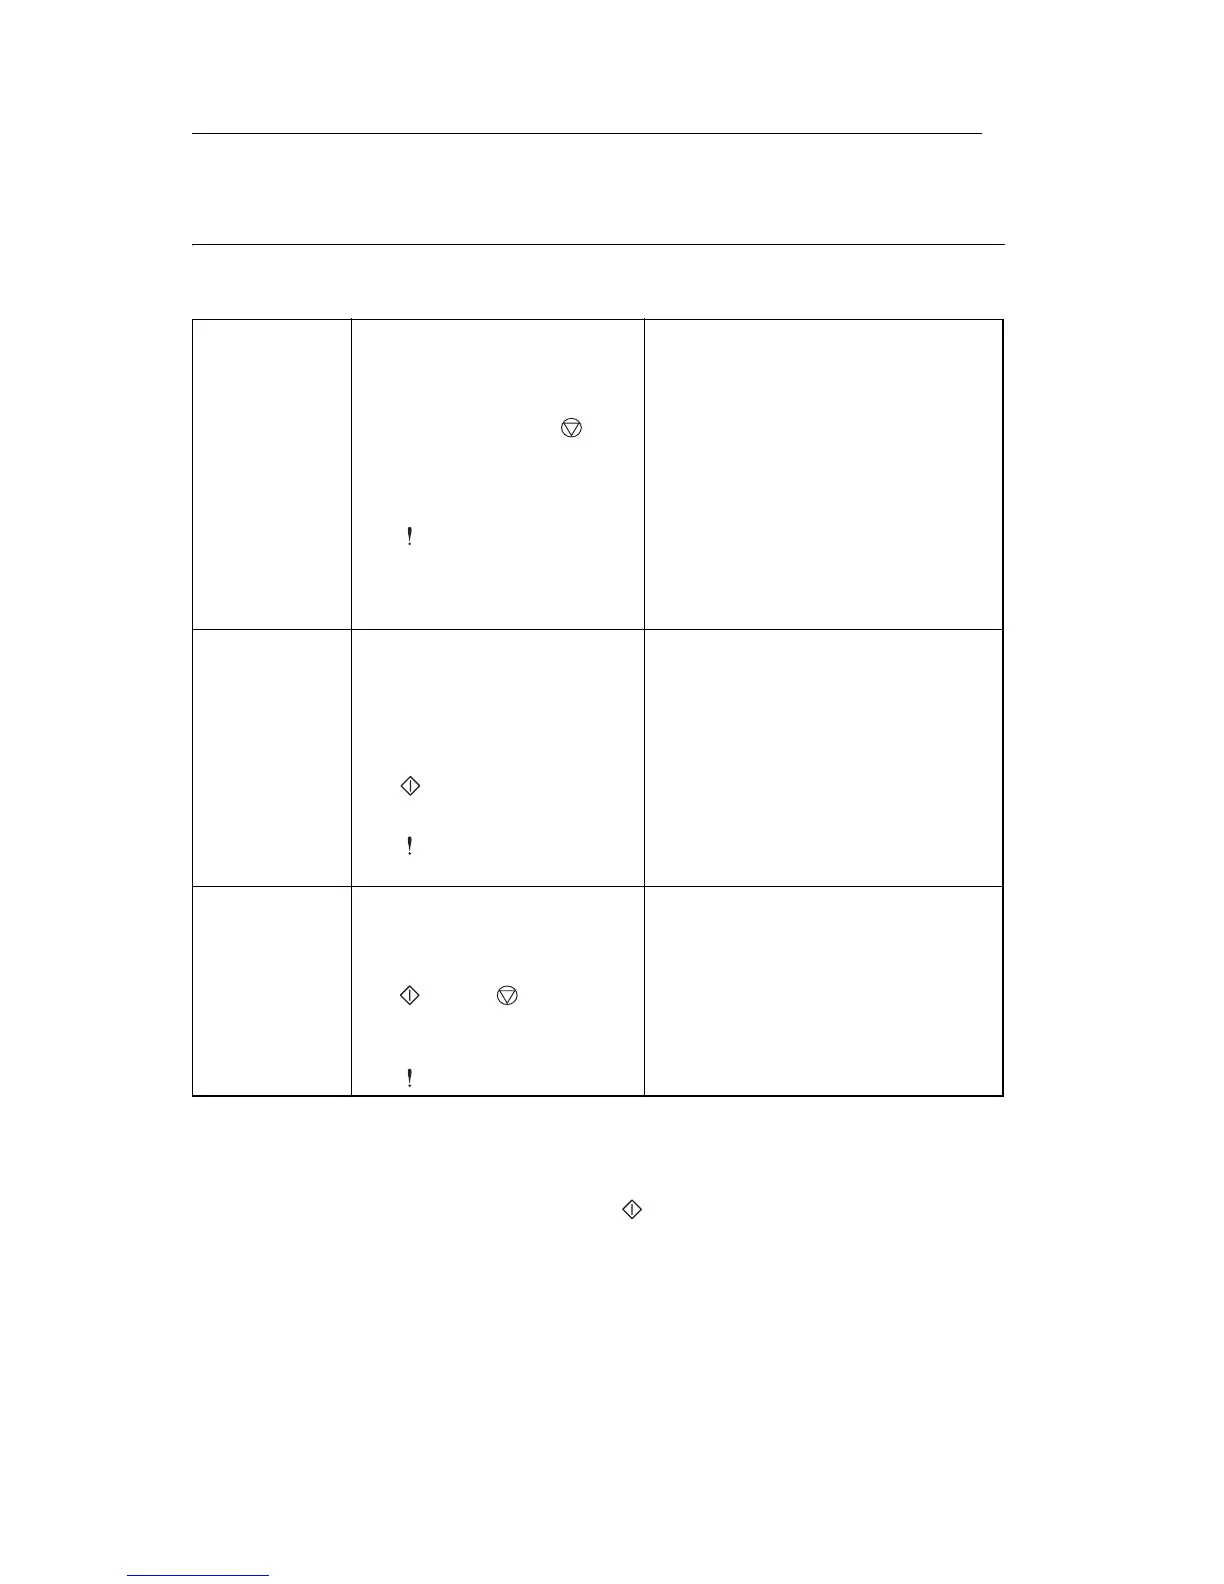
Accessing service menus
Printing menus
Print menus by pressing and holding until the lights flash (see menu
samples on page 3-3 and page 3-4).
Diagnostics
mode
1. Turn off the printer.
2. Open the front access
cover.
3. Press and hold
while turning on the
printer.
4. Close cover once the
light is displayed.
The diagnostic group contains
menu settings and operations
that are useful in the
manufacturing of the printer. It
also features other aids in
diagnosing problems.
See “Diagnostics mode
printout sample” on page 3-4
or “Diagnostics mode
selections” on page 3-11 for
details on the available settings.
Enter
Configuration
Menu
1. Turn off the printer.
2. Open the front access
cover.
3. Turn on the printer while
pressing and holding
.
4. Close cover once the
light is displayed.
The configuration group contains
a set of menus, configuration
settings, and operations which
are not used by an end user.
See “Configuration Menu
printout sample” on page 3-3
or “Configuration menu
selections” on page 3-6 for
details on the available settings.
Reset
NVRAM and
enter normal
mode
1. Turn off the printer.
2. Open the front cover.
3. Press and hold both
and buttons
pressed.
4. Close cover once the
light is displayed.
 Loading...


