Assembly
Snow depth sensor SHM 31, V2.1 15
5. Assembly
5.1. Assembly instructions
Do not look into the laser beam of the SHM 31.
Do not switch on the SHM 31 until it has been assembled and aligned.
5.2. Assembly
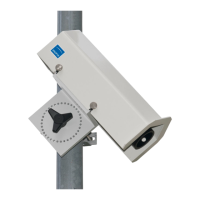
The snow depth sensor is mounted on a mast using the mast clamps provided. The sensor is aligned in the
direction of the surface. The angle the sensor is assembled at (tilt angle α) should be between 10 and
30 degrees to prevent snow falling from the mast or the sensor itself from affecting the measured result
(Fig. 15). If an angle is too large, this causes the laser beam to hit the ground at too flat an angle, which may
give a vague and inconsistent distance measurement result. Additionally, the accuracy of the snow depth
calculation decreases at larger tilt angles due to the influence the angle measurement has.
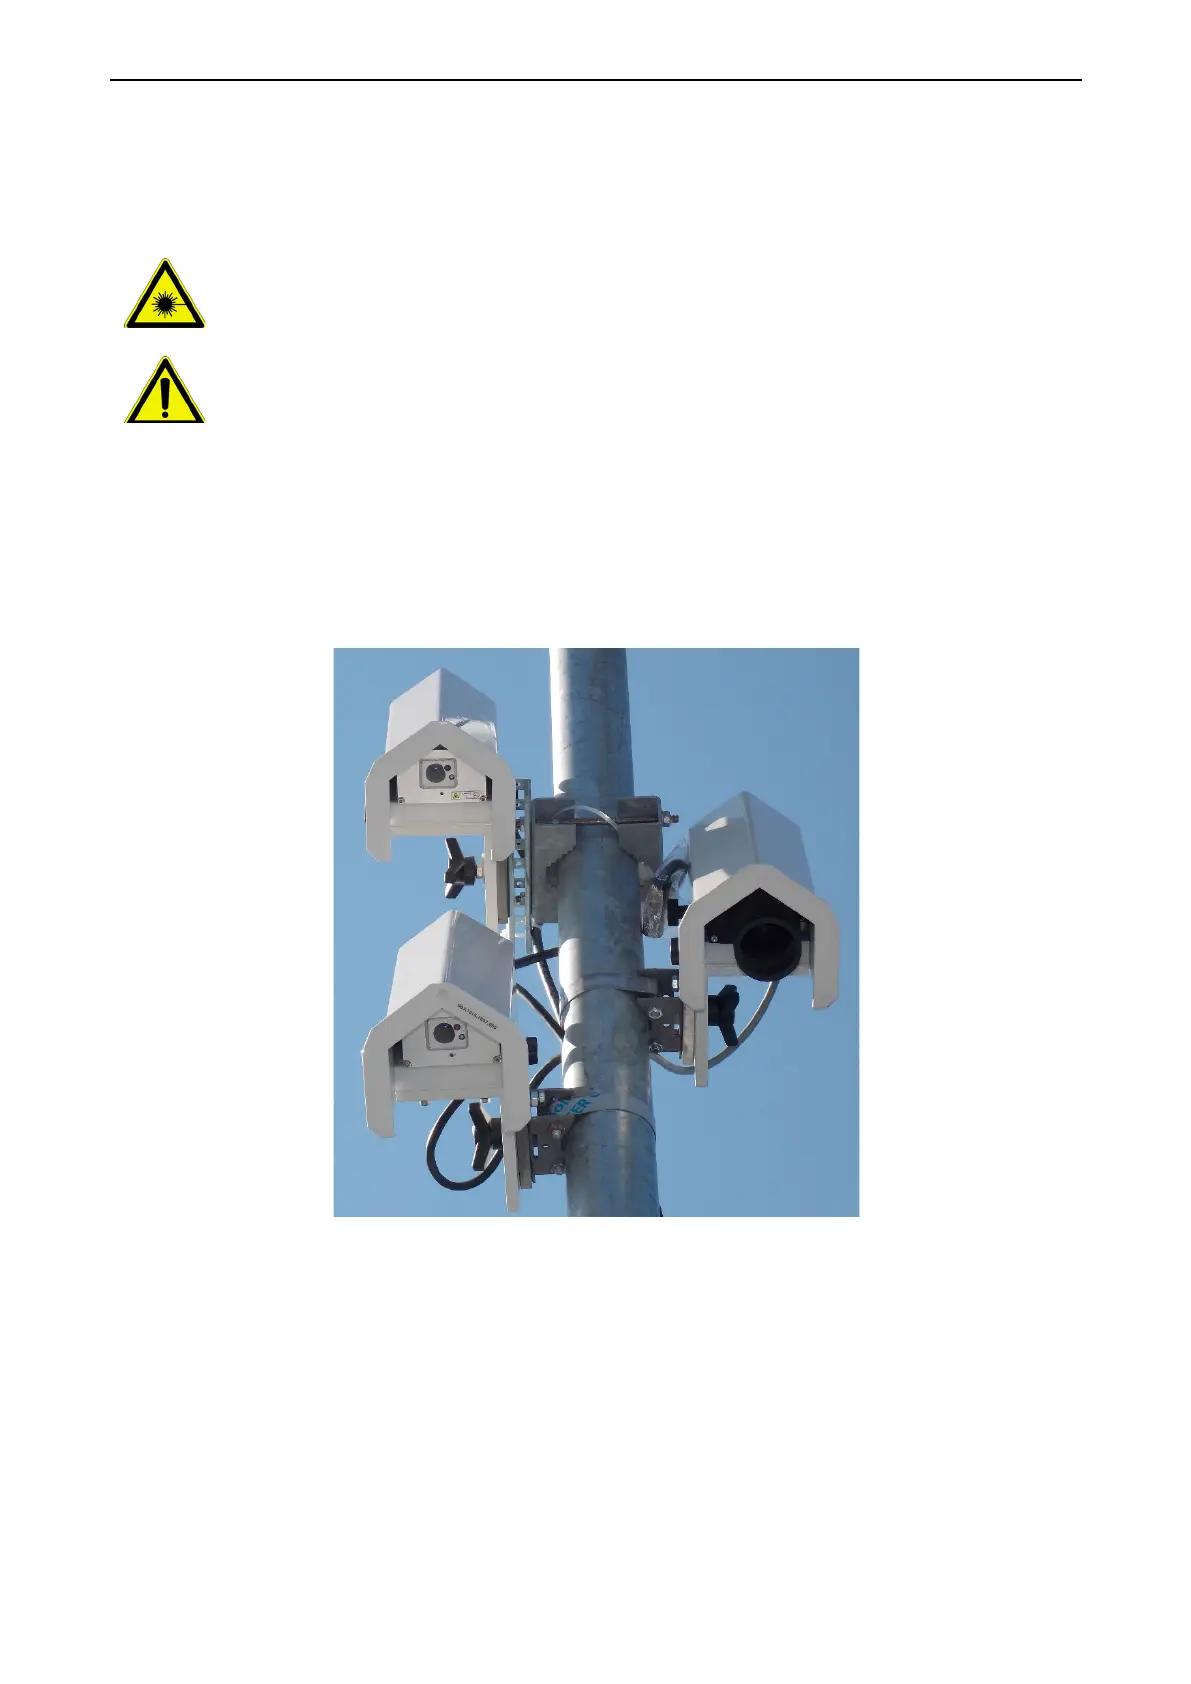
Figure 12: SHM 31 sensors with mast clamp 8365.610-11 (top left), mast clamp
8365.608-11 (bottom left) and SHM 30 sensor with mast clamp 8365.608-11 (middle right).
D
uring assembly, the mast clamp should first of all be firmly assembled on the mast. The sequence of
whether the connection cable should be assembled on the sensor first or whether the sensor should be
assembled on the mast clamp first using the tristar knob is not specified and depends on the local conditions.
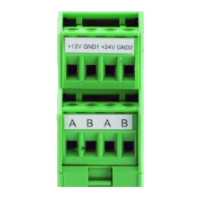
To connect the cable, first of all loosen the three knurled screws and remove the hood. Then the cable with
the strain relief sleeve can be inserted into the recess in the side of the base plate and the connector
screwed tight; see Figure 12 and Figure 14.
 Loading...