15
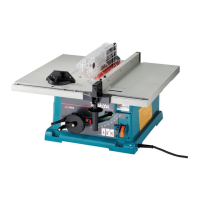
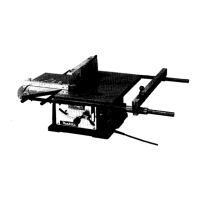
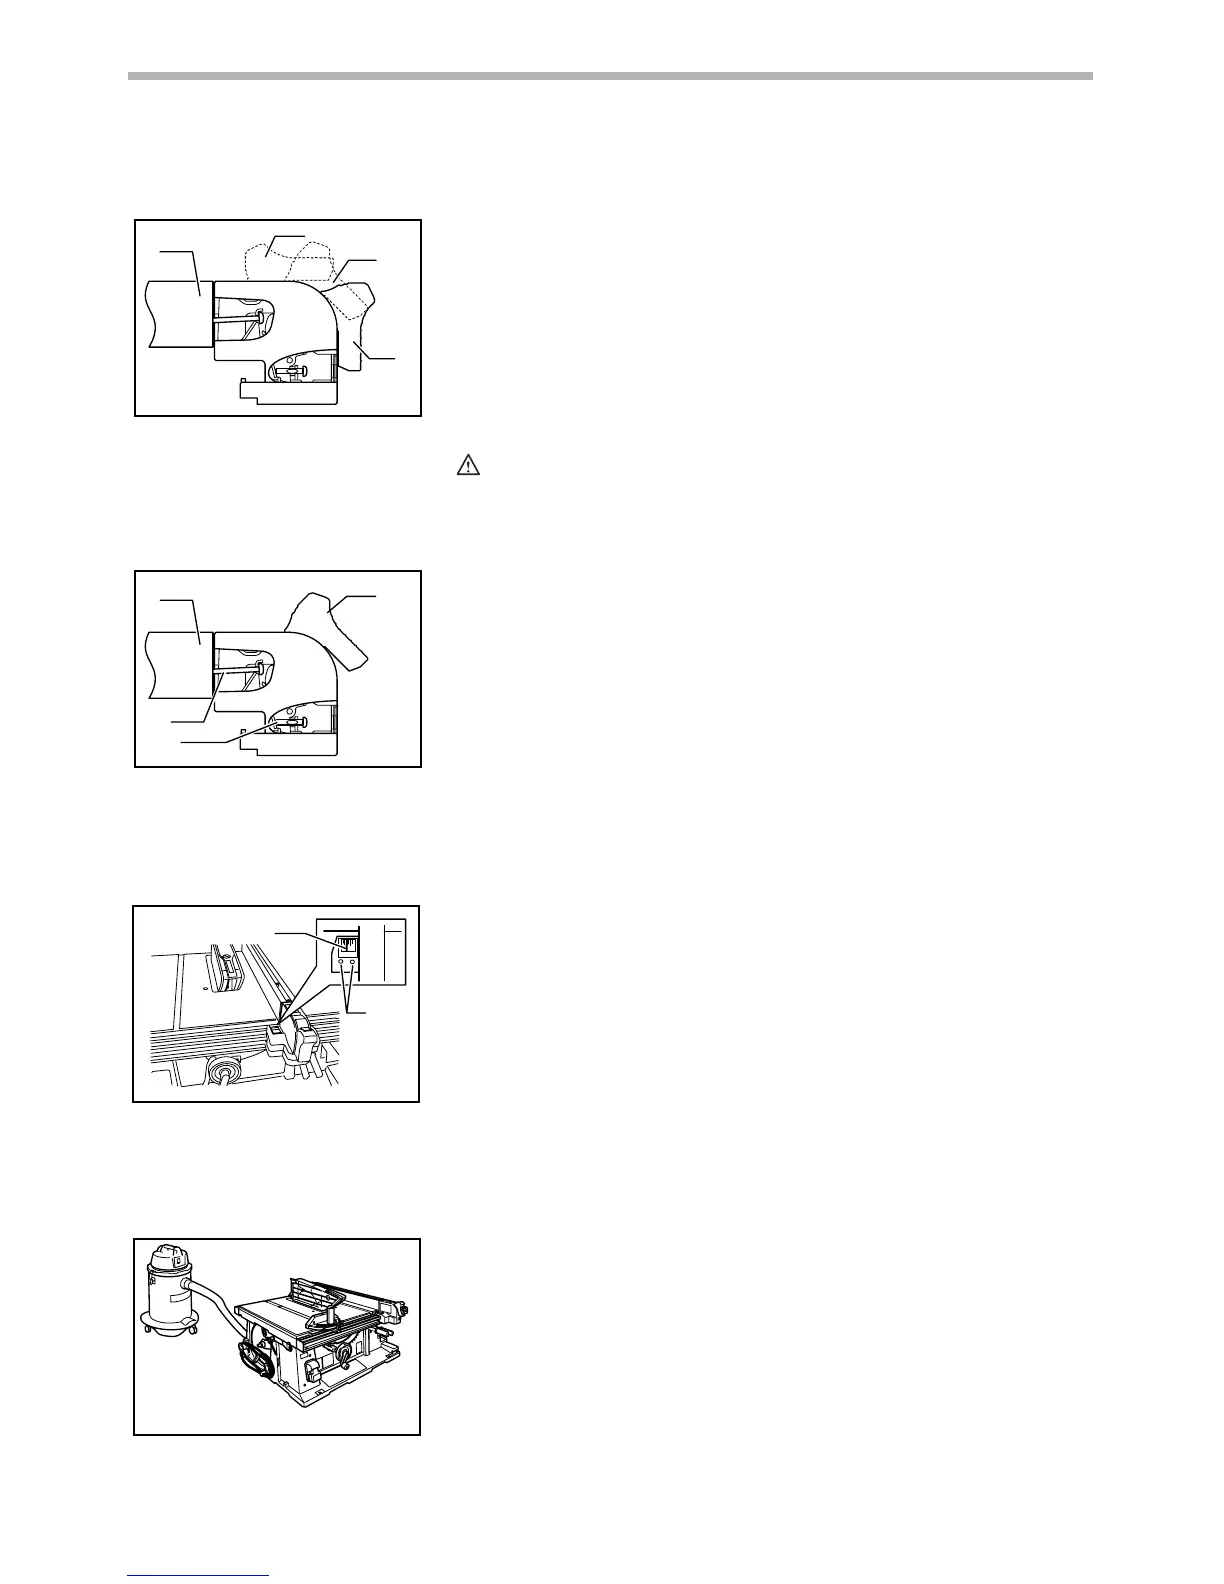
When the rip fence cannot be secured solidly, adjust it according to the follow-
ing procedure.
(1) Set the rip fence on the table and then pivot the knob on the half
way of its travel (moving position). Tighten the screw (A) until the
rip fence is immobilized. Then loosen a 1/4 to 1/2 turn.
(2) Tighten the screw (B) fully and then loosen about 2 full revolutions.
(3) Lock the rip fence by fully pivoting the knob on the fence holder
(lock position).
(4) Make sure that the rip fence can be installed and removed in the
original position (released position).
(5) Make sure that the rip fence can be slid smoothly with no wobble
when the knob is on half way of its travel.
CAUTION:
• Be careful not to tighten screws with more than tightening amount
specified in the above instructions. Failure to do so may damage the
fastened parts.
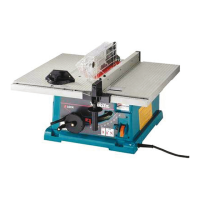
Bring the rip fence up flush against the side of the blade. Make sure that the
guideline on the fence holder points to the 0 graduation. If the guideline does
not point to the 0 graduation, loosen the screw on the scale plate and adjust
the scale plate.
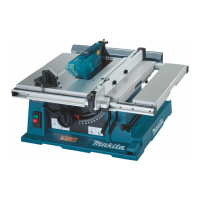
Connecting to vacuum cleaner
Cleaner operations can be performed by connecting the tool to Makita vacuum
cleaner or dust collector.
1. Rip fence
2. Released position
3. Moving position
4. Lock position
1. Rip fence
2. Moving position
3. Screw (B)
4. Screw (A)
1
2
3
4
007778
1
2
3
4
007779
1. Guideline
2. Screws
1
2
006214
006207
 Loading...