8
Adjusting positive stops
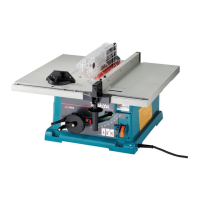
The tool is equipped with positive stops at 90° and 45° to the table surface. To
check and adjust the positive stops, proceed as follows:
Move the handwheel as far as possible by turning it. Place a triangular rule on
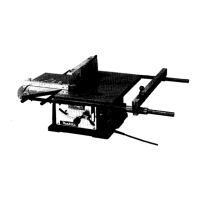
the table and check to see if the blade is at 90° or 45° to the table surface. If
the blade is at an angle shown in Fig. A, turn the adjusting screws clockwise; if
it is at an angle shown in Fig. B, turn the adjusting screws counterclockwise to
adjust the positive stops.
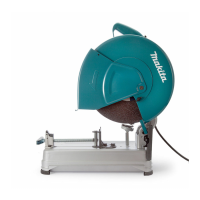
After adjusting the positive stops, set the blade at 90° to the table surface.
Then adjust the arrow pointer so that its right edge is aligned to the 0° gradua-
tion.
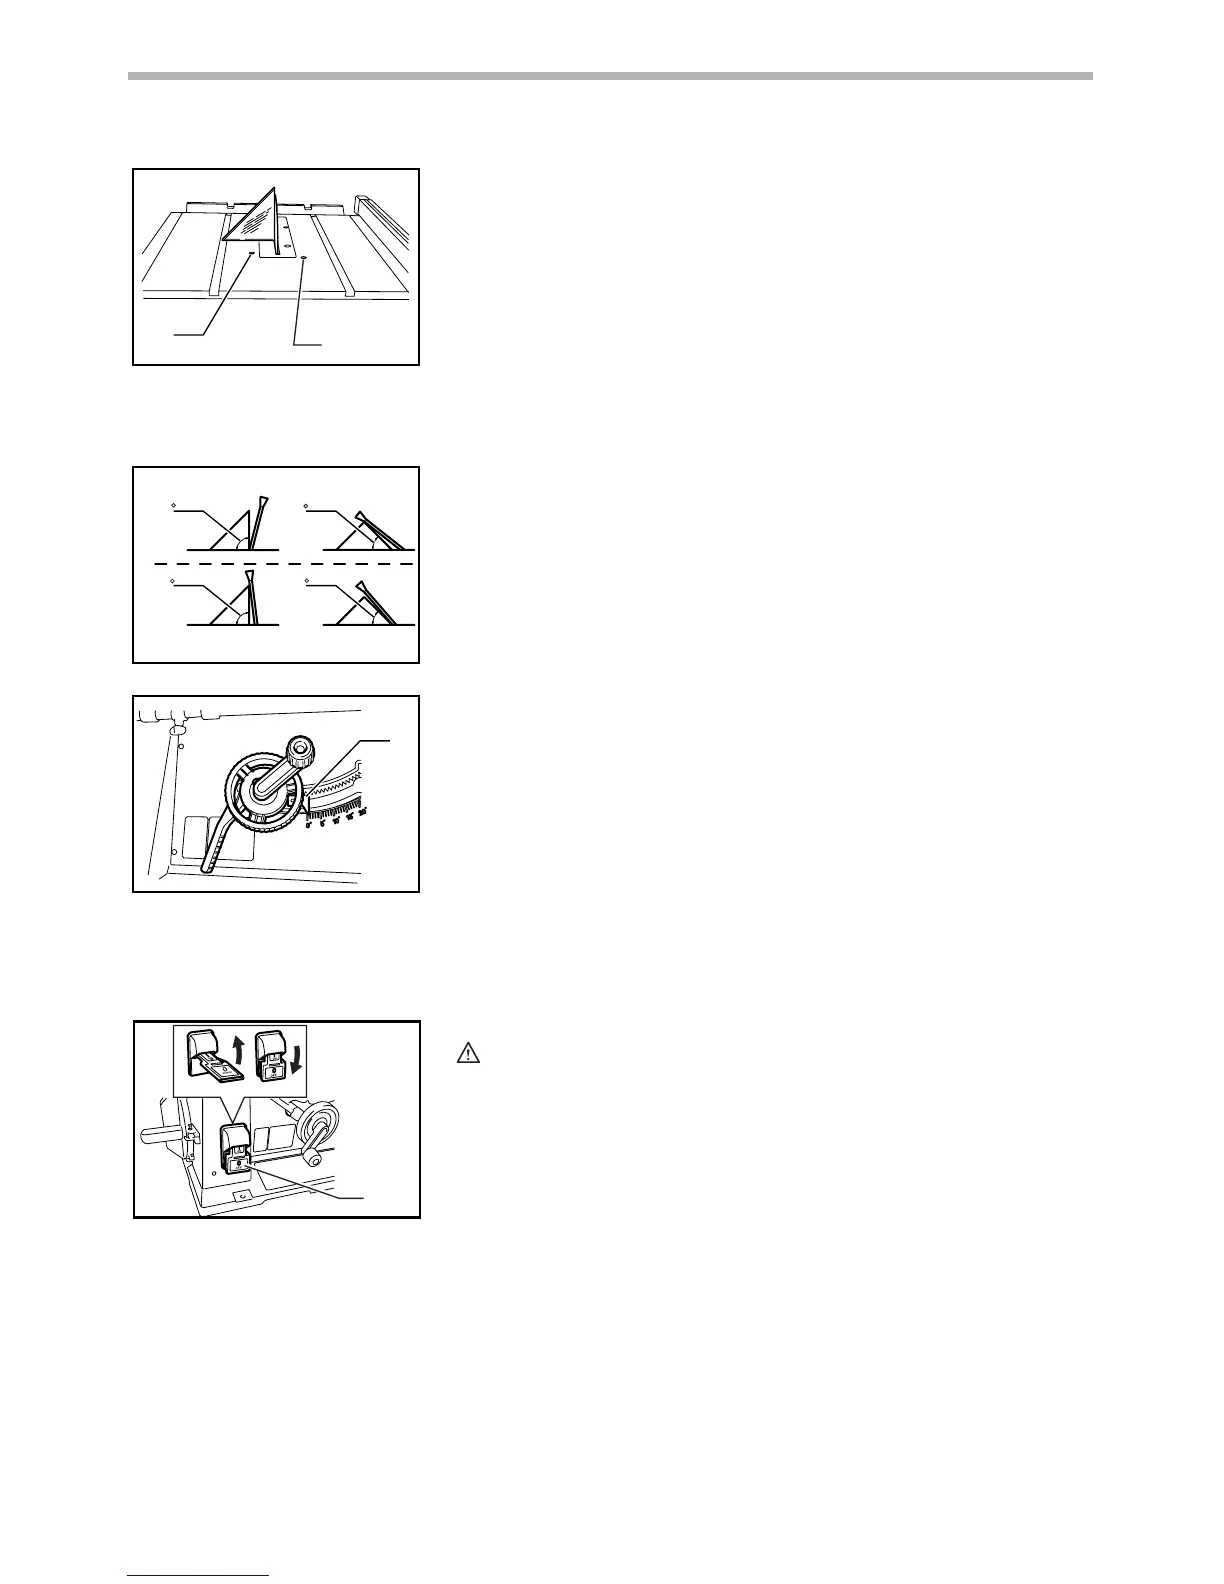
Switch action
For the lever type switch
CAUTION:
• Before plugging in the tool, always be sure that the tool is switched off.
To start the tool, raise the switch lever. To stop it, lower the switch lever.
1. 90°Adjusting screw
2. 45°Adjusting screw
1
2
006156
(A)
(B)
90
90
45
45
006157
1. Arrow pointer
1
006158
1. Switch
ON
OFF
1
006217
 Loading...