19
Safety
Pr
ecautions
Installa
tion
Requirements
Installa
tion
Instructions
3. Attach c
opper tubing to the manual shutoff valve.
ab
a Pr
ef
erred Locations
b Optional Locations
4. Slowly feed the copper tubing through the hole into the opening.
Continue feeding the tubing, until there is enough length to connect to
the inlet (front, left-hand side of the dishwasher) yet remain within the
required boundary.
a
3" to 4
¾
"
(7.6 cm to 12.1 cm)
a
Copper T
ubing
5. Slowly turn water shutoff valve to “ON” position. Flush water into a
shallow pan to get rid of particles that may clog the inlet valve.
6. Turn shutoff valve to “OFF” position.
PREPARE T
O CONNECT DRAIN HOSE
The dr
ain hose will be connected to the house drain system after the
dishwasher is installed in the opening.
1. Drill a 1
" (3.8 cm) hole in cabinet wall or floor on the side of the
opening closes
t to the sink.
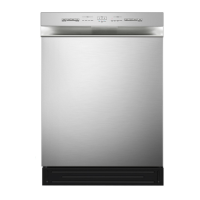
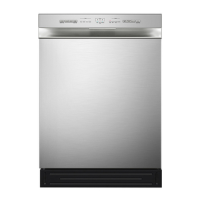
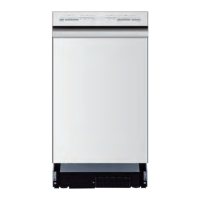
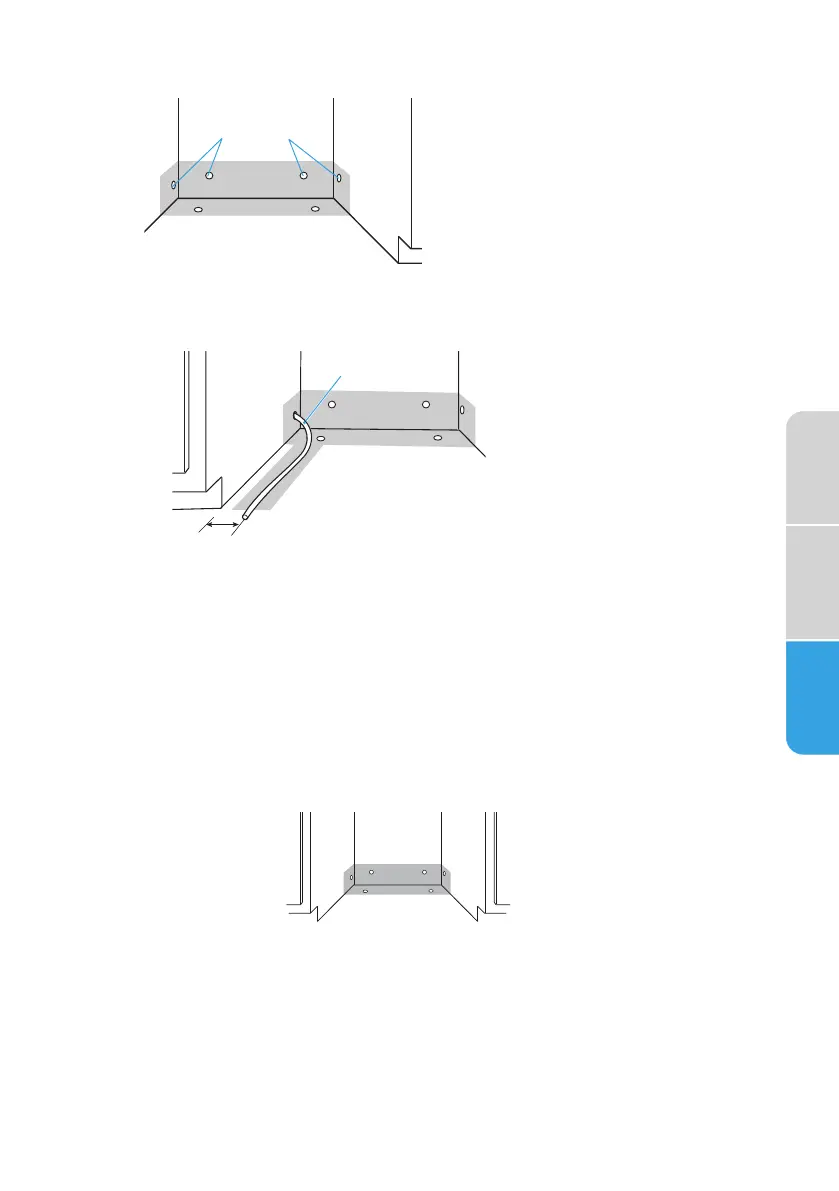
INST
ALL MOUNTING BRACKETS
IMPORTANT
: The dishwasher must be secured with mounting brackets to
the countertop or adjacent cabinets to keep it from tipping when the door
is opened.
Some countertop materials, such as granite, do not accept screws; and
therefore, do not lend themselves to a countertop installation.
 Loading...