minnkotamotors.com | 33
©2019 Johnson Outdoors Marine Electronics, Inc.
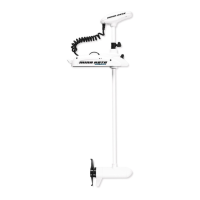
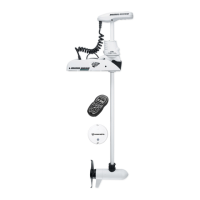
ADJUSTING THE LIFT BELT
a. Locate the Socket Head Cap Screw on the Bottom
of the Control Head. It can be found between
the Coil Cord and Shaft. This is the screw that is
adjusted to increase the tension on the Lift Belt.
b. Using a 5/32" Allen Wrench, turn the Socket Head
Cap Screw clockwise to tighten the Lift Belt.
c. The screw should be tightened to 8 to 10 inch-lbs.
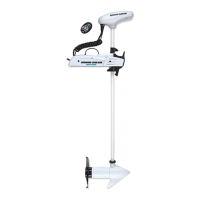
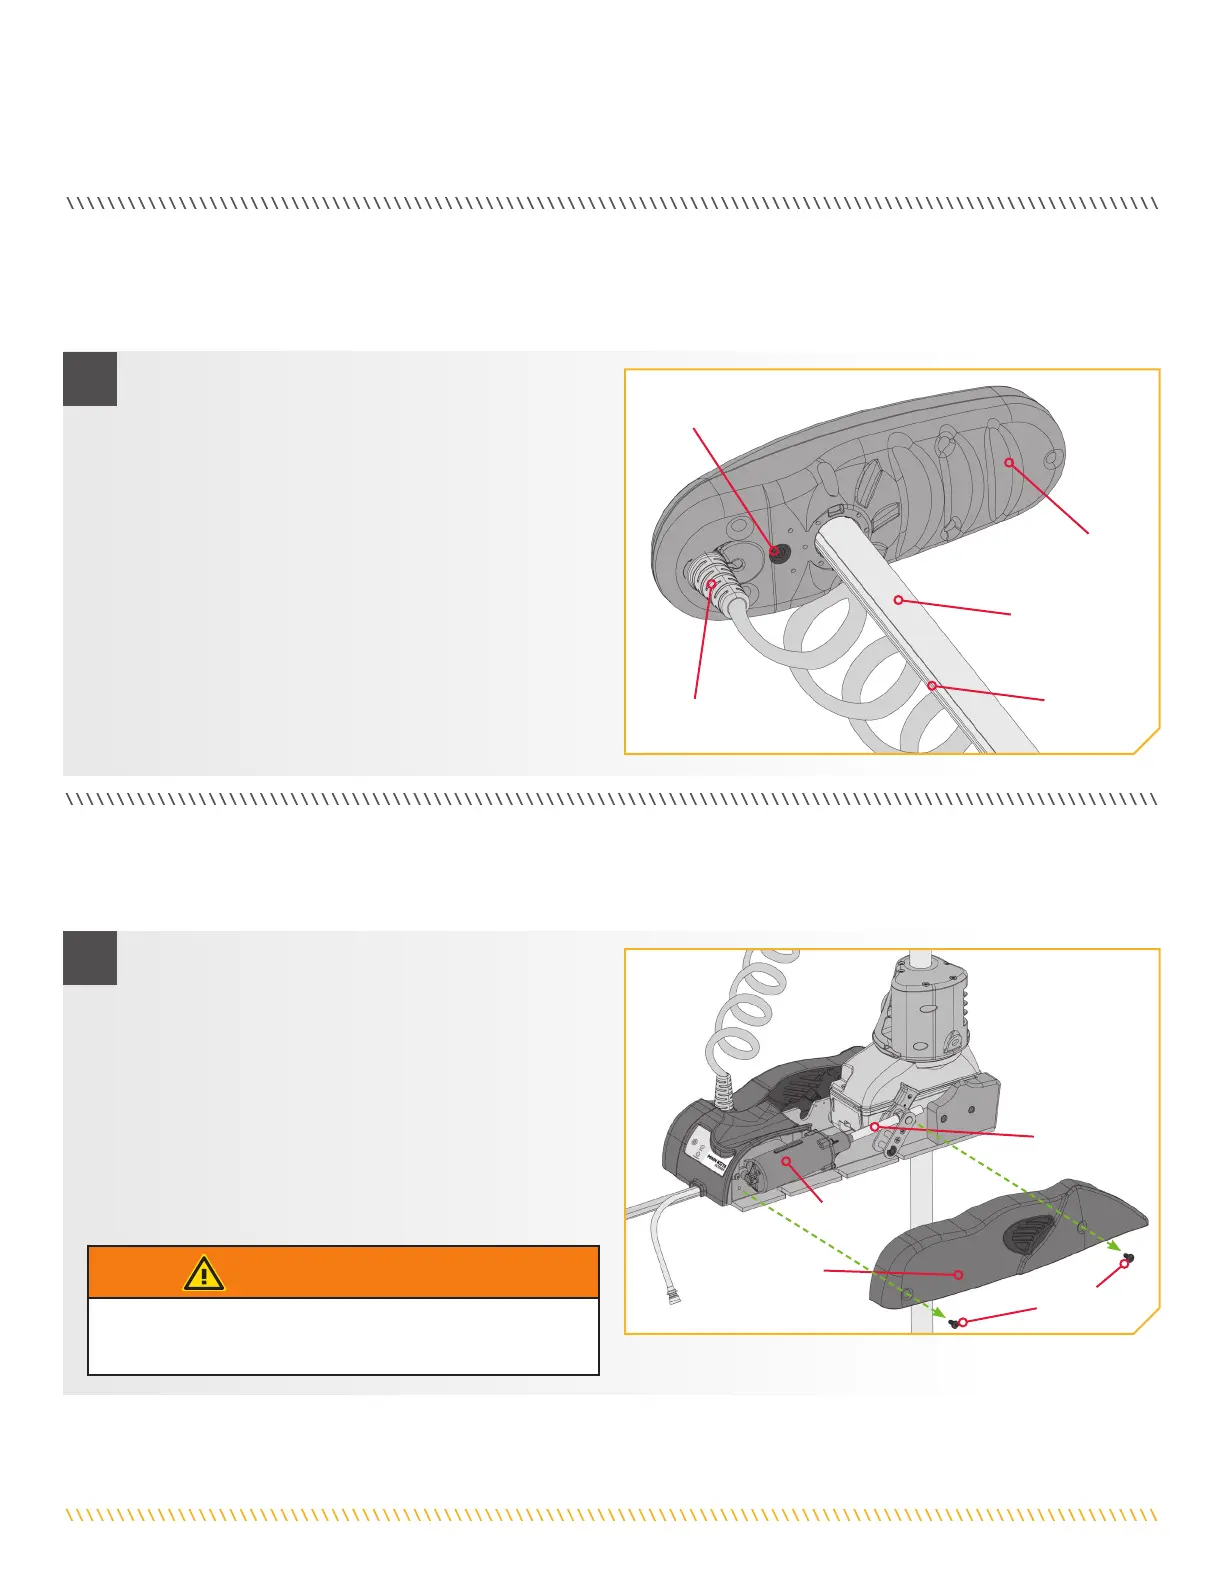
a. Deploy the Motor.
b. Using a #3 Phillips Screwdriver, remove the Right
Sideplate by removing the two screws that hold the
sideplate in place. Removing the Right Sideplate
will expose the Power Tilt and allow access to the
Motor Shaft.
c. Apply a marine grade grease to the Power Tilt
Motor Shaft.
d. Replace the Right Sideplate.
The Lift Belt assists in Trimming the Lower Unit up and down. Periodically slack may appear in the Lift Belt along the Shaft of the
motor. The screw that hold the tension on the Lift Belt may occasionally require small adjustments to maintain the tension on the belt.
ADJUSTING THE LIFT BELT
GREASING THE LATCH PIN AND POWER TILT MOTOR SHAFT
In order for the Riptide Ulterra to continue running at optimum performance, it is recommended that the Latch Pin and the Motor Shaft
for the Power Tilt be greased every season. It is recommended to use a marine grade grease.
Socket Head
Cap Screw
Right
Sideplate
Coil Cord
Control Head
Sideplate
Screws
Shaft
Trim Belt
Power Tilt
Power Tilt
Motor Shaft
1
1
WARNING
When orientating the motor, keep fingers clear of all hinges,
pivot points and all moving parts.
 Loading...