FA-106 Installation and Operation Manual
1
Introduction
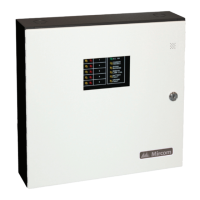
The FA-106 is a supervised six-zone 24VDC Fire Alarm Control Panel. The FA-103 is a supervised three-zone
24VDC Fire Alarm Control Panel. The panels are ULC listed and meet all performance and operational
requirements of ULC. The FA-106 provides the following features:
• Six Class B (Style B) detection (IDC) zones
• Two Class B (Style Y) signal zones (NACs), 1.25A max per zone, 2A max total
• DIP switch selectable NAC outputs such as Temporal or Steady
• Alarm and trouble relay contacts
• Remote trouble buzzer and indication with the use of an RTI-1 Remote Indicator
• Individual zone silence/disable switch
• Buzzer silence button
• Subsequent alarm operation
• LED indicators for zone alarm and trouble, A.C. Power On, Common Trouble, Ground Fault, Battery Fault,
CPU Fault, Signal Silenced and Common Alarm.
The FA-103 has the same features as above except there are only three detections zones. The enclosures and
boards are identical except the FA-103 is depopulated and has terminal connections for three detection zones
only. Use of the reference “the panel” will apply to both models FA-106 and FA-103.
Models available are:
Mechanical Installation
The panel can be surface or flush mounted. Refer to Figure 1 on page 2 for dimensions.
Surface Mounting
1. Mark the location of the four mounting holes.
2. Install the top two screws into the wall and place the panel over the screws.
3. Install the bottom screws and tighten down all four screws.
Flush Mounting
1. Make the wall cut-out according to the panel dimensions.
2. Remove the control panel door.
3. Mount the flush mounting trim (model FA-102TR) to the back box using the screws and nuts provided with
the flush mounting kit.
4. Re-install the door on top of the flush trim. The cam lock may require a minor adjustment in order to
compensate for the flush trim.
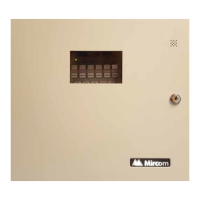
FA-103 Three detection zones, two NACs FACP with white door and black backbox.
FA-103R Three detection zones, two NACs FACP with red door and black backbox.
FA-106 Six detection zones, two NACs FACP with white door and black backbox.
FA-106R Six detection zones, two NACs FACP with red door and black backbox.
 Loading...