-4-
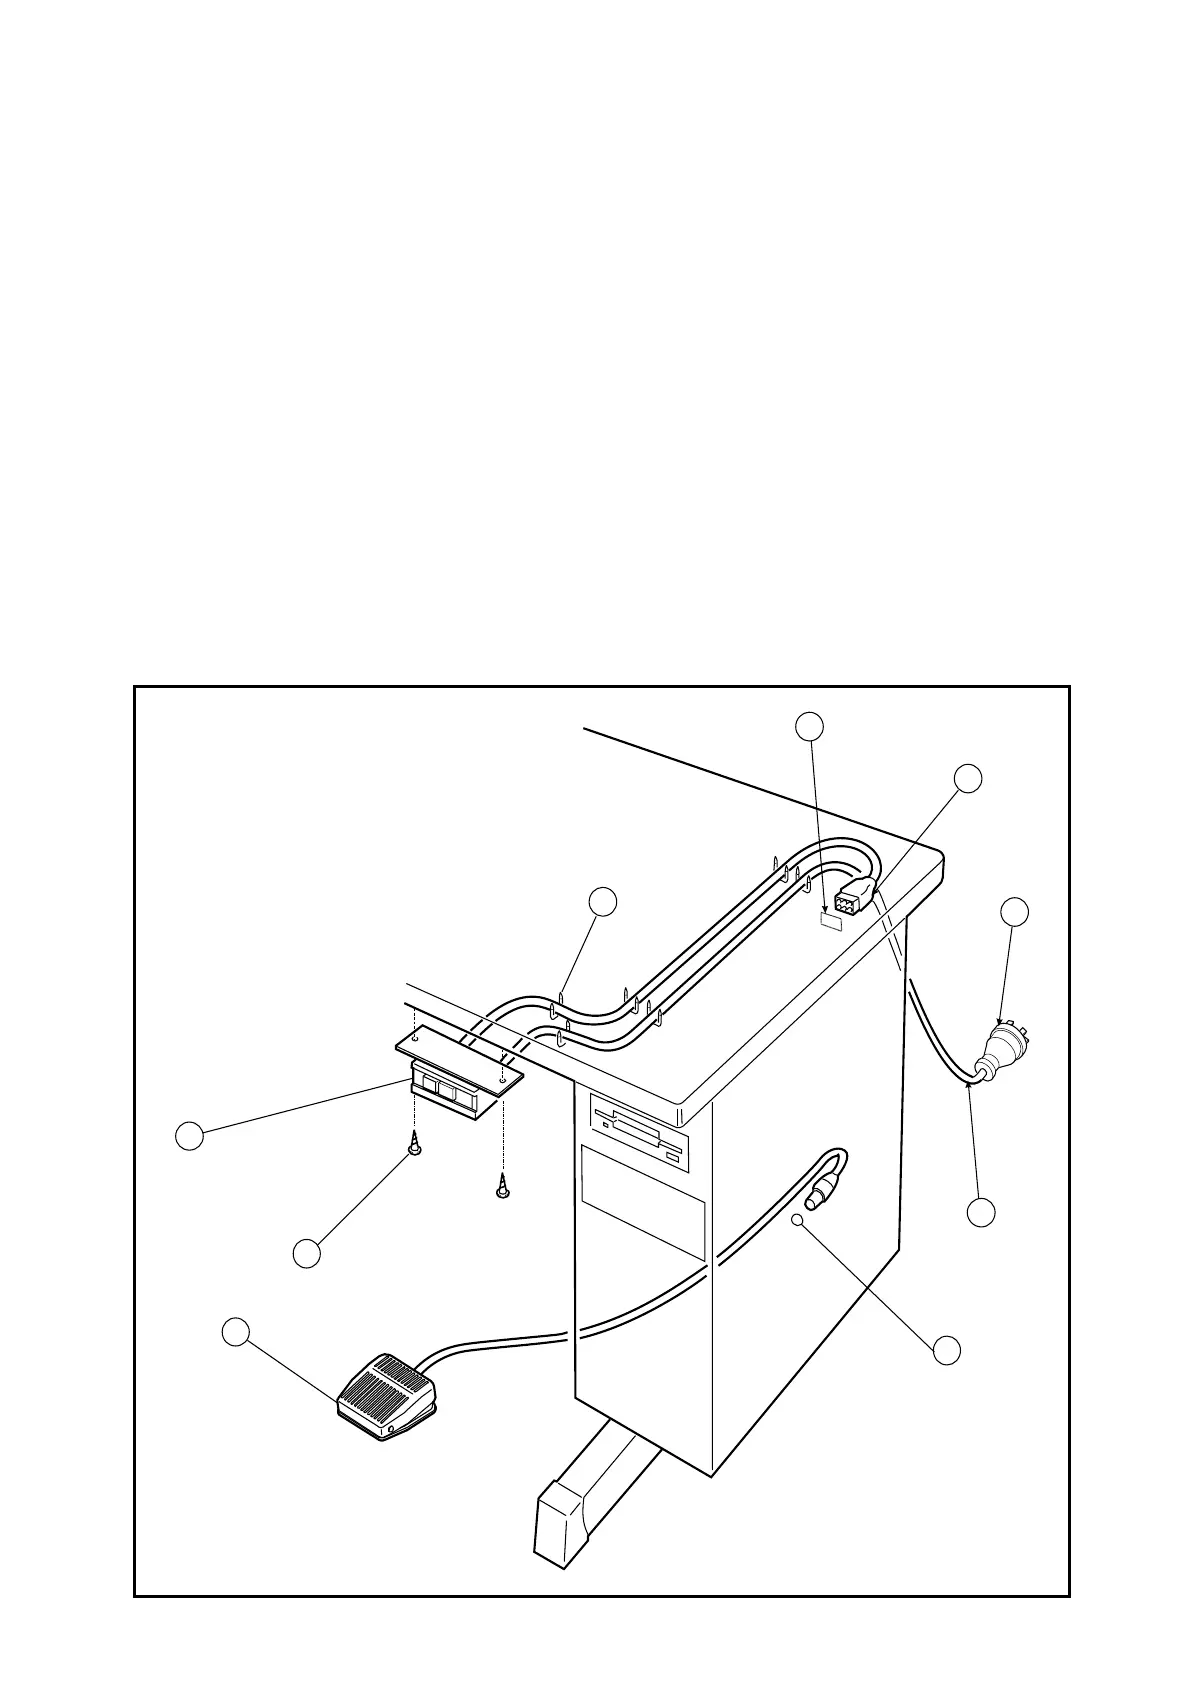
33-6 Installation of the power switch
If the power switch is purchased without assembling to the table, the power switch has to be
attached with the following procedure.
(1) Mount the power switch (NO.1) with the wood screw (NO.2) underneath the table as shown
on the figure.
(2) Fix the electric cords with the staples (NO.3) underneath the table.
(3) Hook up the connector (NO.4) of the power switch (NO.1) to the connector (NO.5) of the
control box (NO.9).
(4) Attach the power plug (NO.7) to another end of the power switch cord (NO.6).
3-7 Connection of the foot switch
Connect the foot switch (NO.8) to the control box (NO.9)
The foot switch is enclosed in the accessory box.
1
3
5
4
7
6
9
2
8

 Loading...