© National Instruments Corporation 3-1 GPIB-ENET/100 for Windows Me/98/95
3
Ethernet Configuration
This chapter describes how to use the NI Ethernet Device Configuration
utility to configure the network parameters of the GPIB-ENET/100. You
can use this utility for any of the following purposes:
• Manually configure the network parameters or enable DHCP
• Verify or change the hostname
• Add or change a comment to help identify the device
If DHCP is available on your network, it configures the network parameters
for your GPIB-ENET/100 at startup, as described in the Step 3. Switch on
Your GPIB-ENET/100 section of Chapter 2, Installation. In this case, using
the NI Ethernet Device Configuration utility is not required.
If DHCP is not available, the unit automatically enters network
configuration mode if it is configured with the factory default settings.
The GPIB-ENET/100 must be in this mode before you can make changes
to the network parameters.
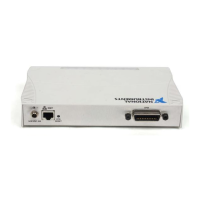
You also can enter this mode during normal operation by pressing and
holding the CFG RESET switch for three seconds. Refer to the Using the
CFG RESET Switch section in Chapter 6, Using Your GPIB-ENET/100
and NI-488.2 for more information on using this switch.
While in network configuration mode, the PWR/RDY LED alternates
rapidly between red and yellow, and normal operation is halted.
Using the NI Ethernet Device Configuration Utility
If your network administrator tells you to assign the IP address manually,
run the NI Ethernet Device Configuration utility. To do so, complete the
following steps:
1. Select Start»Programs»National Instruments»NI-488.2»Explore
GPIB to start the Measurement & Automation Explorer.
2. Under Measurement & Automation, expand the Devices and
Interfaces folder.

 Loading...