XLTEK Protektor32 Instructions for Use
35
Protektor32 Software / EPWorks
Setting Up Tests
A) Before You Begin
1. Ensure that the headbox is connected to the computer and turned on.
2. Open EPWorks by double-clicking the EPWorks icon on the Windows® desktop.
3. Click File > New. The Study Information window will appear.
4. Type the patient's first and last name into the designated text boxes. (You can fill in more
information now, or you can reopen the Study Information window to fill in more information later
by clicking on the EPWorks toolbar.)
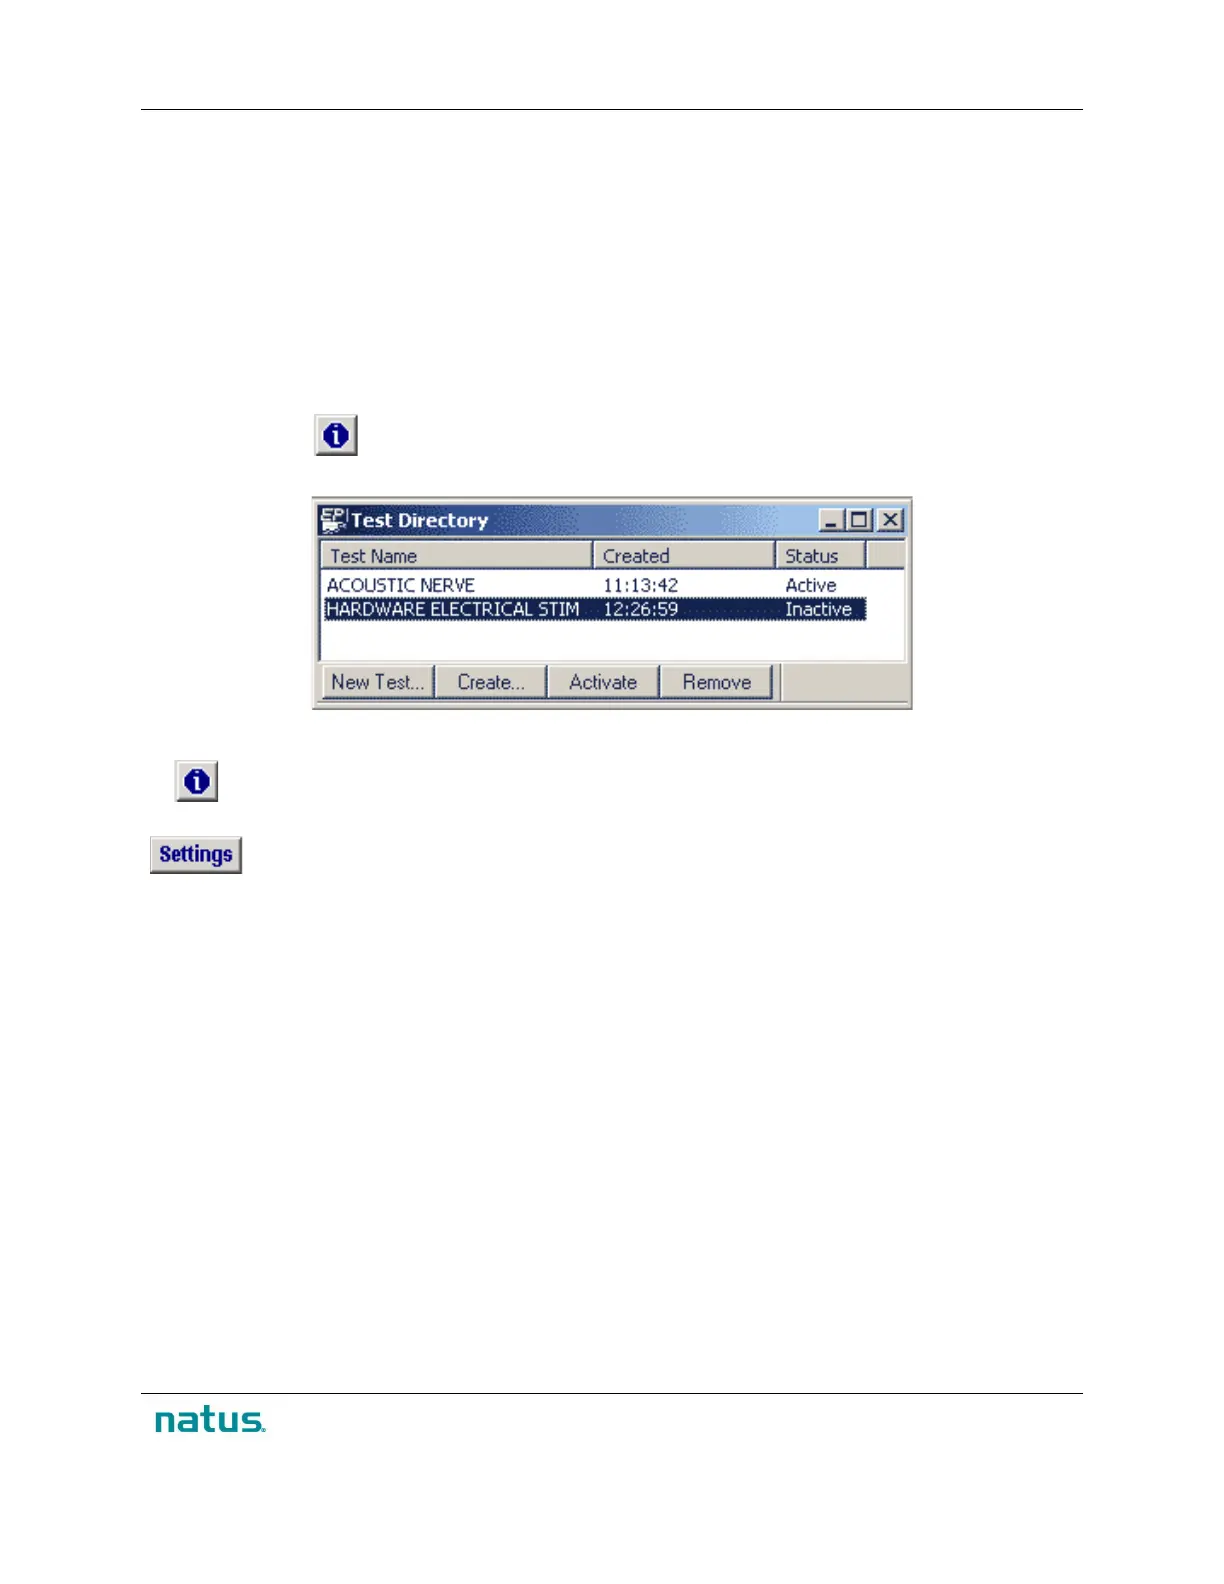
5. Click OK. The Test Directory window will open. (See illustration below).
Test Directory Window. The tests appearing on this image are for illustration purpose only.
The Study Information button on the EPWorks toolbar opens the Study Information
window so you can add or edit information.
The Settings button on the EPWorks toolbar opens the Edit Test window so you can input
or change the test settings or switch to a new test.
Create a Basic Test
1. From Test Directory, open the Edit Test window by clicking the Create… button.
2. Click the New… button and select the number of channels that the test requires.
• EP-8: Runs on the EP-8 and EP-16 headboxes;
• EP-16: Runs only on the EP-16 headbox;
• Protektor: Runs only on the Protektor headbox.
3. To set up electrode locations, click an electrode Location cell. Type in a name to label the
location --e.g., “C-3” in the E3 electrode location cell, or “C-4” in the E4 electrode location cell--
and press the Enter key. The location label is automatically placed on the headbox input map.
4. Enter a name for the test, e.g., Master Electrode, in the Test Definition text box. Note that tests
are grouped in alphabetical order.
5. Click Save, to save the test with the new name.
 Loading...