9
EN
L8 List of mal-
functions
L1 Result of 1
st
manoeuvre (most recent) The type of defect that has occurred in the
last 8 manoeuvres can be established (see
paragraph 7.6.1 Malfunctions log).
L2 Result of 2
nd
manoeuvre
L3 Result of 3
nd
manoeuvre
L4 Result of 4
nd
manoeuvre
L5 Result of 5
nd
manoeuvre
L6 Result of 6
nd
manoeuvre
L7 Result of 7
nd
manoeuvre
L8 Result of 8
nd
manoeuvre
N.B.:
• Thegreyfieldsarefactorysettings.
• Alltheparameterscanbeadjustedasrequiredwithoutanycontraindication;onlytheadjustmentofthe“motorforce”couldrequirespecialcare:
- Do not use high force values to compensate for points of abnormal friction on the gate. Excessive force can compromise the operation of the safety system or damage the gate.
- If the “Motor force control” is used in support of the system for impact force reduction, the force measurement procedure must be performed after each adjustment, as envisaged by standard EN 12445.
- Wear and weather conditions may affect the movement of the gate, therefore periodic force readjustments may be necessary.
TABLE 9
Level2programming(adjustableparameters)
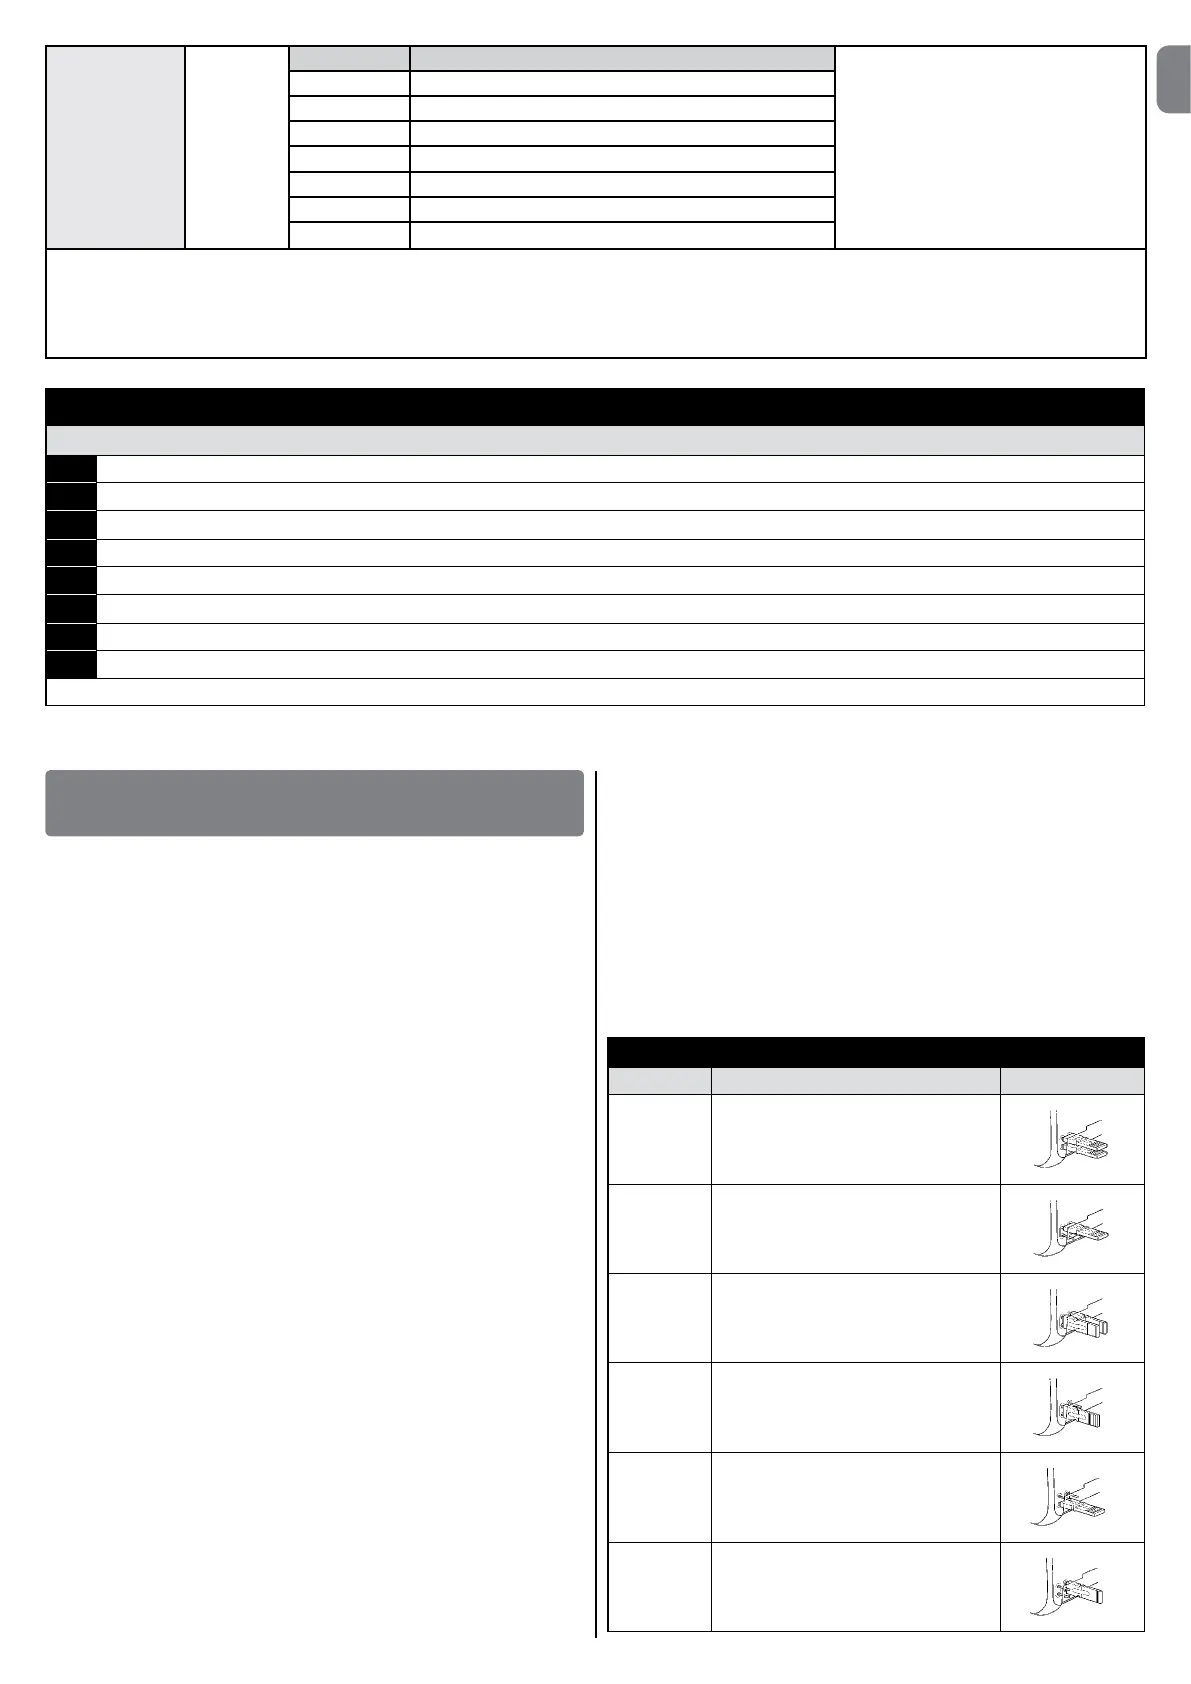
01. Press and hold the “Set” key for about 3 seconds;
02. Release “Set” when led L1startsashing;
03.
Press “s” or “t”tomovetheashingledtothefunctionyouwishtomodify;
04. Holddown“Set” until you have completed step 06.
05. Waitapprox.3seconds,afterwhichtheledrepresentingthecurrentleveloftheparameterwhichistobemodiedwilllightup;
06.
Press “s” or “t” to move the led representing the parameter value;
07. Release the “Set” key;
08. Wait 10 seconds (max.) to leave programming.
Note – Points 3 to 7 can be repeated during the same programming phase in order to set other parameters.
8
FURTHER DETAILS
8.1 - Addingorremovingdevices
Devices can be added to or removed from the RUN automation system at any
time. In particular, various device types can be connected to “BlueBus” and
“STOP” input as explained in the following paragraphs.
Afteryouhaveaddedorremovedanydevices,theautomationsystem
mustgothroughtherecognitionprocessagainaccordingtothedirec-
tionscontainedinparagraph“8.1.6Recognitionofotherdevices”.
8.1.1 - BlueBus
BlueBus technology allows you to connect compatible devices using only two
wires which carry both the power supply and the communication signals. All
the devices are connected in parallel on the 2 wires of the BlueBus itself. It is
notnecessarytoobserveanypolarity;eachdeviceisindividuallyrecognized
because a univocal address is assigned to it during the installation. Photocells,
safety devices, control keys, signalling lights etc. can be connected to BlueBus.
TheRUNcontrolunitrecognizesalltheconnecteddevicesindividuallythrough
a suitable recognition process, and can detect all the possible abnormalities
with absolute precision. For this reason, each time a device connected to Blue-
Bus is added or removed the control unit must go through the recognition pro-
cess; see paragraph 8.1.6 Recognition of Other Devices.
8.1.2 - STOP input
STOP is the input that stops movement immediately, followed by a brief reverse
of the manoeuvre. Devices with output featuring normally open “NO” contacts
and devices with normally closed “NC” contacts, as well as devices with 8.2
kΩconstantresistanceoutput,likesensitiveedges,canbeconnectedtothis
input.
Duringtherecognitionstagethecontrolunit,likeBlueBus,recognizesthetype
of device connected to the STOP input (see paragraph “8.1.6 Recognition
of Other Devices”); subsequently it commands a STOP whenever a change
occursintherecognizedstatus.
Multiple devices, even of different type, can be connected to the STOP input if
suitable arrangements are made.
• AnynumberofNOdevicescanbeconnectedtoeachotherinparallel.
• AnynumberofNCdevicescanbeconnectedtoeachotherinseries.
• Twodeviceswith8.2kΩconstantresistanceoutputcanbeconnectedin
parallel; if needed, multiple devices must be connected “in cascade” with a
single8.2kΩ.
• NOandNCcombinationsarepossiblebyplacingthe2contactsinparallel,
takingcaretoplacea8.2kΩresistanceinparalleltotheNCcontact(thus
enabling the combination of 3 devices: Normally Open, Normally Closed and
8.2kΩ).
IMPORTANT–IftheSTOPinputisusedtoconnectdeviceswithsafe-
tyfunctions,onlythedeviceswith8.2kΩconstantresistanceoutput
guaranteethefailsafecategory3accordingtoENstandard954-1.
8.1.3 - Photocells
By means of addressing using special jumpers, the “BlueBus” system enables
the user to make the control unit recognise the photocells and assign them
with a correct detection function. The addressing operation must be done both
on TX and RX (setting the jumpers in the same way) making sure there are no
other couples of photocells with the same address.
In an automation mechanism for sliding gates with RUN you may install photo-
cells as shown in table 10 and fig. A.
Each time a photocell is added or removed the control unit must go through
the recognition process; see paragraph “8.1.6 Recognition of Other Devices”.
TABLE 10 - PHOTOCELL ADDRESSES
Photocell Jumper
FOTO External photocell h = 50 activated
when gate closes
FOTO II External photocell h = 100 activated
when gate closes
FOTO 1 Internal photocell h = 50 activated
when gate closes
FOTO 1 II Internal photocell h = 100 activated
when gate closes
FOTO 2 External photocell activated when gate
opens
FOTO 2 II Internal photocell activated when gate
opens

 Loading...