
M
Michelle MartinAug 22, 2025
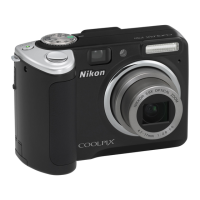
Why is the monitor blank on my Nikon Coolpix P50?
- KKurt CantrellAug 22, 2025
If the monitor on your Nikon Digital Camera is blank, there could be several reasons. First, ensure that the camera is turned on. If it is, check the batteries and replace them if they are exhausted. Also, the camera might be in standby mode to save power; try pressing the shutter-release button halfway. The monitor may also be off, in which case you should press the x button. If the flash lamp is blinking red, wait until it has charged. If the camera is connected to a computer via USB or to a TV via audio/video cable, disconnect it. Finally, if time-lapse or interval timer photography is in progress, wait until it is complete.