4. Press the OK button to execute your choice.
Copy to Card
After you create up to nine Custom Picture Controls using the
instructions in the last few sections, you can then use the
Copy to card function to save them to a memory card. Once
they are on a memory card, you can share your custom
controls with friends who have compatible Nikon cameras.
As soon as your Custom Picture Controls are ready to go, use
the following screens and steps to copy them to a memory
card (see Figure 3-36):
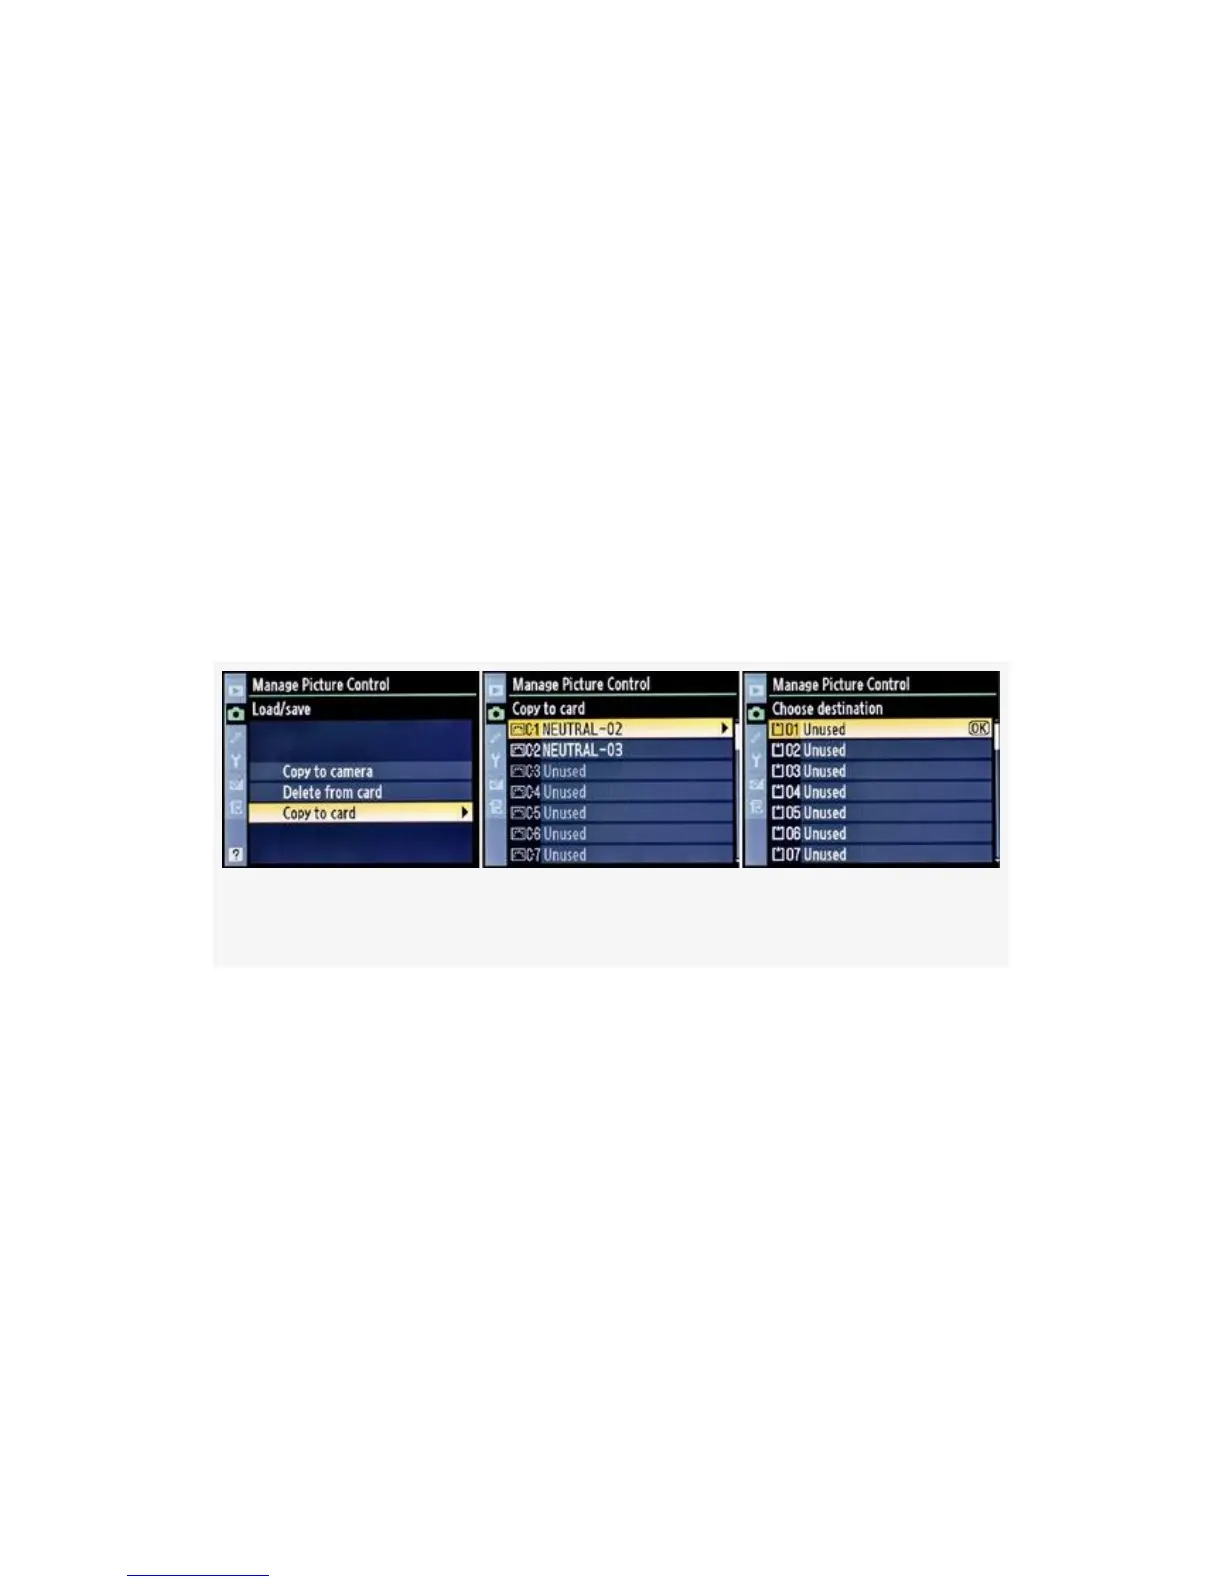
Figure 3-36. Custom Picture Control – Copy to card
1. Figure 3-36 continues where Figure 3-31 left off. Choose
Copy to card from the Load/save menu and scroll to the
right (see Figure 3-36, image 1).
2. Select one of your current Custom Picture Controls from
the Copy to card menu and scroll to the right (see
Figure 3-36, image 2).
3. Now you’ll use the Choose destination menu to select
where you want to save the custom control (see
Figure 3-36, image 3). You have 99 choices for where to
188
 Loading...