Chapter 1 Assembly
4
Assembly
3
Assembly Method
Introduction
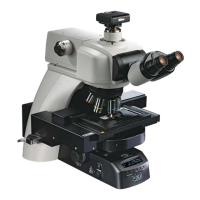
Ni-U is a manual microscope. Basically, a manual model is attached for each device consisting the microscope.
However, for nosepiece, epi-fluorescence cube turret, and HG precentered fiber illuminator, motorized models
can be attached. In this case, contact arm, control box B, and simple remote control pad are required. In addition,
in order to configure information for motorized devices, DS-L3 DS camera control unit must be connected.
Motorized devices on Ni-U can be controlled from DS-L3.
Note that when using epi-fluorescence cube turrets by layering, motorized/intelligent epi-fluorescence cube turret
can only be used in 1st layer.
Assemble the device according to the following procedure.
Precautions for connecting cables
Cable connections are required for some motorized devices.
Be sure to turn off the power to the microscope and peripheral devices before starting cable connection.
Cable connections are described in each assembly step. Nikon recommends connecting cables at the end of the
assembly. See “20 Connect the motorized device cable.” for the connector connections.
Information setting regarding motorized models
Set information of the motorized devices or optical element attached on the microscope setup menu for the DS-L3 DS Camera
Control Unit. (See Chapter 3 “19 Operations on DS-L3” - “19.1 Setting Up the Microscope.)
1
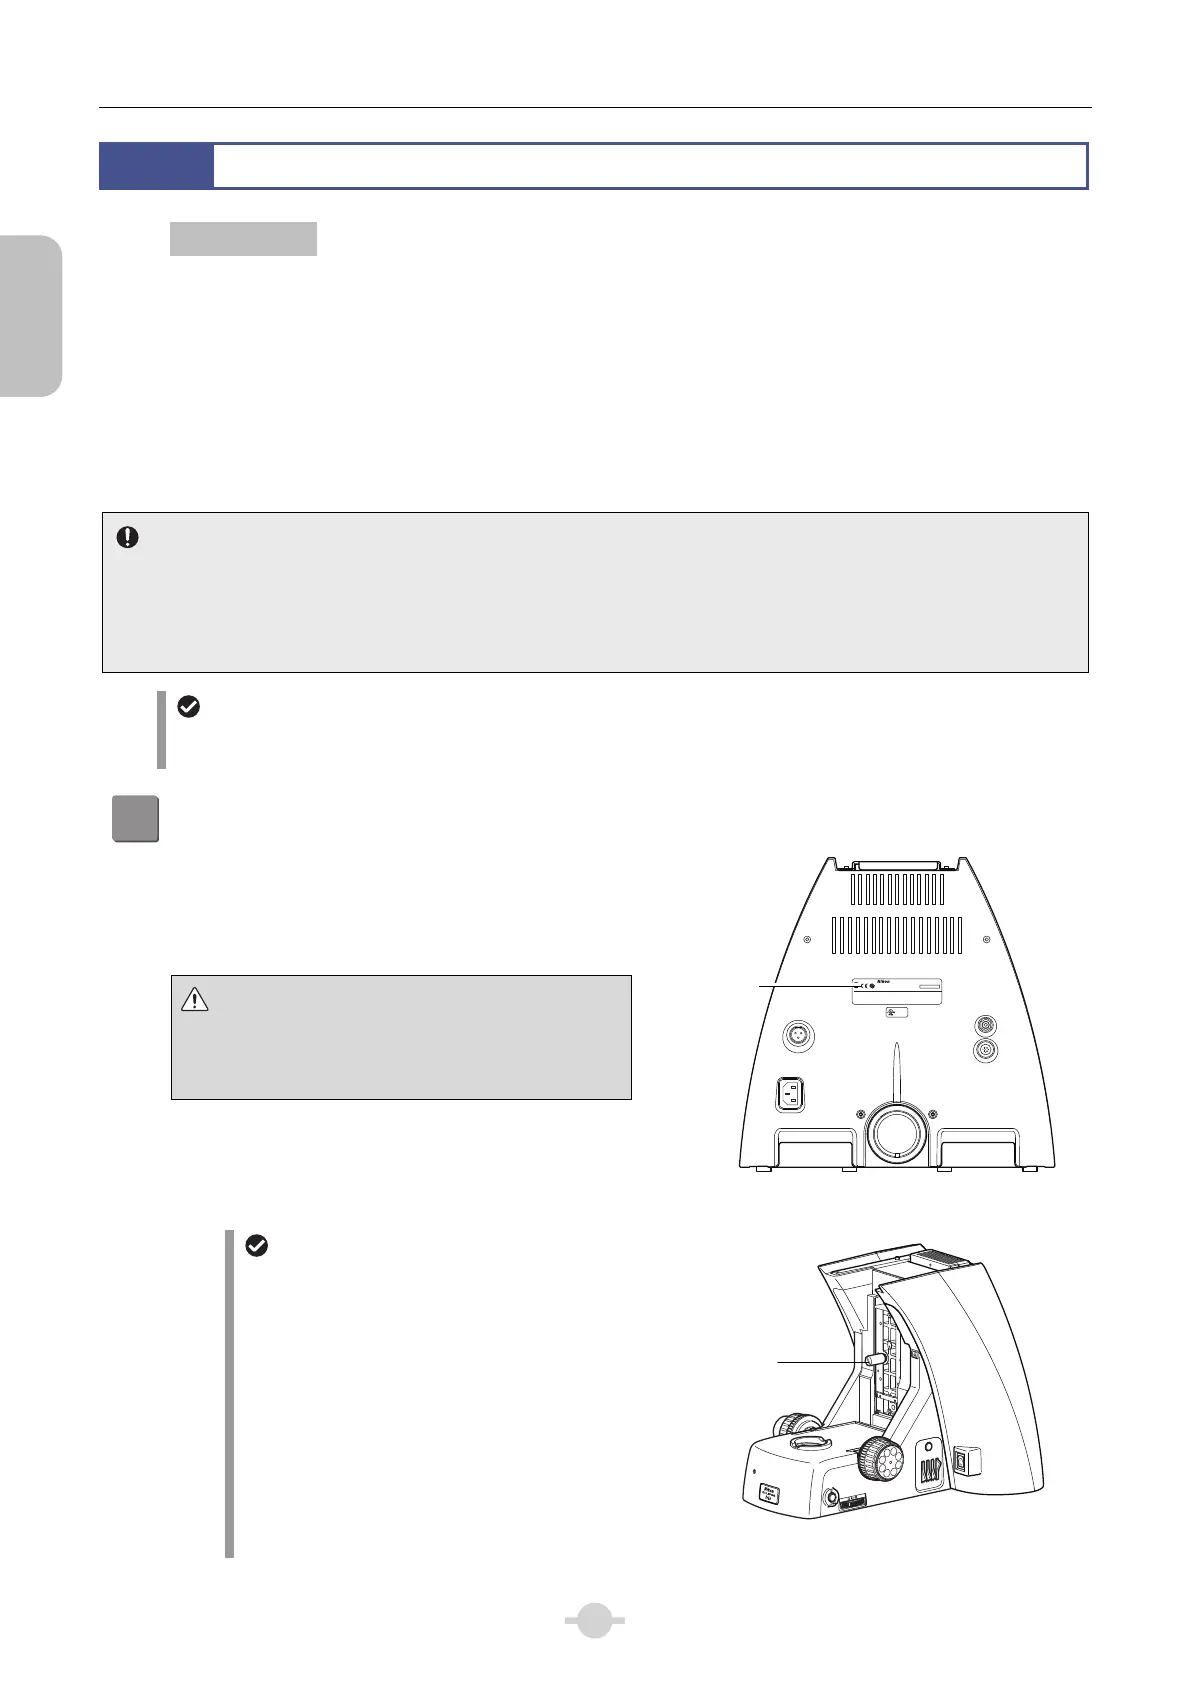
Check the input voltage.
Check the input voltage indicated on the back of the
microscope. Use the microscope only if the indicated
input voltage matches the power supply voltage for the
area in which the microscope will be used.
WARNING
If the indicated voltage and the supplied voltage differ, do
not attempt to use the microscope. Contact your nearest
Nikon representative.
MODEL ECLIPSE Ni-U
NIKON CORPORATION
TOKYO, JAPAN
100–240V~
1.7A
50/60Hz
MADE IN JAPAN
This device complies with Part 15 of the FCC Rules. Operation is subject to the following two conditions:
(1) this device may not cause harmful interference, and
(2) this device must accept any interference received, including interference that may cause undesired operation.
This Class A digital apparatus complies with Canadian ICES-003.
Cet appareil numérique de la classe A est confirme à la norme NMB-003 du Canada.
920001
INSPECTION
EQUIPMENT
4N75
LAMP
DC12V 100W
DSC
LAMP CTRL
(BOX B)
Checking the input voltage
(Microscope rear view)
Unlocking the elevating section
Tool: flathead screwdriver
After you confirm that the input voltage is correct,
loosen and remove the tightening screw at the front
of the elevating section.
POWER
ND
8
ND
32
NCB
11
OUT
IN
Unlocking the elevating section
Input voltage
label
Tightening
screw

 Loading...