Chapter 1 Assembly
11
Assembly
9
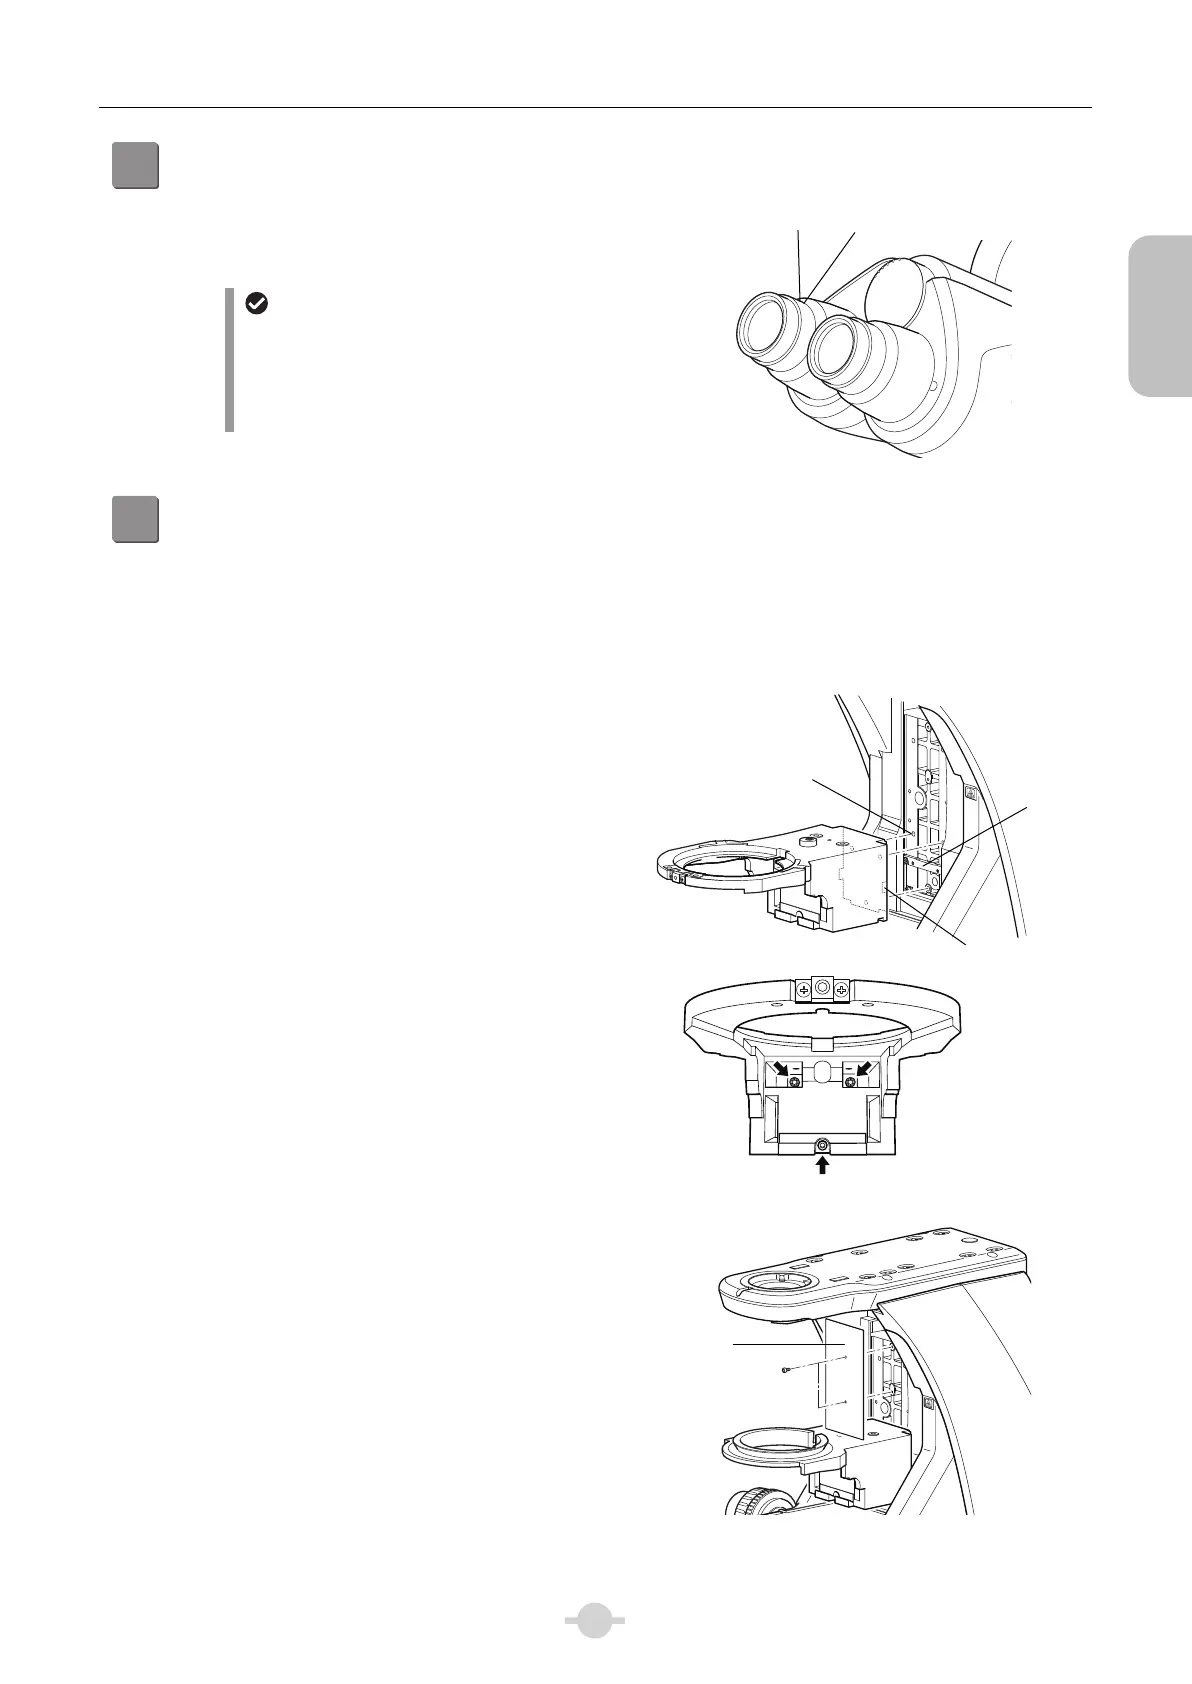
Attach eyepieces.
Make sure the notch on the eyepiece side and the
protrusion of the eyepiece sleeve are aligned, then insert
the eyepieces.
Notch on eyepiece
The eyepiece has a notch to prevent rotation. When
attaching, match the notch with the protrusion on the
eyepiece sleeve. The eyepiece lens will not be
positioned properly if the notch is not matched with
the protrusion.
50
60
70
Attaching eyepieces
10
Attach the substage.
Attach NI-SS substage or NI-SSR substage for rotatable
stage suitable for the type of the stage used. The
procedure is the same for both models.
Tools: Hex driver (2 mm across flats)
Hex wrench (3 mm across flats)
(1) Place the square groove on the substage onto the
reference guide bar on the elevating section of the
main body. Move the substage to the left, press it
against the reference surface of the elevating
section, and tighten the drop-proof fixing screws (x3)
with hex wrench (3 mm across flats).
(2) Put the provided elevating section cover onto a front
of the elevating section and tighten the provided two
screws with hex driver (2 mm across flats) to secure.
Attaching the substage
Attaching the elevating section cover
Protrusion
Notch
Substage
fixing screw
Reference
guide bar
Square groove
Substage fixing screw
(Substage from the front)
Elevating
section cover

 Loading...