Chapter 1 Assembly
9
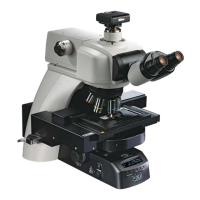
Assembly
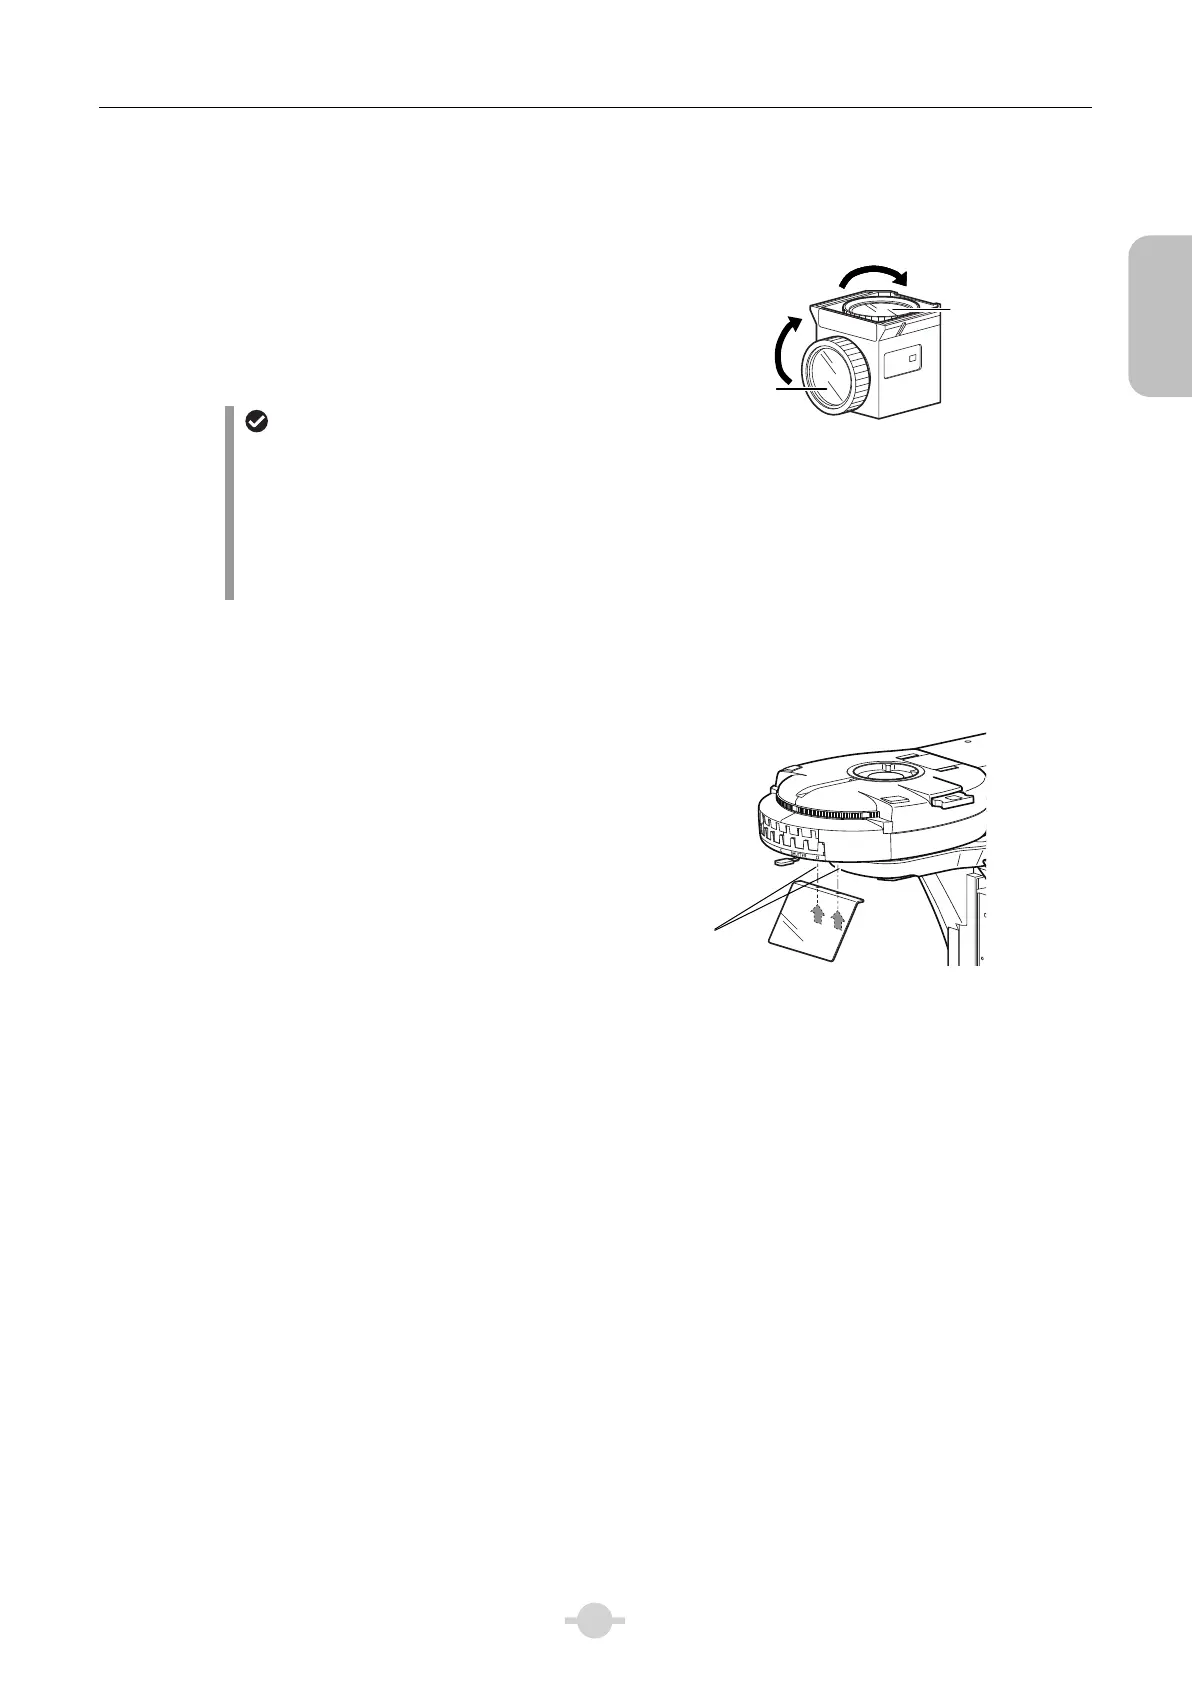
■ Replacing excitation and barrier filters
The excitation filter, barrier filter, and dichroic mirror can
be removed from the cube for replacement.
Excitation filters are screw-in filters, while barrier filters
are slide-in filters.
Align the projection on the barrier filter with the groove
on the filter cube and turn clockwise by approximately 30
degrees to secure it in place.
Orientation of the filter
• The filter is two-faced. Be aware that the filter does
not face a wrong side. Nikon filters have an arrow
indication printed on the outer frame. Make sure that
the arrow faces the direction of a dichroic mirror when
attaching the filter.
• Contact your nearest Nikon representative when the
dichroic mirror needs to be replaced.
UV-2A
EX 330-380
DM 400
BA 420
Replacing the excitation and barrier filters
■ Attaching a light shielding plate
Tool: Hex driver (2 mm across flats)
Lightly screw the two fixing screws provided with the light
shielding plate into the front bottom of the
epi-fluorescence cube turret. Hook the convex part of the
light shielding plate to the two fixing screws and tighten
the fixing screws.
Fixing the light shielding plate
Fixing screw
(At the bottom of the
epi-fluorescence cube
turret)
Excitation
filter
Barrier filter
Turn approx. 30 degrees
to secure in place.

 Loading...