Chapter 1 Assembly
10
Assembly
7
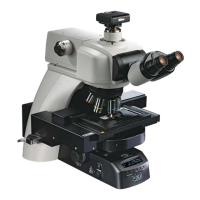
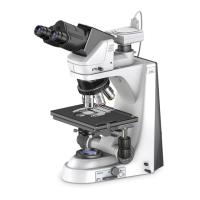
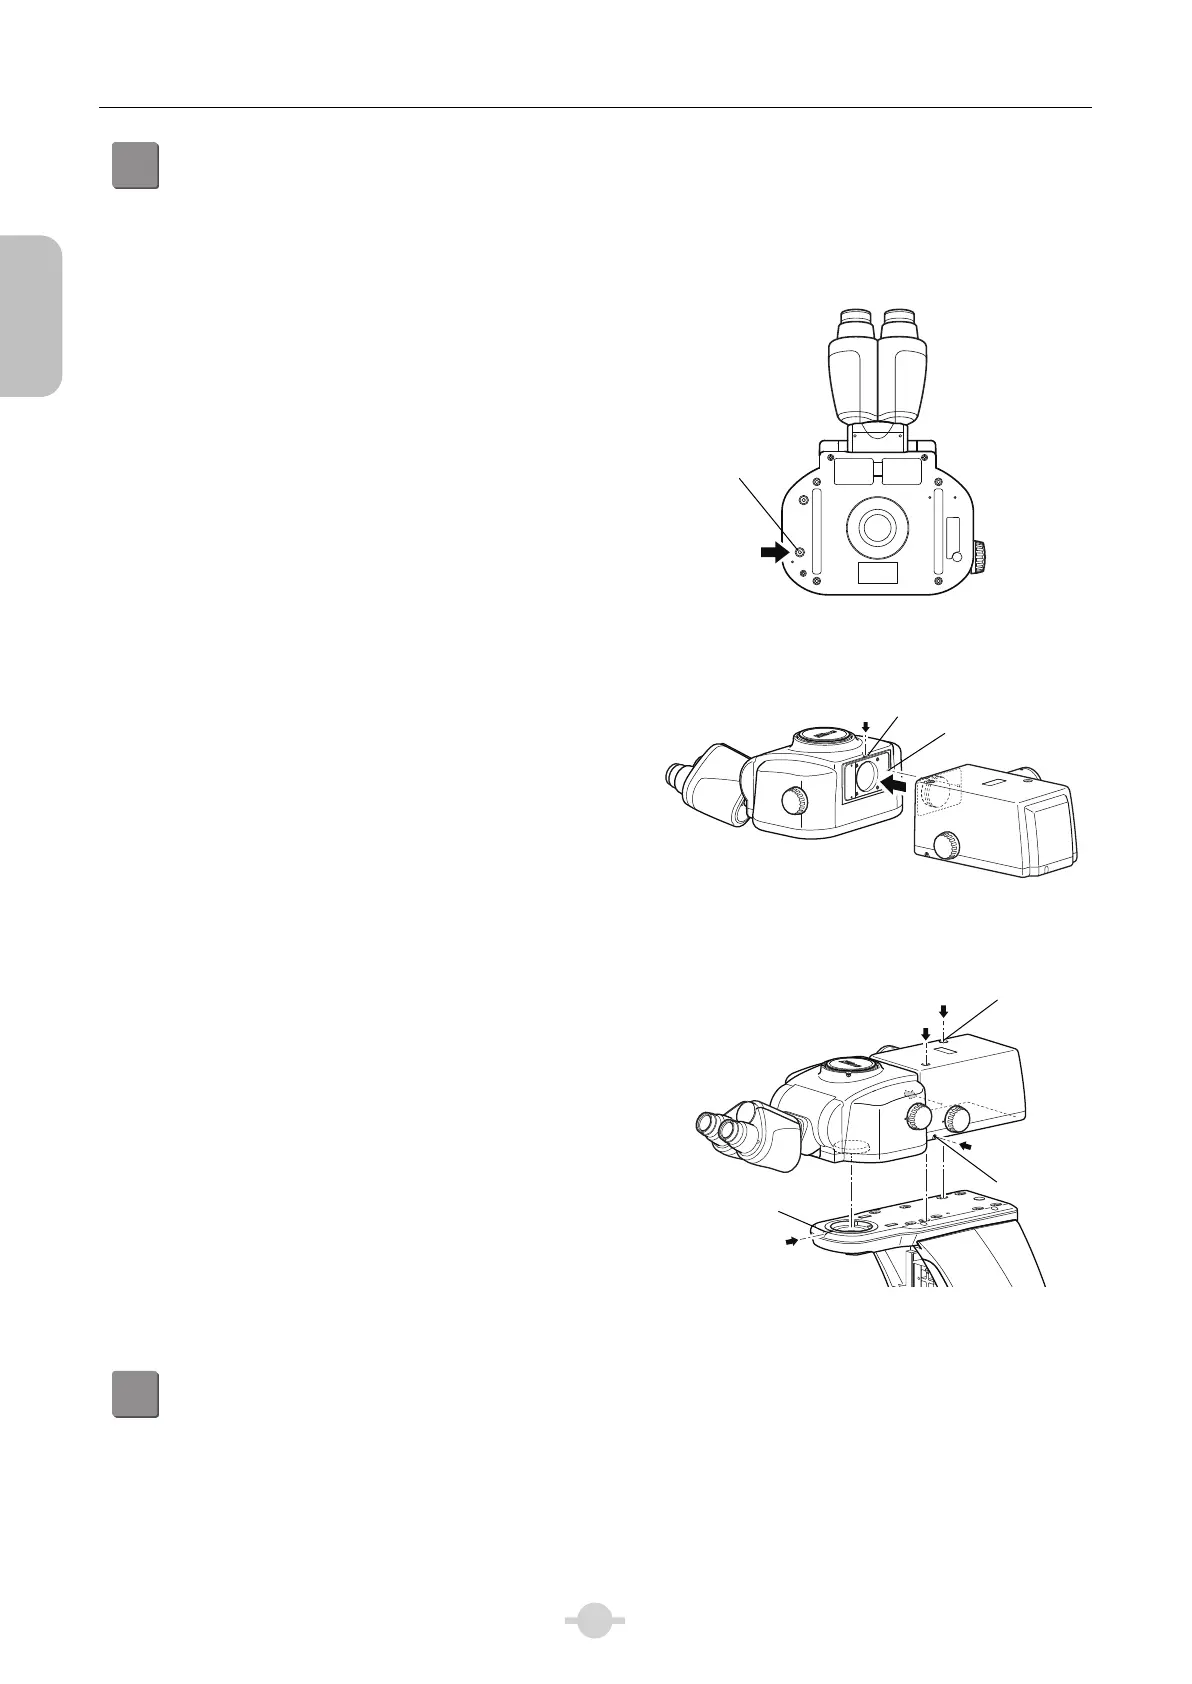
Attach the quadrocular tilting tube and DSC zooming port for quadrocular tube.
Tools: Hex driver (2 mm across flats)
Hex driver (2.5 mm across flats, provided with DSC zooming port)
Hex wrench (3 mm across flats)
Hex wrench (4 mm across flats)
First connect the quadrocular tilting tube and DSC
zooming port for quadrocular tube, then attach them on
the microscope arm (if epi-fluorescence cube turret or
epi-fluorescence attachment is attached, on top of that).
(1) Remove the tightening screws at the bottom of the
tube with the hex wrench (4 mm across flats).
(2) Insert the positioning pin of the DSC zooming port
while aligning it with the positioning hole on the tube
side, and then tighten the connection fixing screws
(2.5 mm across flats) on the top of the tube with a
hex wrench.
(3) Loosen the fixing screw on the front of the arm using
a hex driver (2 mm across flats) so that the tip of the
screw does not protrude into the connecting section.
(The fixing screw at the front of the turret, if
epi-fluorescence cube turret is attached.)
(4) Loosen the fixing screws (x2) on both sides of the
zooming port with a hex driver (2 mm across flats).
(5) Align the round dovetail of the quadrocular tube with
the round dovetail of the arm and slide the entire
attached devices to the rear.
(6) Tighten the fixing screw loosened in step (3).
(7) Tighten the fixing screws (x2) on top of the zooming
port with a hex wrench (3 mm across flats).
(8) Tighten the fixing screws (x2) loosened in step (4).
(9) Affix the provided sticker to cover the hole for the
zooming port fixing screw.
When attaching on the epi-fluorescence cube turret, the
location of the fixing screws at the front is deep so it will
be easier that you insert the hex driver (2 mm across
flats) into the screw before placing the quadrocular tube
or that you have a pen light when working.
Removing the tube tightening screw
(Tube bottom view)
Connecting the quadrocular tube
and DSC zooming port
0.6
2
1.5
50
60
70
Fixing the quadrocular tube
and DSC zooming port set
8
Attach the EPI motorized shutter (optional).
The motorized shutter is attached by Nikon.
Contact your nearest Nikon representative when the EPI
motorized shutter needs to be attached or removed.
Tightening screw
Connection
fixing screw
Positioning hole
Set screw
Zooming port
fixing screw
Fixing scre

 Loading...