5. Attach the low voltage wires to terminal screws on
back of wall inlet (Figure 35). If using 361 Rough-in
with CI370 Series Inlets, refer to instructions on
page 6, step 3, shown in Figure 18.
6 . Insert wall inlet into bracket and secure with the two
screws provided (Figure 36).
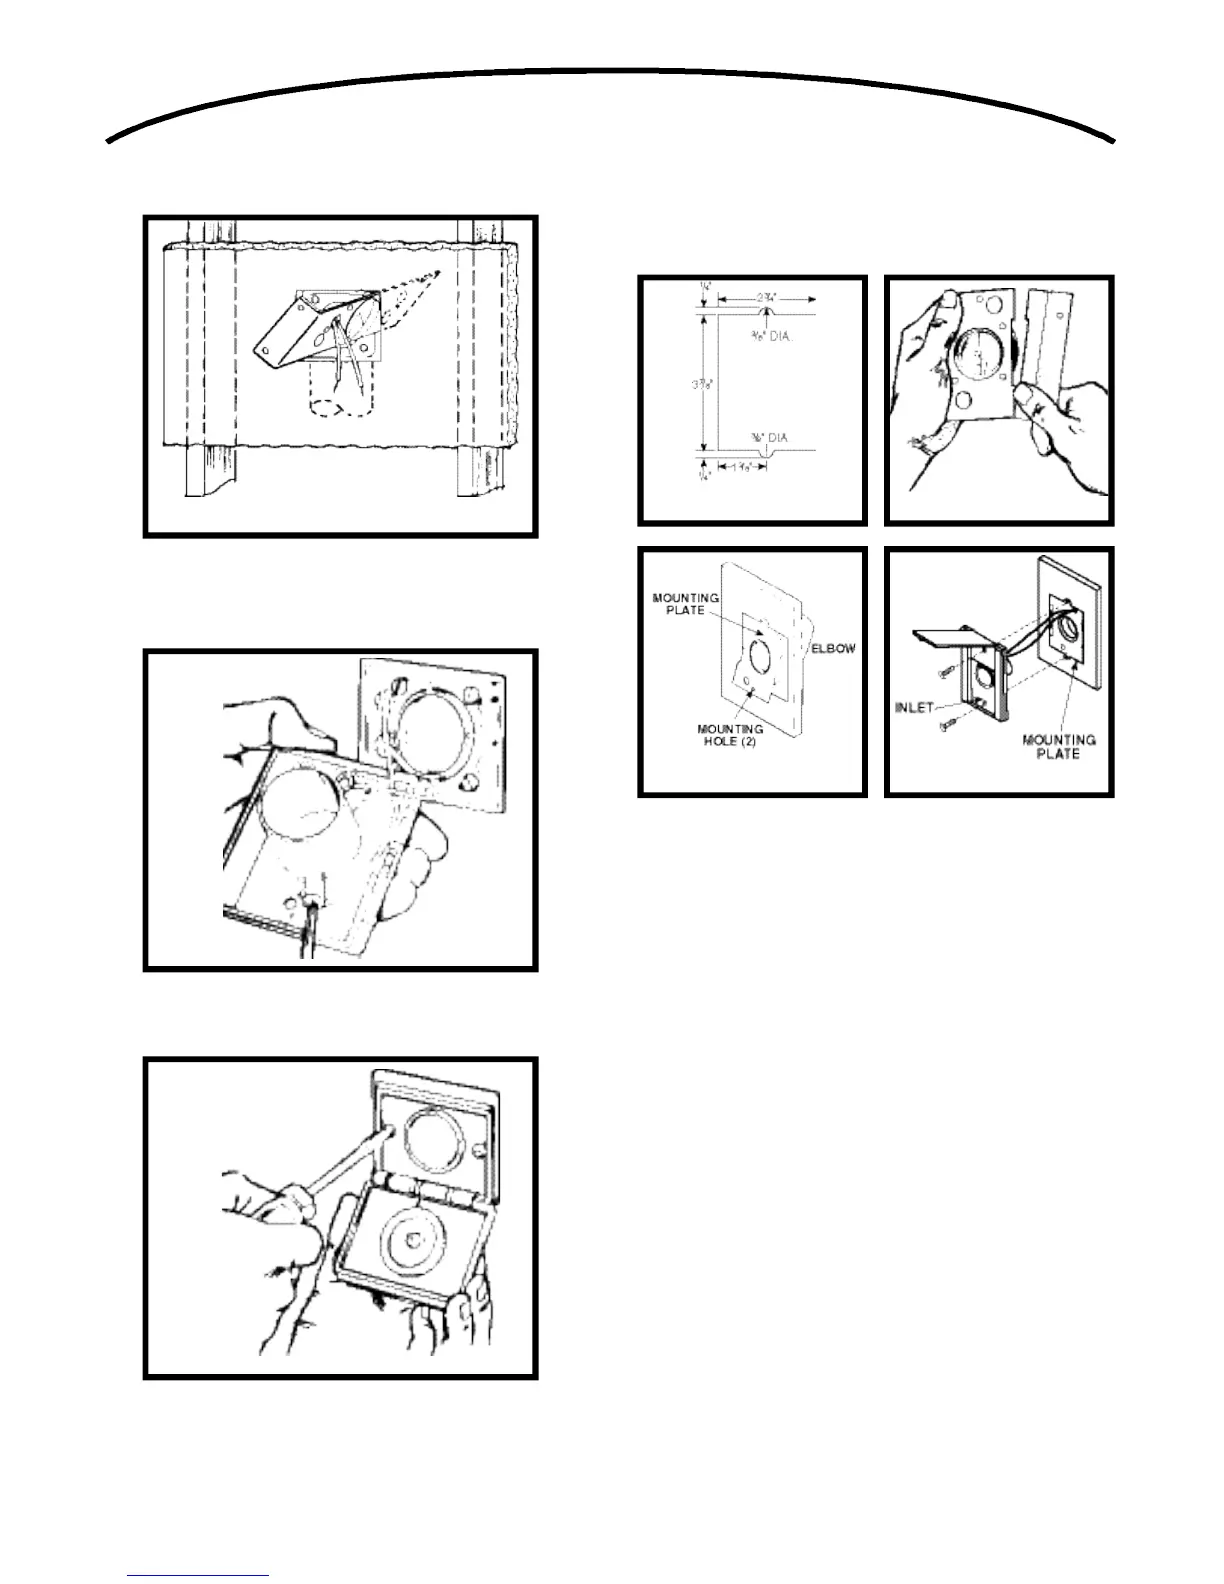
MODEL 330 & CI335 Series WALL
INLET Installation (CF329 Rough-in)
1. Make cutout according to dimensions in Figure 37.
2. Refer to Figure 38. Break off nail plate at scored
line.
3. Refer to Figure 39. Glue elbow to mounting plate,
place assembly into cutout, and attach elbow to tub-
ing inside the wall.
4. Make sure mounting holes are exactly at top and
bottom.
5. Connect 2-conductor low voltage wire to terminal
screws on back of wall inlet.
6. Refer to Figure 40. Align inlet mounting holes with
mounting plate holes, place inlet into mounting plate,
and secure with provided screws.
NOTE:
If CF382S shorter radius elbow is used, it may
be necessary to use the short mounting screw to avoid
interference with elbow.
19
FIGURE 37
FIGURE 34
FIGURE 35
FIGURE 36
FIGURE 38
FIGURE 39 FIGURE 40
 Loading...