GENERAL INSTALLATION
TOOL LISTING
Depending on your installation, you may require the use of
these tools. The power tools are recommended to make your
installation proceed quickly. Also, plan a mask when cutting
ducting (PVC dust) and gloves when using glue.
• Wire Strippers • 1/4’’ Drill Bit
• Utility Knife • 1/2’’ Drill Bit
• Knife • Putty Knife
• 2½’’ Hole Saw • Keyhole Saw
• Hammer • Cold Chisel
• Level • Flashlight
• Drill • Electrical Tape
• Screwdriver • Safety Glasses
• Wrench • Hacksaw
• Tape Measure
WORKING WITH PLASTIC TUBING
Cutting Tubing
Before you cut a length of tube, accurately measure the
length you need. Allow 5/8” (16 mm) of tubing for inserting
into fittings and 1½” (38 mm) for placing into flexible tubing.
Cut the plastic tubing
with a hacksaw, making
sure that the cut is exactly
square. (You can use a
tube cutter if one is
available.) Use wire cutters
or tin snips to cut flexible
tubing, 8” (203 mm)
lengths of flexible tubing
should not be cut. Refer
to Figure 4.
Use a small knife to
remove any burrs from
the inside of the tube.
You can also use steel
wool to remove burrs.
The burrs must be
removed or they may
impede air flow of form
clogs by snagging hair
and carpet thread.
See Figure 5.
Next, use a file to slightly
bevel the outside of the
tube so that it will easily
slide into the fitting. Use
steel wool or a light
grained sandpaper to
buff the surface of the
tube which will be glued.
This will clean the tube
and assure a good seal.
Refer to Figure 6.
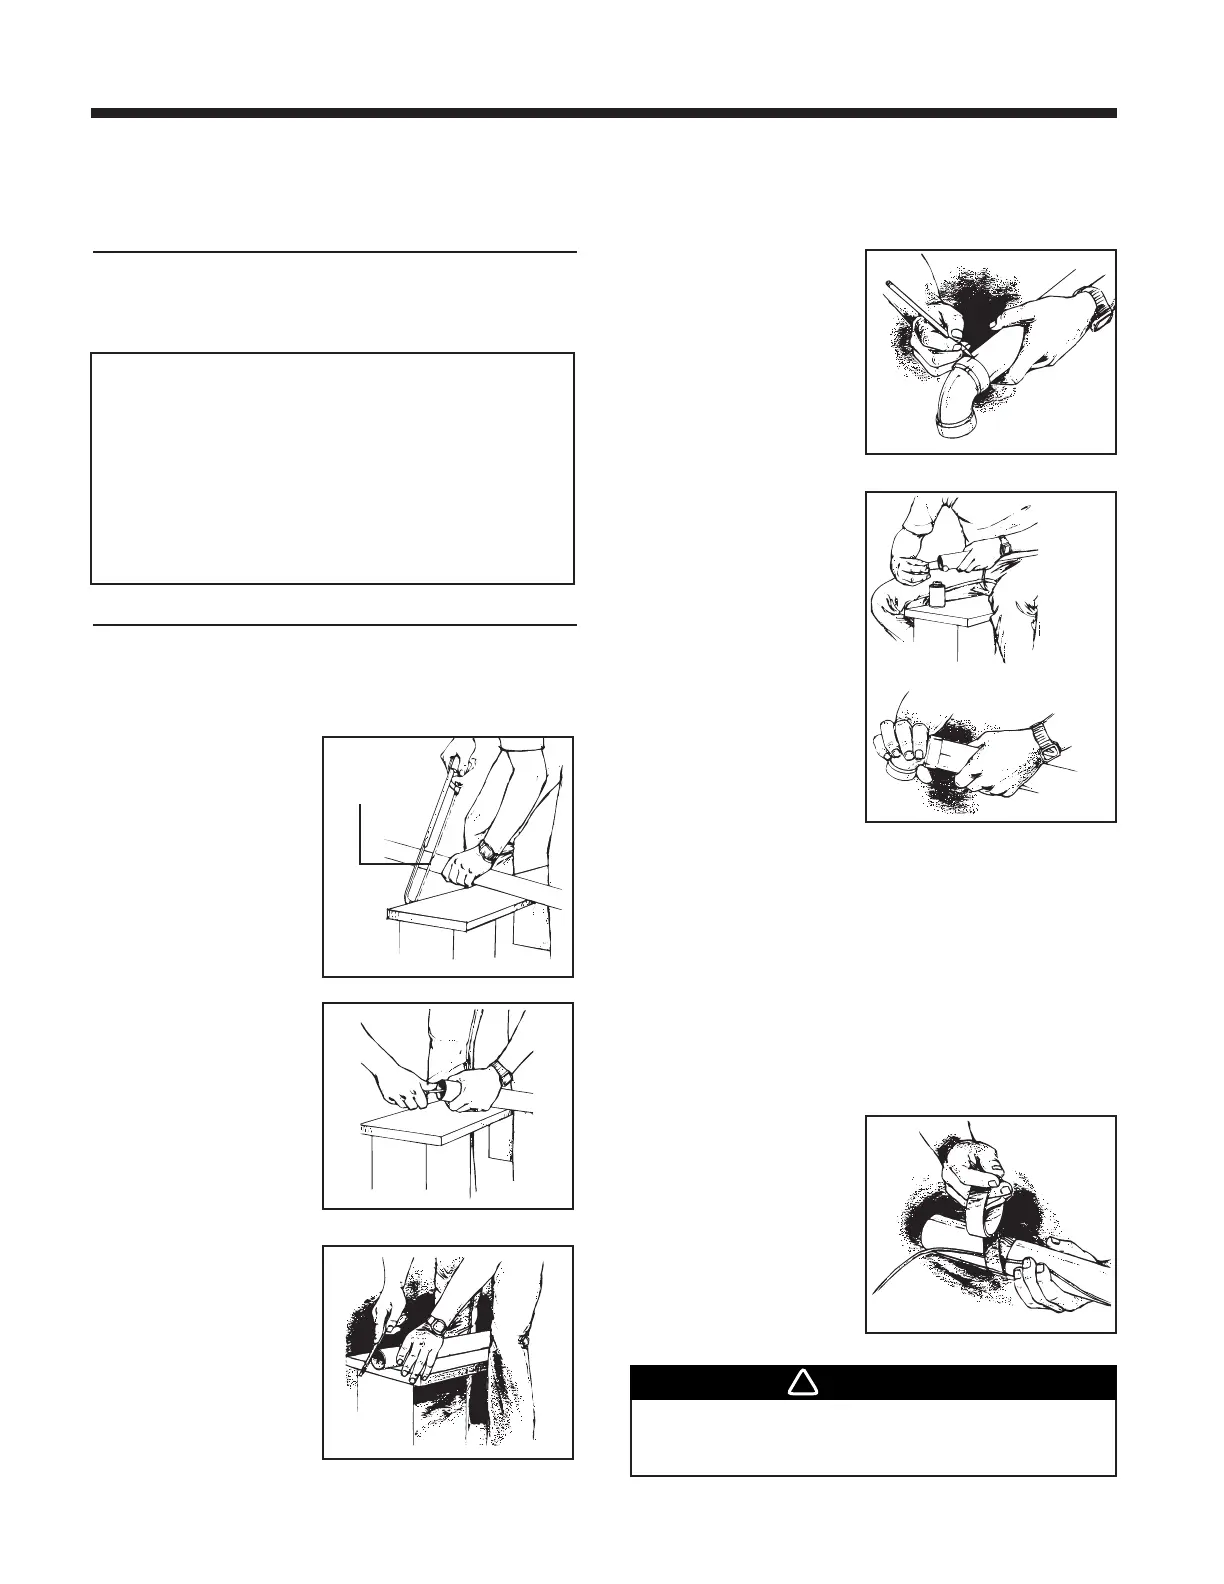
Making a Joint
Insert the tube into the
fitting, aligning the two
parts as they will be
installed. Mark the tube
and the fitting so that you
can quickly realign the
joint. Refer to Figure 7.
Apply cement only to the
outside of the tube. Dab
the cement generously in
an inch-wide (25 mm)
band. Insert the tube into
the fitting with the
alignment marks a quarter
turn apart, and then
quickly push and turn the
fitting to align the marks
and spread the cement.
Allow one minute for the
joint to dry. You may also
use electrical tape or duct
tape to further seal the
joint. Refer to Figure 8.
Cementing Flexible Tubing
Make sure the ends of the flexible tubing are even—trim if
necessary. When you join flexible tubing to plastic tubing or
to an inlet mounting plate, apply cement to both the inside of
the flexible tubing and the outside of the plastic tubing or
mounting plate tubing ring. Twist the two pieces as you join
them to evenly spread the glue. Allow five minutes for the
cement to set in flexible tubing. You may also use electrical
tape or duct tape to further seal the joint.
Secure Wire to Tubing
The low-voltage power
wiring is run along with
the tubing. To insure that
the wire is secure and will
not hang-up in a wall, use
electrical tape to attach
the wire to the tubing. Tape
the wire approximately
every 12-18 inches
(305 mm - 457 mm).
Refer to Figure 9.
 Loading...