Using OLYMPUS Master
EN
41
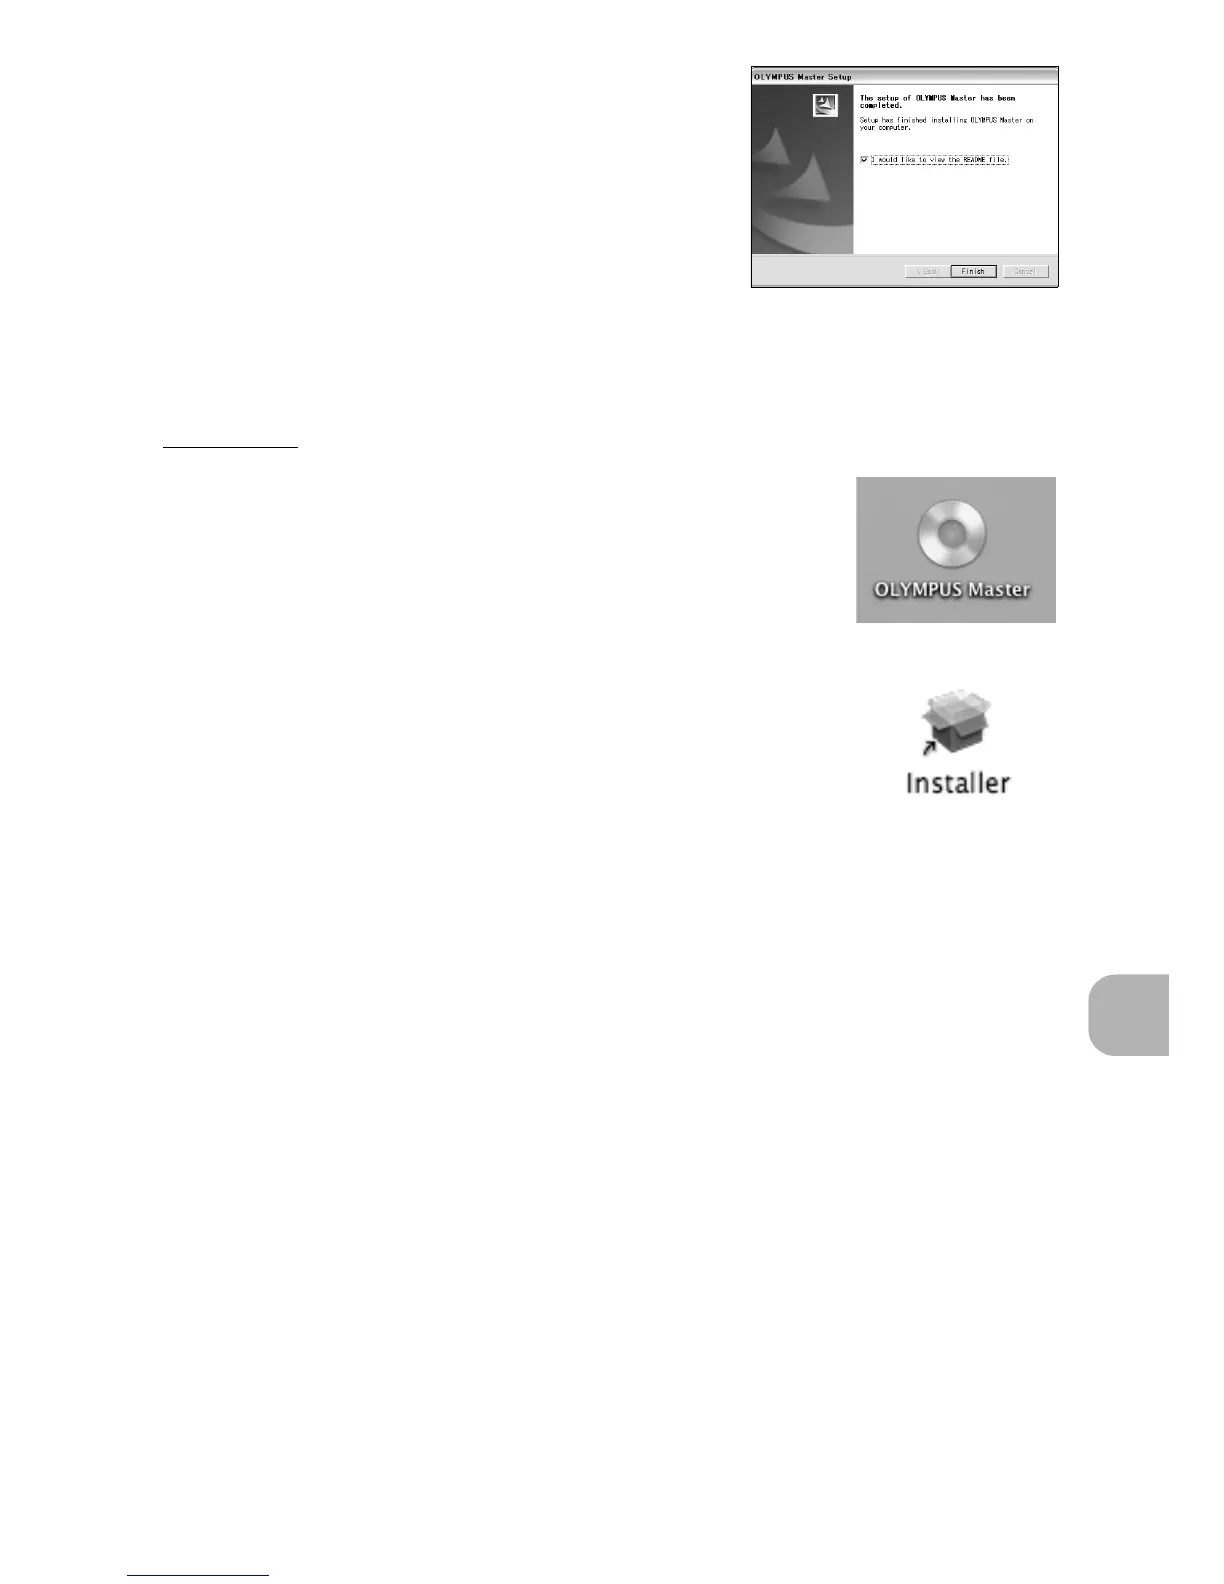
5 Follow the on-screen instructions.
• The screen confirming that installation is
completed is displayed. Click “Finish”.
6 Select the option to restart
immediately when the screen asking
you if you wish to restart the computer
is displayed and click “OK”.
• The computer restarts.
• Remove the CD-ROM from the CD-ROM drive and store it.
Macintosh
1 Insert the CD-ROM into the CD-ROM drive.
• The CD-ROM window is displayed.
• If the CD-ROM window is not displayed, double-click
the CD-ROM icon on the desktop.
2 Double-click on the desired language folder.
3 Double-click the “Installer” icon.
• The OLYMPUS Master installer starts up.
• Follow the on-screen instructions.
• When the OLYMPUS Master licensing agreement is
displayed, read the agreement and click “Continue”
and then “Agree” to proceed with the installation.
• The screen confirming that installation is completed is displayed.
4 Click “Finish”.
• The first screen is displayed.
5 Click “Restart”.
• The computer restarts.
• Remove the CD-ROM from the CD-ROM drive and store it.
 Loading...