Setting the Clock—Continued
56
Setting the Clock Manually
The time can be displayed in either 24- or 12-hour
format.
Displaying the Day and Time
To display the day and time, press the remote
controller’s [CLOCK CALL] button.
If the stereo receiver is on Standby, the time is
displayed for 8 seconds.
Using the 24- or 12-hour Format
To change the time format between 24 hour and 12
hour, while the time is shown on the display, press the
[DISPLAY] button.
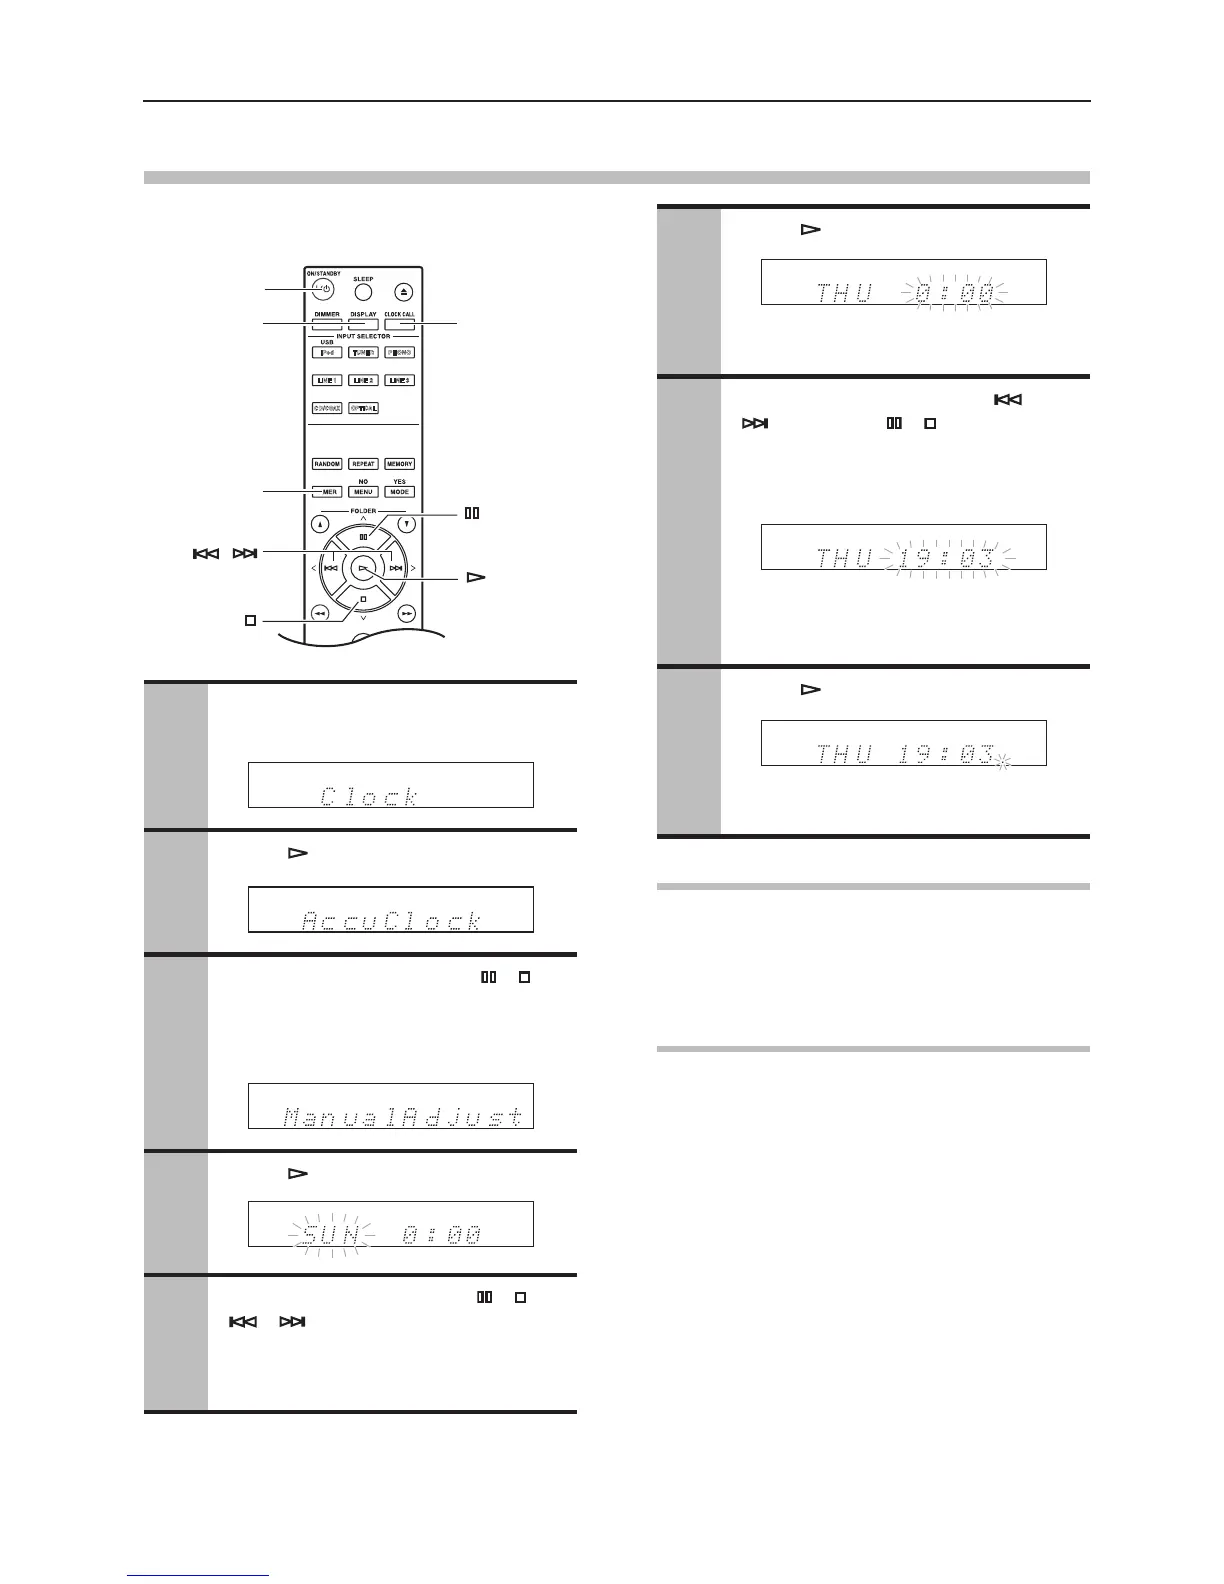
1
Press the [TIMER] button repeatedly
until “Clock” appears.
2
Press [ ].
3
Use the Previous and Next [ ]/[ ]
buttons to select “ManualAdjust”.
Can also be controlled using the
[MULTI JOG] control.
4
Press [ ].
5
Use the Previous and Next [ ]/[ ] or
[ ]/[ ] buttons to select the day
of the week.
You can select: SUN, MON, TUE, WED,
THU, FRI, or SAT.
6
Press [ ].
To cancel the Manual Adjust function at
this point, press the [MENU/NO] button.
7
Use the Previous and Next [ ]/
[ ] (1step) or [ ]/[ ] (scan)
buttons to set the time.
You can also use the remote controller’s
number buttons to enter the time.
For the 12-hour format, use the remote
controller’s [>10] button to select AM or
PM.
8
Press [ ].
The clock is set and the second dot starts
flashing.
 Loading...