34 35
AIR CONDITIONER / HEAT PUMP
MODEL INFORMATION: DOMETIC COOL CAT 10,500 AIR CONDITIONER – HEAT PUMP
Please read the Domec user manual for this appliance that is provided with your OP4 for full instrucons and maintenance.
Failure to follow the manufacturer’s instrucons can lead to damage, serious injury or death. Damage to the appliance or the
OPUS as a result of failure to follow the manufacturer’s guidelines for use and maintenance is not covered under warranty.
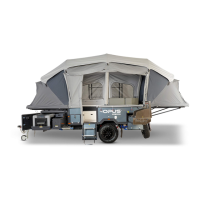
You will require shore power or a generator to run your Cool Cat unit on 120v. When using the digital thermostat please
note that this is a touch-screen panel that is very sensive. Please use a delicate tap and not a press acon to use the
buons. The Return-air vent for this Cool Cat unit is located in the top of the small storage compartment between the sofa
and the front bed. Please ensure this is not blocked during operaon to maximize the eciency of the appliance.
HOW TO USE THE COOLING FEATURE
* Please note that this is a comfort cooling feature and not a climate control feature.
As such it is unlikely that the ambient temperature inside the camper will reach the
control temperature on the thermostat.*
STEP 1: Connect to Shore Power or a generator
STEP 2: Ensure that the breakers are on the 120v control panel in your foot well
STEP 3: Turn on the 30amp shower power breaker
STEP 4: Turn on the A/C 20 amp breaker
STEP 5: Tap the on-buon on the thermostat. This buon is then used to
toggle between sengs
STEP 6: On the ‘fan’ seng, set the speed to ‘High’
STEP 7: On the ‘cool’ seng, set the temperature as required.
STEP 8: The fan will start up quickly but it may take several minutes for the
cool air to begin circulang.
HOW TO USE THE HEAT PUMP FEATURE
* Please note that as this is a reverse heat pump this unit will not operate reliably in temperatures below 40 degrees. This is
not a unit malfuncon.*
STEP 1: Connect to Shore Power or a generator
STEP 2: Ensure that the breakers are on the 120v control panel in your foot well
STEP 3: Turn on the 30amp shower power breaker
STEP 4: Turn on the A/C 20 amp breaker
STEP 5: Tap the on-buon on the thermostat. This buon is then used to toggle between sengs
STEP 6: Make sure you use the Heat Pump seng. The Furnace seng is not applicable for this model.
STEP 7: On the ‘heat pump’ seng, set the desired temperature.
SHUT DOWN & STORAGE
STEP 1: Use the power buon to turn o the appliance when required.
STEP 2: The thermostat control will show “o” in the boom right corner of the display.
STEP 3: Turn o the A/C breaker on the 120v control panel during storage.
NEW TRAILER MAINTENANCE
TRAILER BREAKS
Your electric drum breaks require a break-in period to achieve full and proper performance. This applies when you rst
receive your new OP15 then aer new parts are installed as part of your maintenance schedule. Your OP15 brakes should
be adjusted aer the rst 200 miles then every 3000 miles aer that. We highly recommend that all break adjustments,
maintenance and servicing is carried out by a qualied technician at your OPUS dealership.
CAUTION! You may need to adjust your brakes more frequently dependent on variaons in cargo weights.
SUSPENSION, WHEEL & HITCH BOLTS
Aer your rst 50 miles then 500 miles aer that please check the suspension bolts,
wheel nuts and hitch bolts to ensure that they have maintained their ghtness.
STEP 1: This should be completed with a torque wrench to 100 lbs.
STEP 2: When ghtening wheel nut lugs, please ghten bolts in a star-paen order as
indicated in the diagram.
STEP 3: Aer that, check your bolts every 2000 miles and always before an extended
trip or aer a trip over rough terrain.
POTABLE WATER TANK
Please ensure you sanize, ush and drain the water tanks before rst use. Please refer
to the water tank maintenance secon for more informaon on this topic.
CARE AND MAINTENANCE
FIRE AND LIFE SAFETY DEVICES
Your OP4 is ed with a number of re and life safety devices and comes with manuals and instrucons for operang each device. These
include:
1. PROPANE GAS & CARBON MONOXIDE ALARM—Locate in the foot well directly opposite the main door
2. SMOKE ALARM—located on the wall just inside the door to the right
3. FIRE EXTINGUISHER—located inside and to the right of the door.
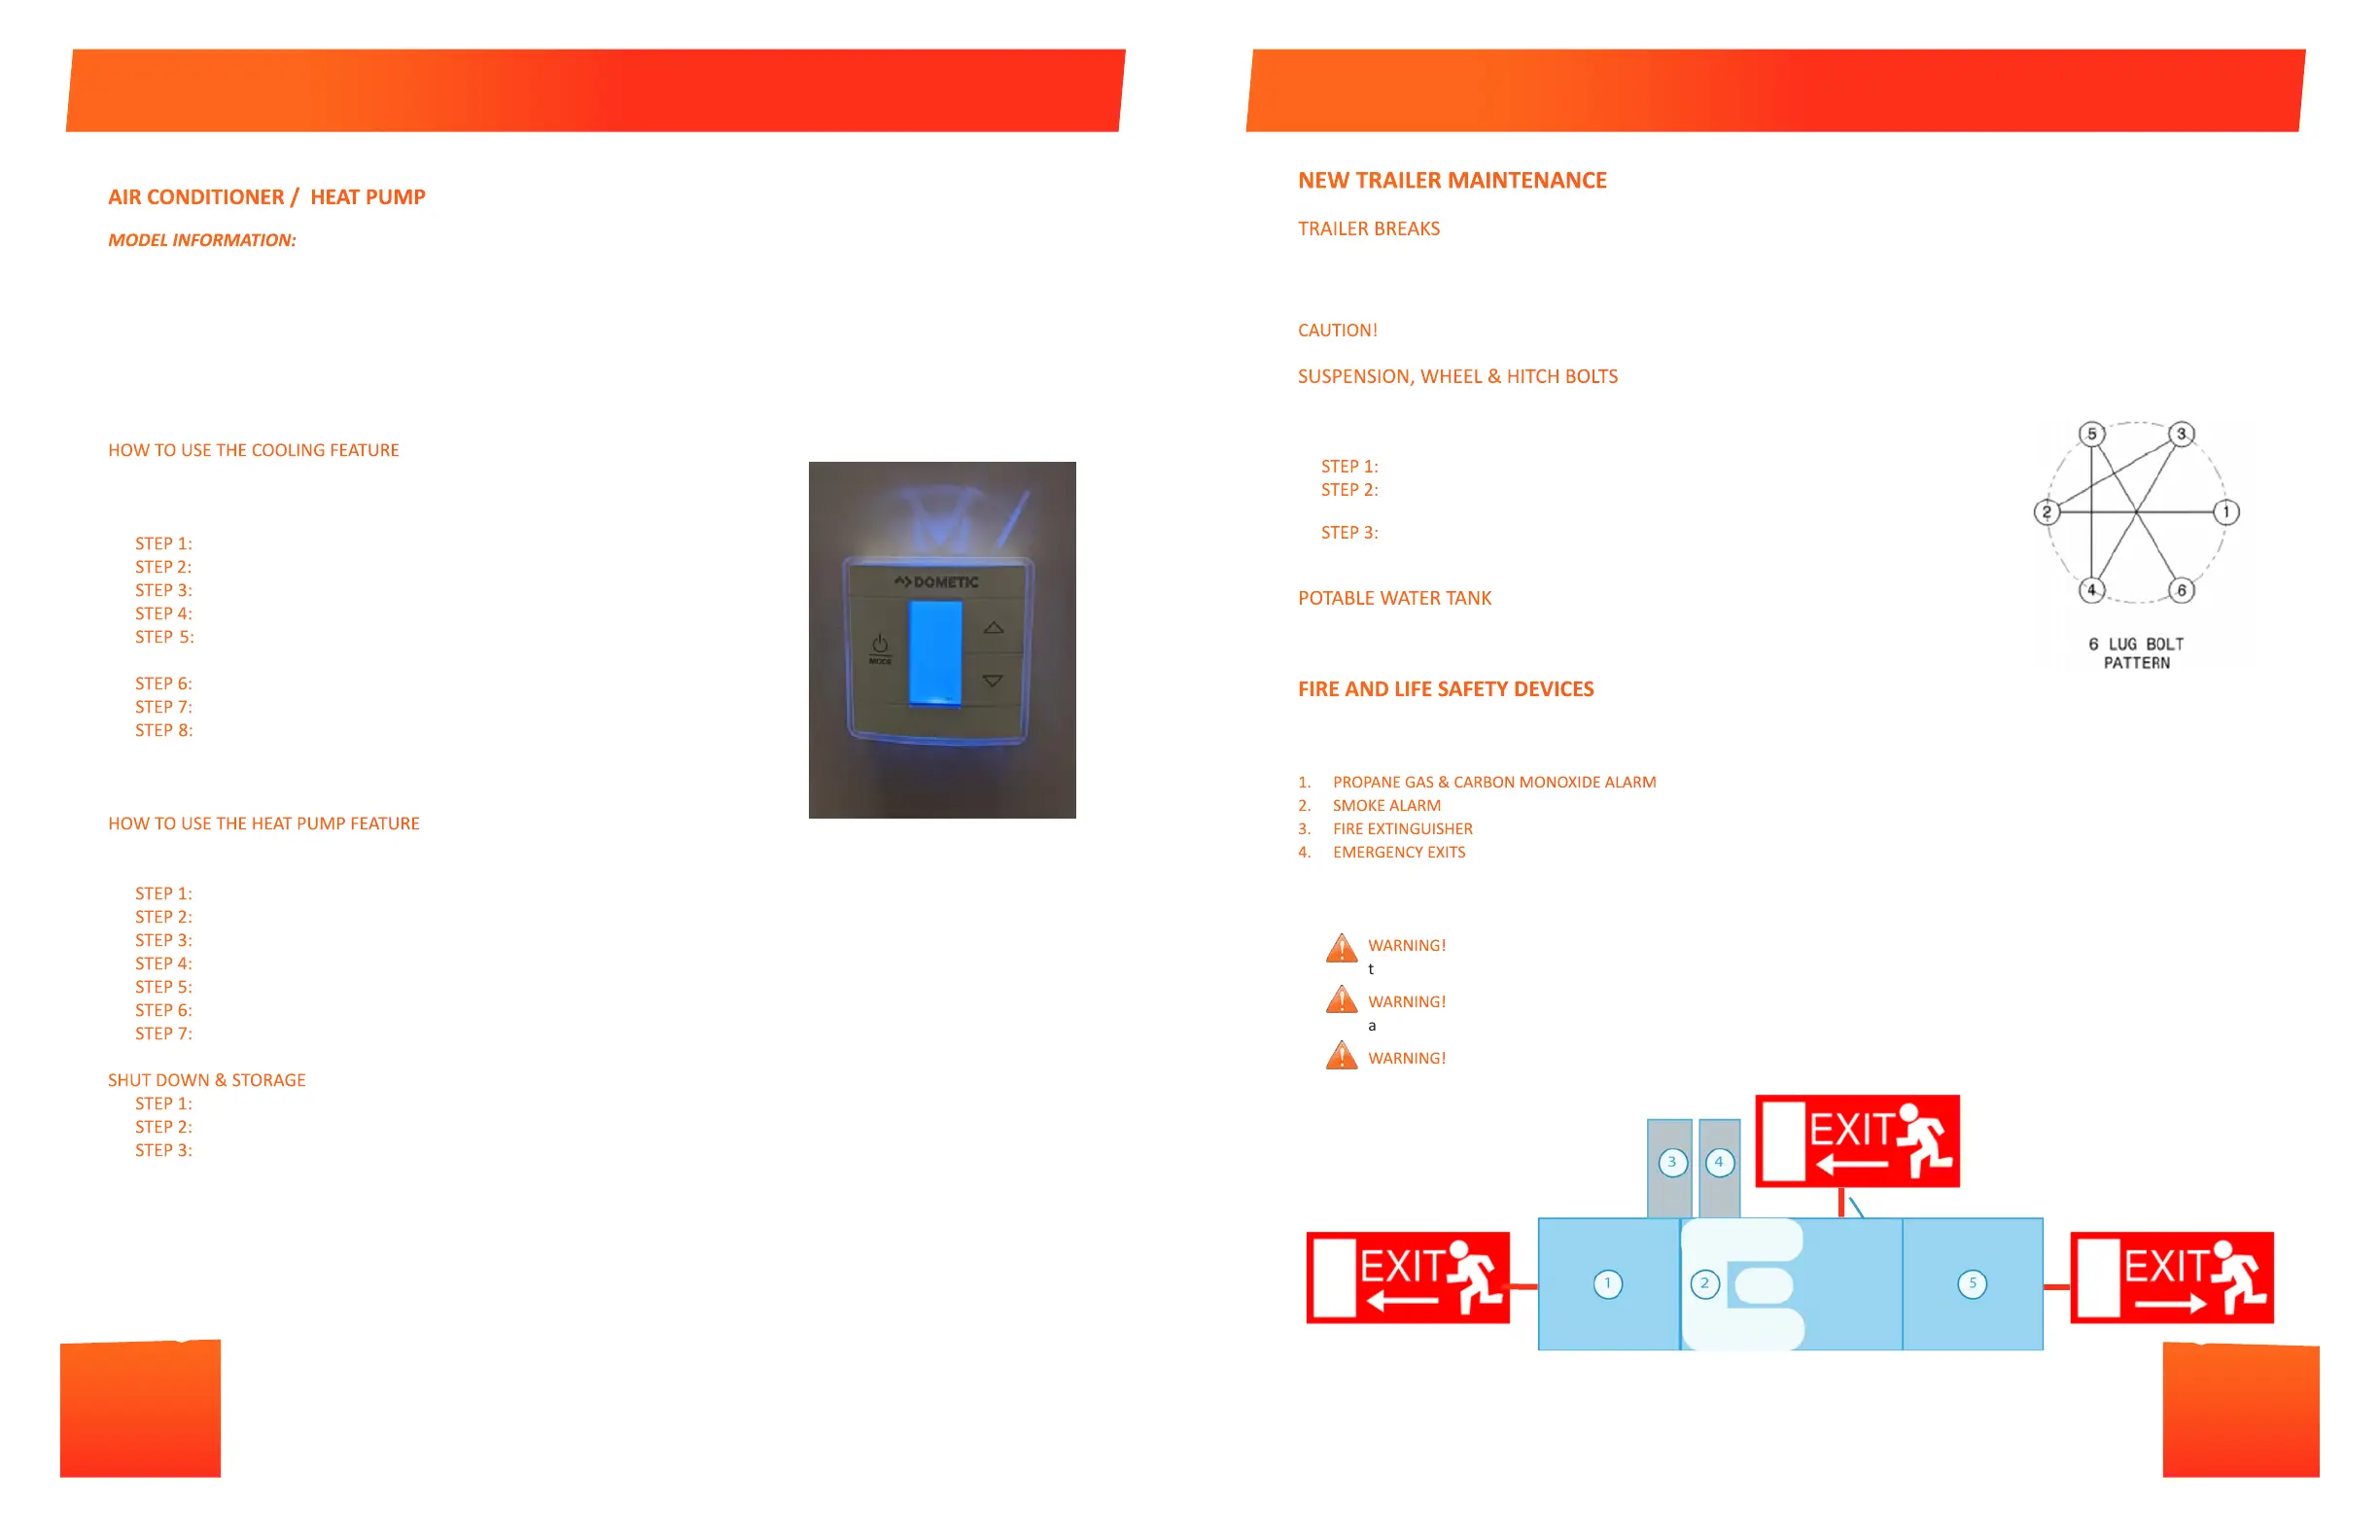
4. EMERGENCY EXITS - Are shown on the below oor plan. They are 1) The main OPUS door; 2) Out of the front bed-end tent by zipping
open the inner-tent window and then opening the zip along the BOTTOM of the main tent (see image); 3) Out of the rear bed using
the same method as in 2)
WARNING! Please read and familiarize yourselves with the proper usage and maintenance of these features before using your
trailer as outlined in their respecve manuals.
WARNING! It is possible that the alarms may sound when using products that give o vapors such as cleaning uid, aerosols,
adhesives etc. or if the sensor is covered by objects.
WARNING! Failure to regularly test and properly maintain these devices may lead to serious injury or death.
AIR CONDITIONER & HEAT PUMP
 Loading...