MC012C-AS00 UNITIZED TRANSAXLE WITH DIFFERENTIAL LOCK Unitized Transaxle Installation
Page 16-22 2003 Pioneer 1200/1200SE Gasoline Vehicle Maintenance and Service Manual
16
Unitized Transaxle Installation, Continued:
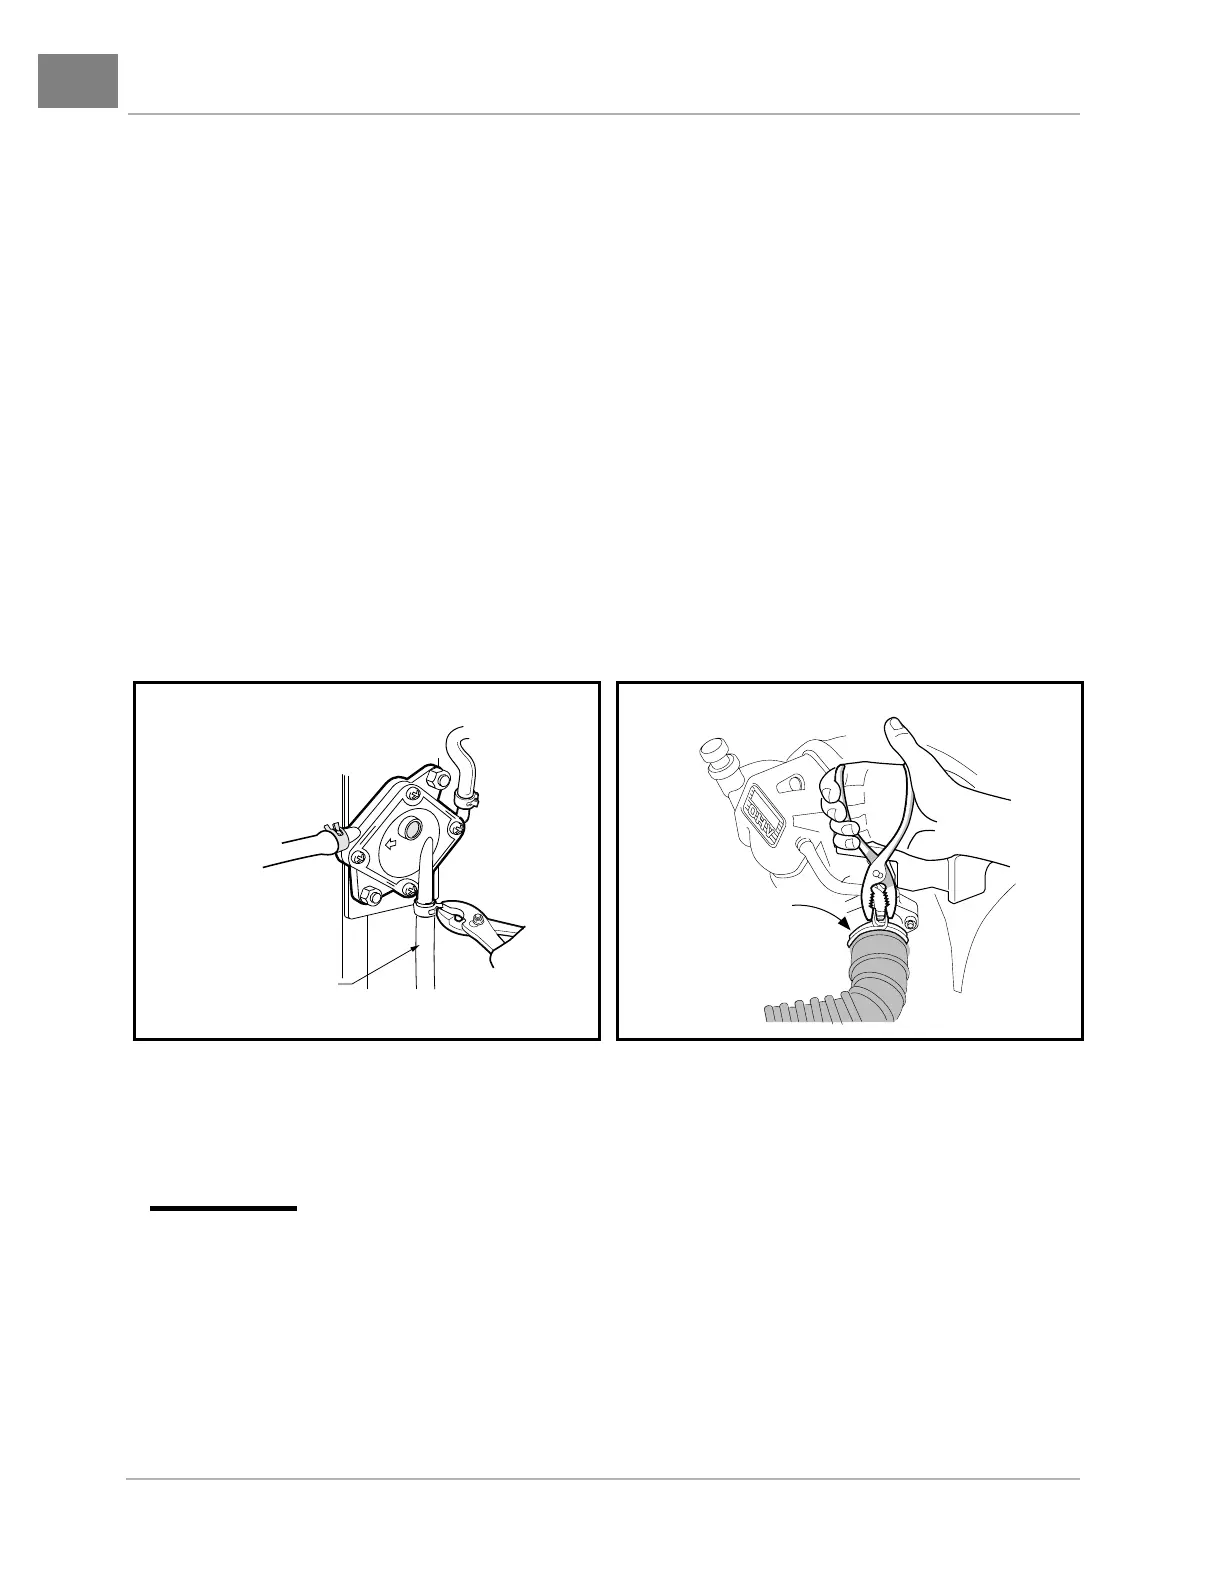
30. Connect the impulse line to the fuel pump and secure with hose clamp (Figure 16-56, Page 16-22).
31. Connect air intake hose to carburetor and secure with hose clamp (Figure 16-57, Page 16-22).
32. Connect carburetor vent tube to carburetor and secure with hose clamp (Figure 16-58, Page 16-23).
33. Connect the differential lock cable end to the differential lock handle.
33.1. Connect the end of the differential lock cable to the differential lock handle (Step 1) (Figure 16-59,
Page 16-23).
33.2. Push down on the cable to secure the end of the cable to the differential lock handle (Step 2).
33.3. Rotate the cable counterclockwise to pass through the bracket (Step 3).
33.4. Push the cable sheath toward the front of the vehicle to secure the cable to the bracket
(Figure 16-63, Page 16-28).
33.5. Secure the cable to the vertical support with a wire tie (6).
34. Install transaxle drain plug and tighten to 21 ft-lb (28.5 N·m).
35. Fill transaxle with 29 oz. (.85 liters) 80-90 WT. API class GL-3 or 80-90 WT. AGMA class 5 EP gear lubri-
cant Install and tighten the level indicator hole plug to 21 ft-lb (28.5 N·m).
36. Check that all wiring is secured properly. See following WARNING.
∆ WARNING
• If wires are removed or replaced make sure wiring and wiring harness is properly routed and
secured to vehicle frame. Failure to properly route and secure wiring could result in vehicle
malfunction, property damage or personal injury.
37. Connect the spark plug wire.
38. Connect the battery cables, positive (+) cable first and tighten terminals to 20 ft-lb (27.1 N·m). Coat ter-
minals with Battery Terminal Protector Spray (CCI P/N 1014305).
39. Adjust the engine RPM setting. See Engine RPM Adjustment, Section 14, Page 14-10.
Figure 16-56 Impulse Line Figure 16-57 Air Intake Hose
IMPULSE LINE
Club Car
CLAMP
 Loading...