Genie 10Chapter 4 Installation
Step 4 – Installing the Anchors
Use an electric drill to make a 1/8” hole at the exact location you marked. This will serve as a guide
for the anchors. Use a hammer to tap the anchors in far enough so they stay well in position. Then
screw them straight into the drywall. Avoid screwing them in at an angle.
Step 5 – Installing the Left Screws
Use an electric drill to install two screws into the left anchors. Do not bottom the screws out on the
anchor but leave 1/8 inch between the head of the screw and the anchor.
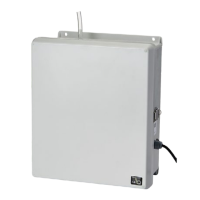
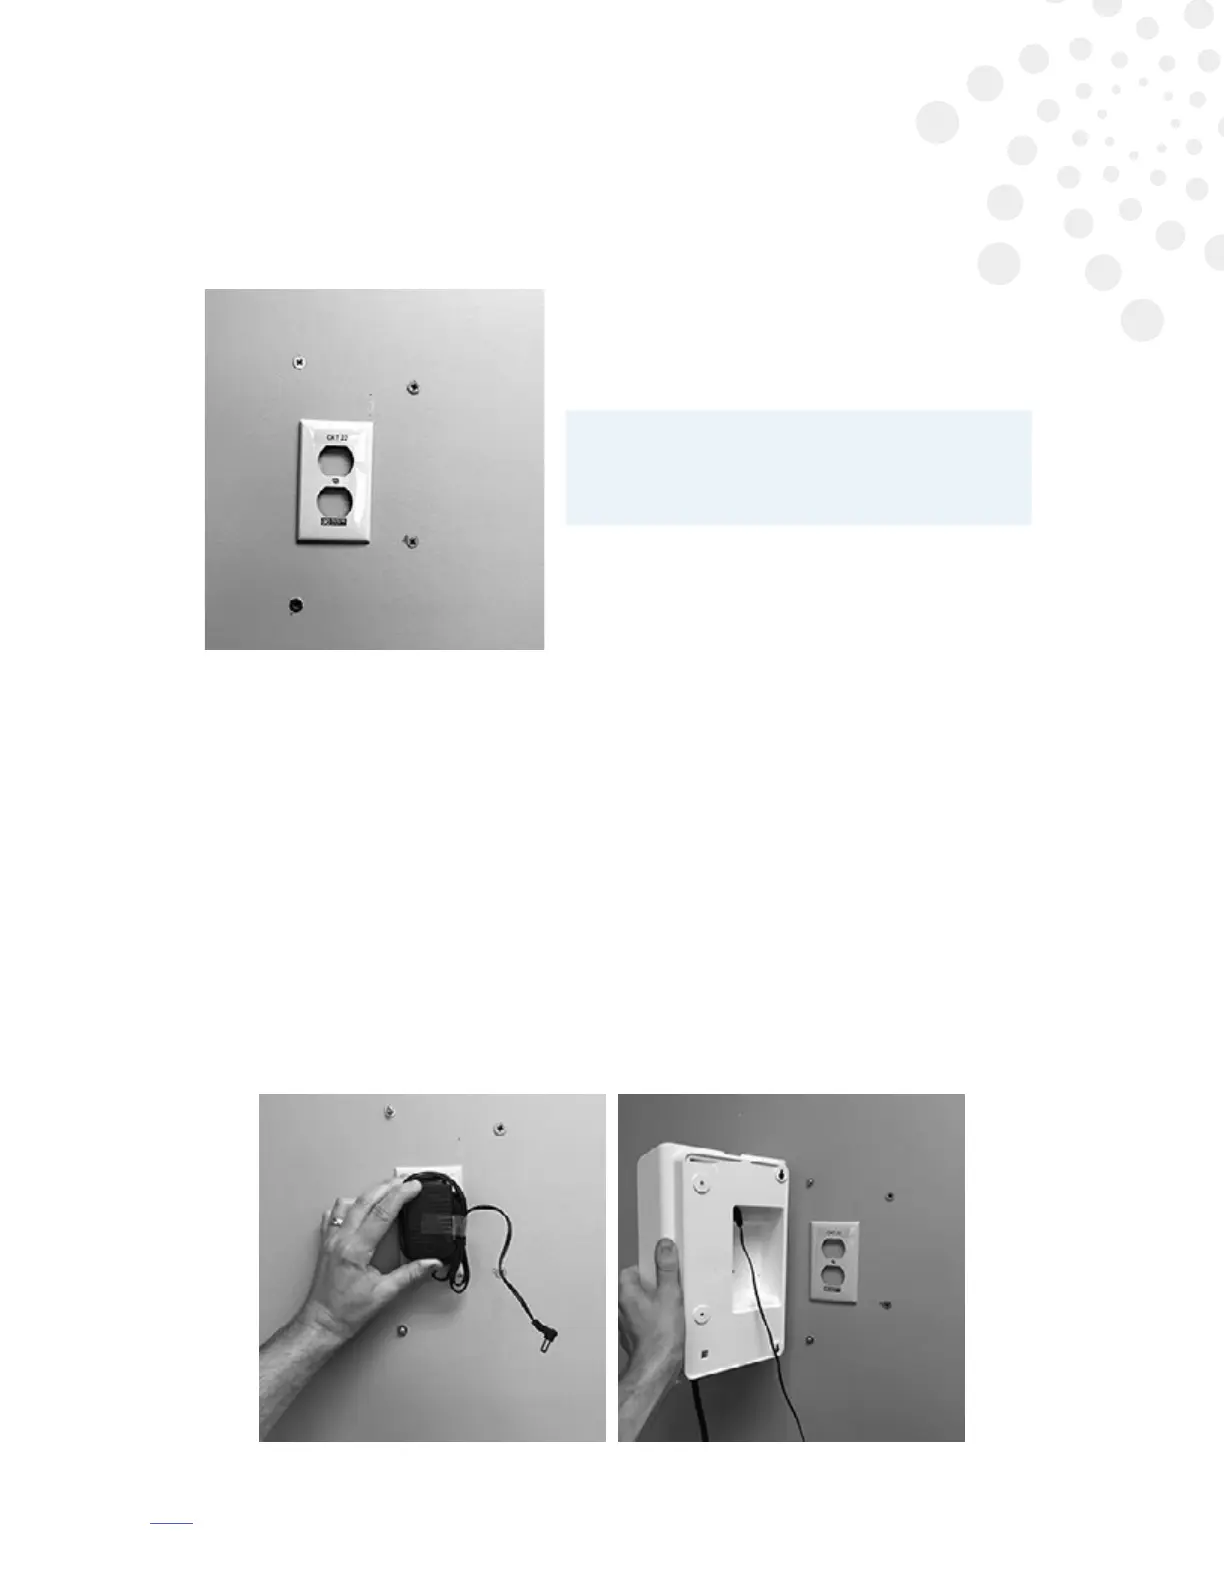
Step 6 – Hanging the Appliance
Plug in the power supply. Keep the power cord neat and tight to the supply. Plug in the supply to
the appliance. Hang the appliance by lining up the appliance so the left holes slide over the two left
screws. Some installations do not accommodate mounting of the appliance over a power outlet. In
this case, untie the power cord and extend it to a nearby outlet using a conduit (not included - PN
10619) to conceal and keep it out of reach. An outlet cover may also be used over the adapter.
The standard installation is to position the appliance right over the power source, storing the power-
supply block and the power cord in the recess in the back of the appliance. To make this easy, do not
untie the power cord and take just enough wire to make the connection.
HINT: If you use an electric drill with a Phillips
driver head, make sure the head ts the
anchor perfectly, as the anchor or screw can
strip easily. Set the drill to a slow rotation.
4
 Loading...