K
Kevin GomezJul 31, 2025
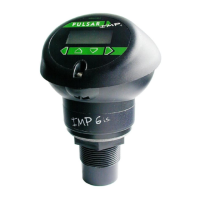
What to do if my Pulsar Imp 3 Measuring Instruments display shows “L0E”?
- EErika WhiteJul 31, 2025
If the display shows 'L0E', it indicates that no valid echo is being received, and the unit has entered a fault condition. Verify that the material level is within the measurable range of the sensor and ensure the sensor is positioned perpendicular to the material surface.