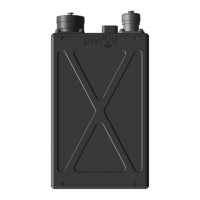
Figure: WAPV Pre-thread Aer Termination
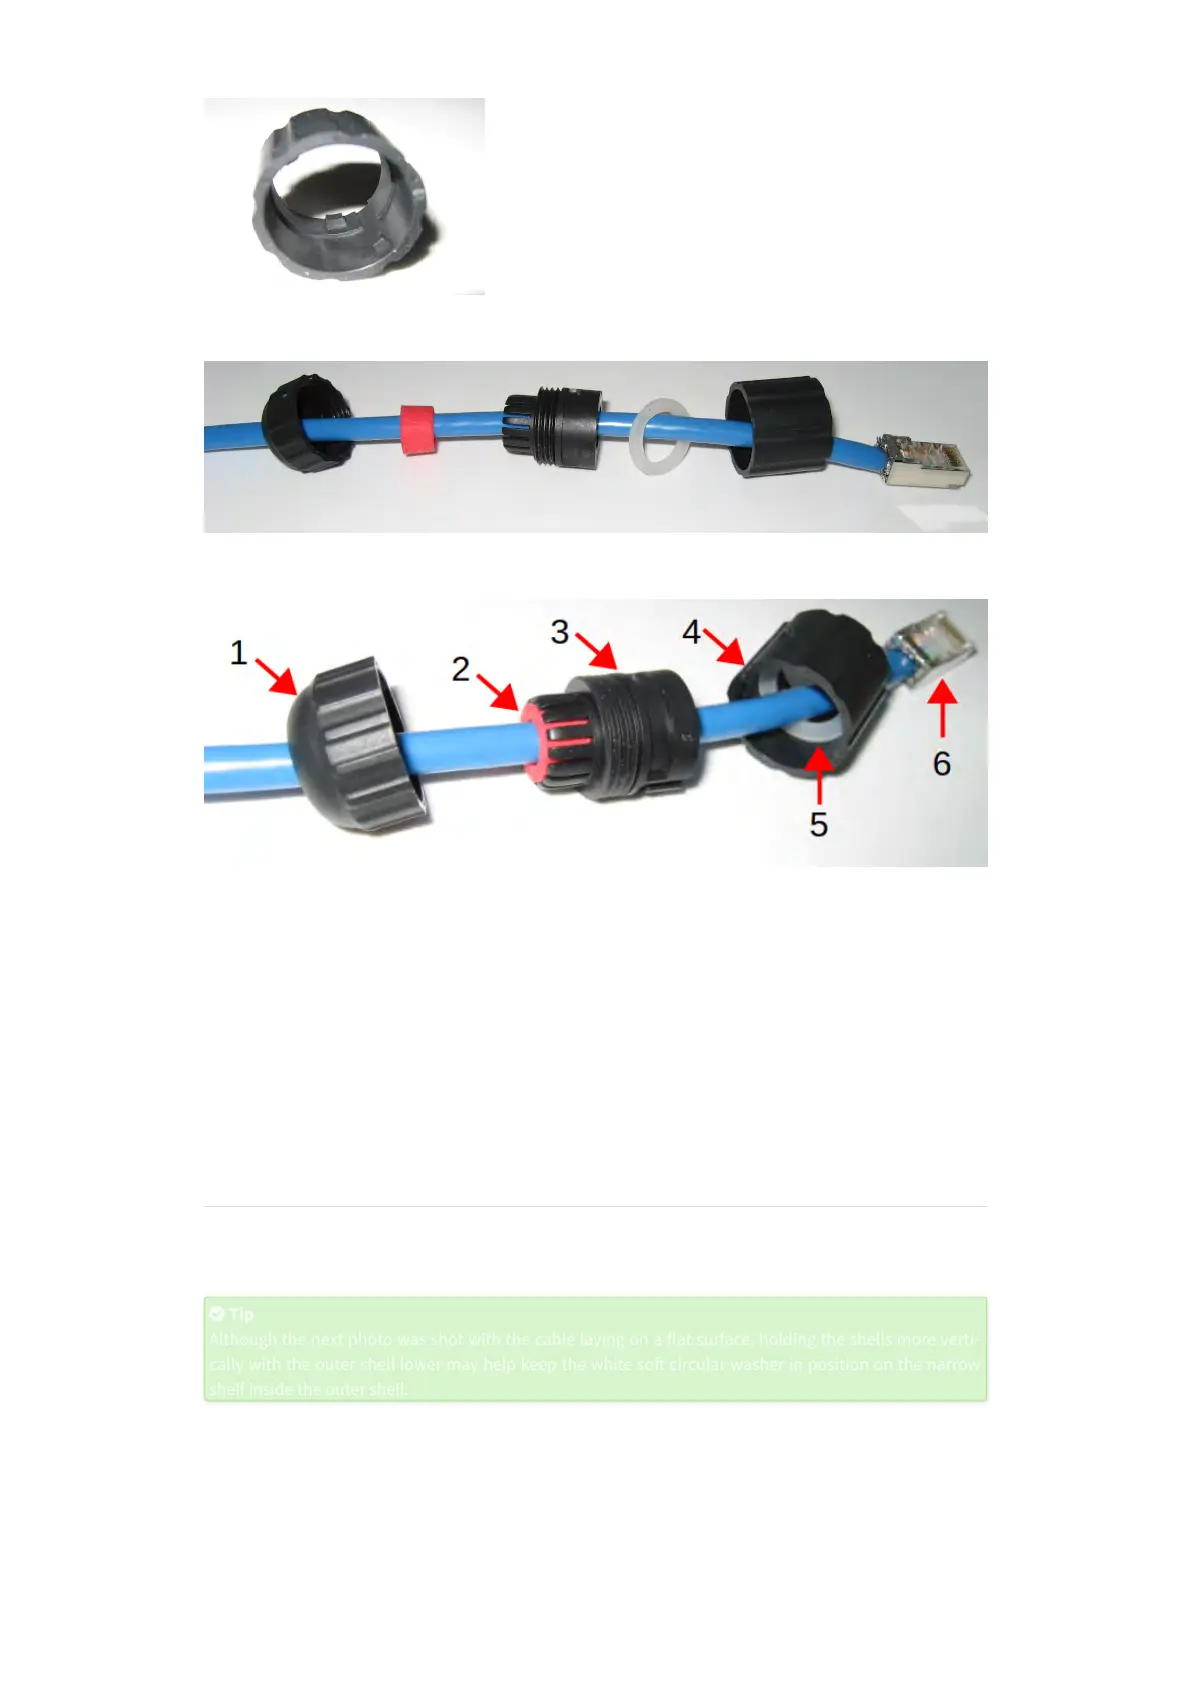
Figure: WAPV Preparation Aer Termination
(1) Cap
(2) So plug pressed most of the way into inner shell (wide end ridge of so plug remains outside)
(3) Inner shell
(4) Outer shell (thread the so washer over the RJ45 first, then the outer shell, then place washer in outer
shell)
(5) So circular washer positioned on the “shelf” inside inner shell
(6) Metal-shielded male RJ45 plug crimped on cable (the termination)
E.7 Mate Inner and Outer Shells
Next, the inner and outer shells are mated with a bayonet-like action. It’s very important that the so cir-
cular washer stay in place in on the narrow “shelf” the outer shell while doing this.
Tip
Tip
Although the next photo was shot with the cable laying on a flat surface, holding the shells more verti-
Although the next photo was shot with the cable laying on a flat surface, holding the shells more verti-
cally with the outer shell lower may help keep the white so
circular washer in position on the narrow
cally with the outer shell lower may help keep the white so circular washer in position on the narrow
shelf inside the outer shell.
shelf inside the outer shell.
Inside the outer shell (where it faces the inner shell) are the small square keys (block-like bumps). Line up
those keys with the recessed channels on two sides of the inner shell. Then hold the inner shell (1) and
press the outer shell (2) onto the inner shell. Use some pressure to get around the tight corner of the
channel, then rotate the outer shell in the direction shown by the yellow arrow below. Once mated, the
outer shell should be loosely trapped over the inner shell. Now look inside the end of the outer shell
(where 2 is pointing) and make sure the white so circular washer is laying flat. If not, fix.
 Loading...