4.1
Maintenance
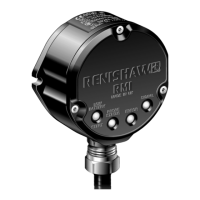
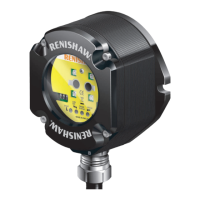
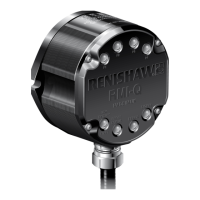
RMI-Q cover
It is not necessary to remove the RMI-Q from the
machine when adjusting the switches or installing
replacement parts. For torque settings see page
3-5 'Screw torque values'.
The front cover may be removed and replaced,
as detailed in this section, if there is a need to
change configuration.
Removing the RMI-Q cover
1. Clean the RMI-Q thoroughly before
servicing to ensure no debris or coolant
enters the unit.
2. Using the T10 tamper proof key (provided),
unscrew (but do not remove) each captive
screw and washer evenly from the cover.
3. When removing the cover, do not twist or
rotate by hand.
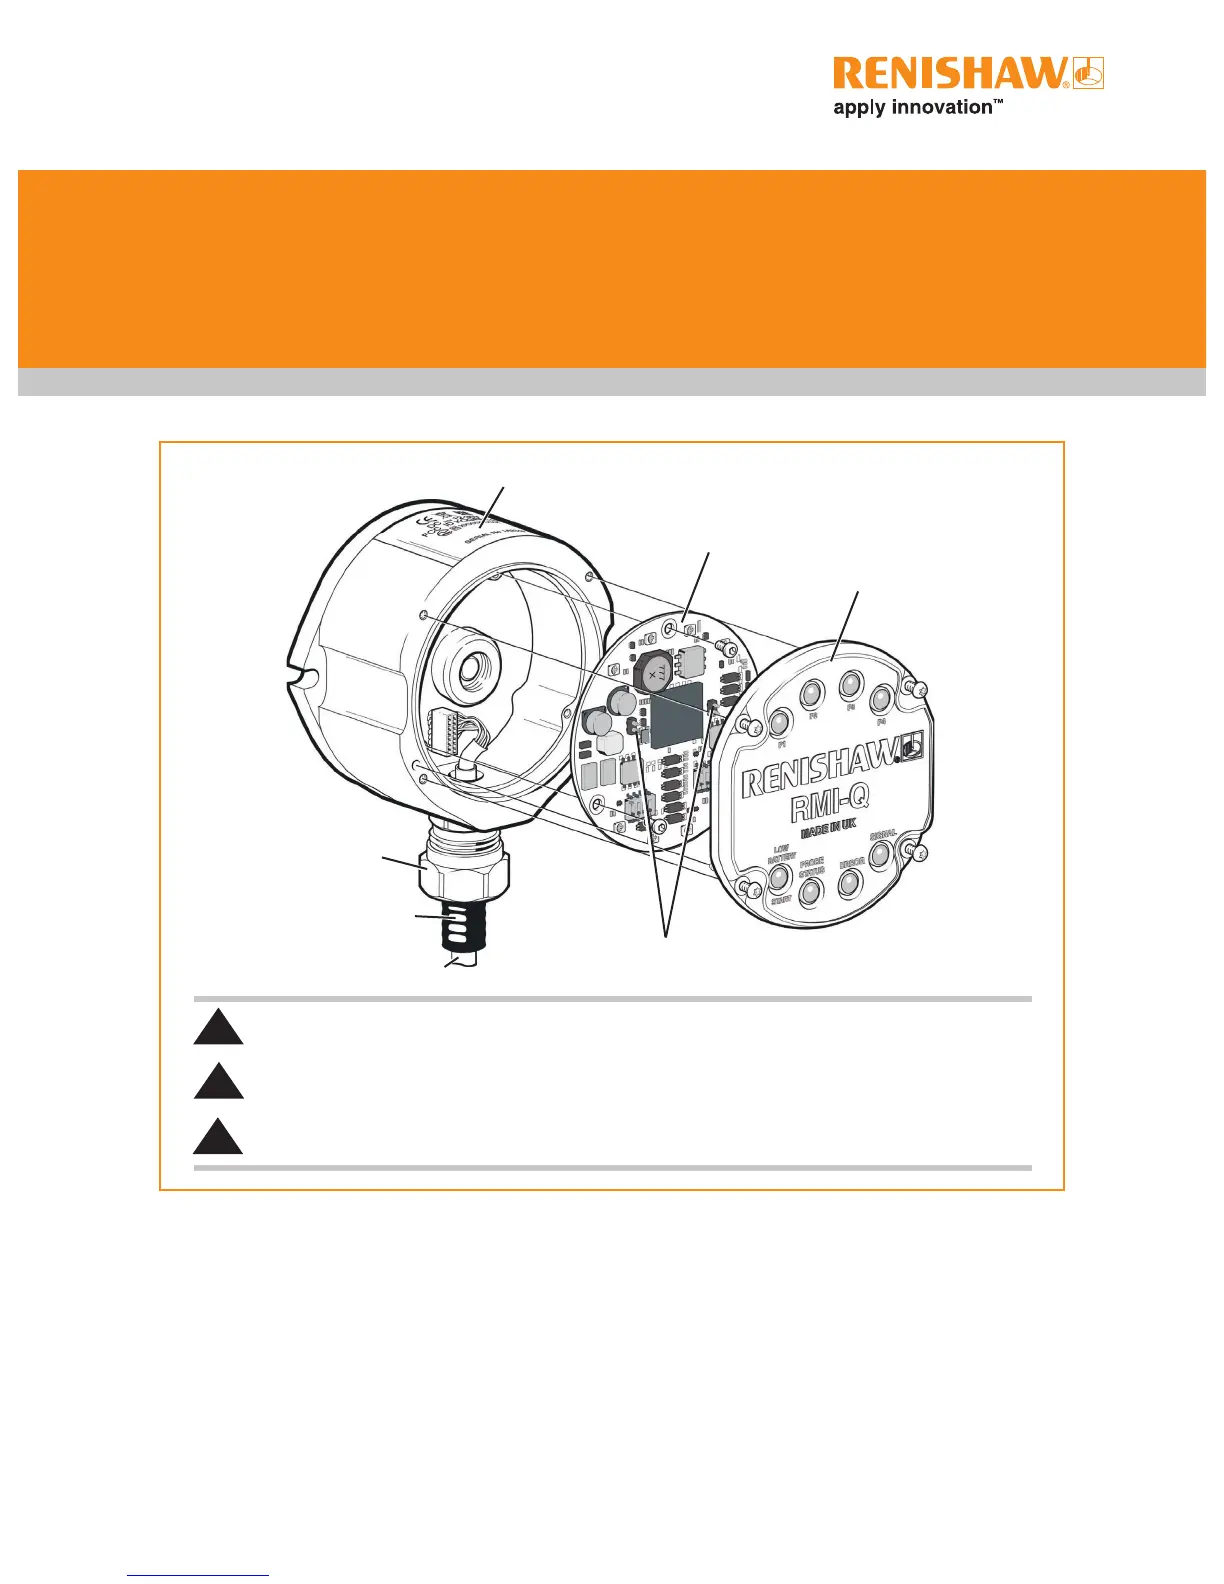
RMI-Q body
PCB
RMI-Q cover
Conduit adaptor
Conduit
Cable
Antenna contacts
SAFETY
The main power supply to the machine must be switched off before working on the RMI-Q.
WARNING
Only qualified persons should dismantle this equipment. Faulty workmanship will invalidate the warranty.
KEEP CLEAN
Liquids and solid particles must NOT be allowed to enter the RMI-Q body.
!
!
!
 Loading...