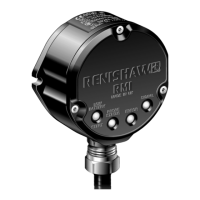
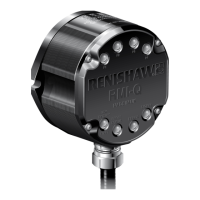
RMI-Q installation guide
4.2
Maintenance
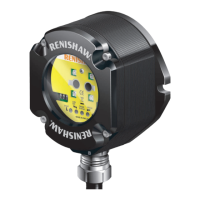
Replacing the RMI-Q cover
1. Remove the O-ring from the cover. Ensure
that the O-ring, the O-ring groove and the
cover sealing face are clean. Lubricate the
O-ring with silicone grease and refit to cover.
2. Ensure that the O-ring seating on the
RMI-Q body is clean, and that there are no
scratch marks which could prevent complete
sealing.
3. Ensure that the antenna contacts are clean.
4. Place cover, complete with O-ring, onto the
RMI-Q body.
NOTE :
The O-ring should be lubricated with
silicone grease to prevent damage. Do not allow
grease to contaminate the antenna contacts.
IMPORTANT: Do not overtighten the cover as
distortion could occur.
5. Tighten each captive screw and washer a few
turns at a time, to pull the cover down evenly.
Screw torque is 1.0 Nm (0.74 lbf.ft.).
Side exit to rear exit cable
conversion
1. Remove RMI-Q cover (see page 4.1
'Removing the RMI-Q cover').
2. Remove the three crosshead screws
retaining the PCB. Carefully remove the
PCB and disconnect the cable connection to
the PCB.
3. Unscrew the conduit gland from the RMI-Q
body.
4. Unscrew the rear exit plug and rubber
grommet from the RMI-Q body.
5. Carefully remove the cable assembly and
refit through rear exit hole. Tighten the
conduit gland. For torque settings see page
3.5 'Screw torque values'.
6. Fit the rubber grommet and rear exit plug to
the side exit hole and tighten.
7. Connect the PCB to the cable connector.
Insert the PCB and retain with the three
cross head screws. For torque settings see
page 3.7 'Screw torque values'.
8. Fit the RMI-Q cover (see page 4.2
'Replacing the RMI-Q cover').
CAUTION
Conversion from side exit cable
to rear exit cable must only be undertaken by
qualified personnel. Failure to do so will invalidate
the warranty.
!
 Loading...