135
Overview
Appendix
USB Memory
Song Player
Digital Recorder
Synthesizer
Selecting Sounds Perform. Functions Editing/Eects Other Settings
Rec/Play/Edit Eects Rhythm Pattern
What is V-LINK?
V-LINK ( ) is a function that allows music and images to
be performed together. By using MIDI to connect two or more V-LINK
compatible devices, you can easily enjoy performing a wide range
of visual eects that are linked to the expressive elements of a music
performance.
For example if you use the JUNO-Gi in conjunction with EDIROL P-10,
you’ll be able to do the following things.
• Use the JUNO-Gi’s keyboard (the far-left octave) to switch images.
• Use the JUNO-Gi’s pitch bend lever to control the image playback
speed.
• You can use the JUNO-Gi’s knobs to control the brightness and hue
of the image.
NOTE
When V-LINK is ON, the keys in the leftmost octave of the keyboard
cannot be used to produce sound.
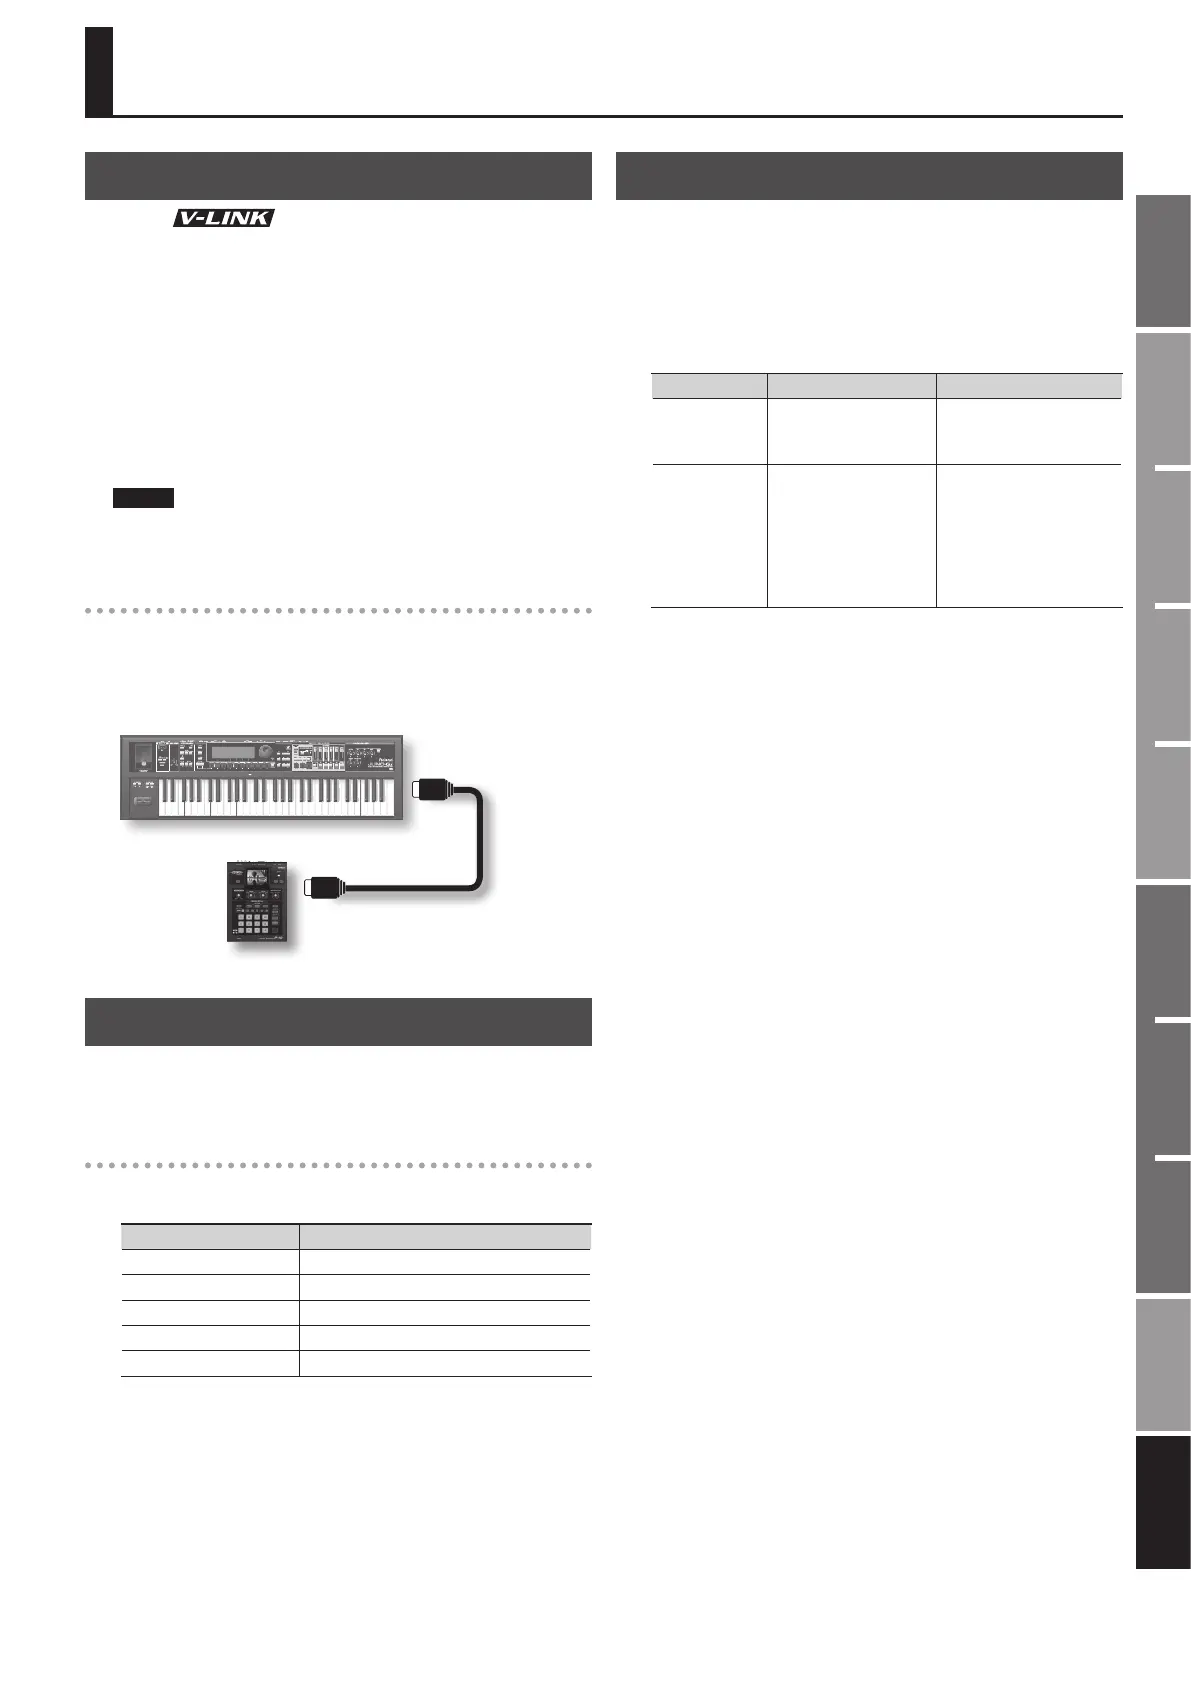
Connection example
As an example, we will use a setup in which the JUNO-Gi is connected
to the EDIROL P-10.
Use a MIDI cable to connect the JUNO-Gi’s MIDI OUT connector to the
MIDI IN connector of the EDIROL P-10.
MIDI OUT connector
MIDI IN connector
EDIROL P-10
JUNO-Gi
* You can’t perform V-LINK communication via USB.
Turning the V-LINK ON/OFF
1. Press the [V-LINK] button so it’s lit.
The V-LINK screen will appear, and the V-LINK setting will be on.
Operations on the JUNO-Gi
By operating the JUNO-Gi’s keyboard and knobs, you can control the
image along with your performance on the JUNO-Gi.
Keyboard/Knob/Lever Explanation
Keys (leftmost octave) Switch images.
[CUTOFF] knob Controls the hue and brightness.
[RESONANCE] knob Controls the saturation.
[REVERB] knob Controls the image switching time.
Pitch Bend lever Controls the playback speed.
2. With the V-LINK screen shown, press the [V-LINK] button
again.
The [V-LINK] button will go dark, and the V-LINK setting will be o.
V-LINK Settings
1. Press the [V-LINK] button to access the V-LINK screen.
The V-LINK screen will appear.
2. Use the cursor buttons to move the cursor to the parameter
you want to edit.
3. Use the VALUE dial or the [DEC] [INC] buttons to set the
value.
Parameter Value Explanation
Tx Channel 1–16
MIDI channel that will
control the V-LINK device.
Speed Ctrl
0-1-2, 0.5-1-2,
0-1-4, 0.5-1-4,
0-1-8, 0.5-1-8,
0-1-16, 0.5-1-16,
0-1-32, 0.5-1-32,
0-2-4, 0-4-8,
0-8-16, 0-16-32,
(-1) -0-1, (-2) -1-4, (-6) -1-8
Range of video playback
speed The three values
are the playback speeds
(multiples of normal speed)
at the left, center, and right
positions of the pitch bend.
4. To save the settings, press the [6] (WRITE) button.
Using the Keyboard to Control Images (V-LINK)
 Loading...