18
About the Function Buttons
The [1]–[6] buttons located below the display execute various
functions (function buttons), and their operation will dier depending
on the screen. The functions are shown in the bottom of the screen,
and the corresponding function buttons will light.
* When indications such as [6] (EXIT) appear in this manual, the
numeral indicates the button name, and the text in parentheses
indicates the function name displayed in the screen.
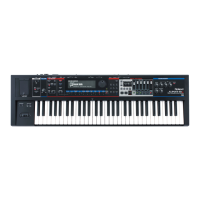
The [SHIFT] Button Functions
By holding down the [SHIFT] button and pressing another button,
you can access the screen for making settings related to that button.
(In other words, the [SHIFT] button provides a shortcut to the
corresponding screen.)
For example, if you hold down the [SHIFT] button and press the [SOLO
SYNTH] button, the Solo Synth setting screen will appear.
For details, refer to the page where a particular function is explained.
In some screens, pressing the [SHIFT] button will change the operation
of the function buttons. In this case, pressing the [SHIFT] button will
change the name of the functions displayed at the bottom of the
screen. To execute a function, hold down the [SHIFT] button and press
the corresponding function button.
Editing a Value
Moving the Cursor
A single screen or window displays multiple parameters or items
for selection. To edit the setting of a parameter, move the cursor to
the value of that parameter. To select an item, move the cursor to
that item. When selected with the cursor, a parameter value or other
selection is highlighted.
Move the cursor with [ ] [ ] [ ] [ ] (cursor buttons).
If you hold down one cursor button while you also press the cursor
button for the opposite direction, the cursor will move more rapidly in
the direction of the rst-pressed cursor button.
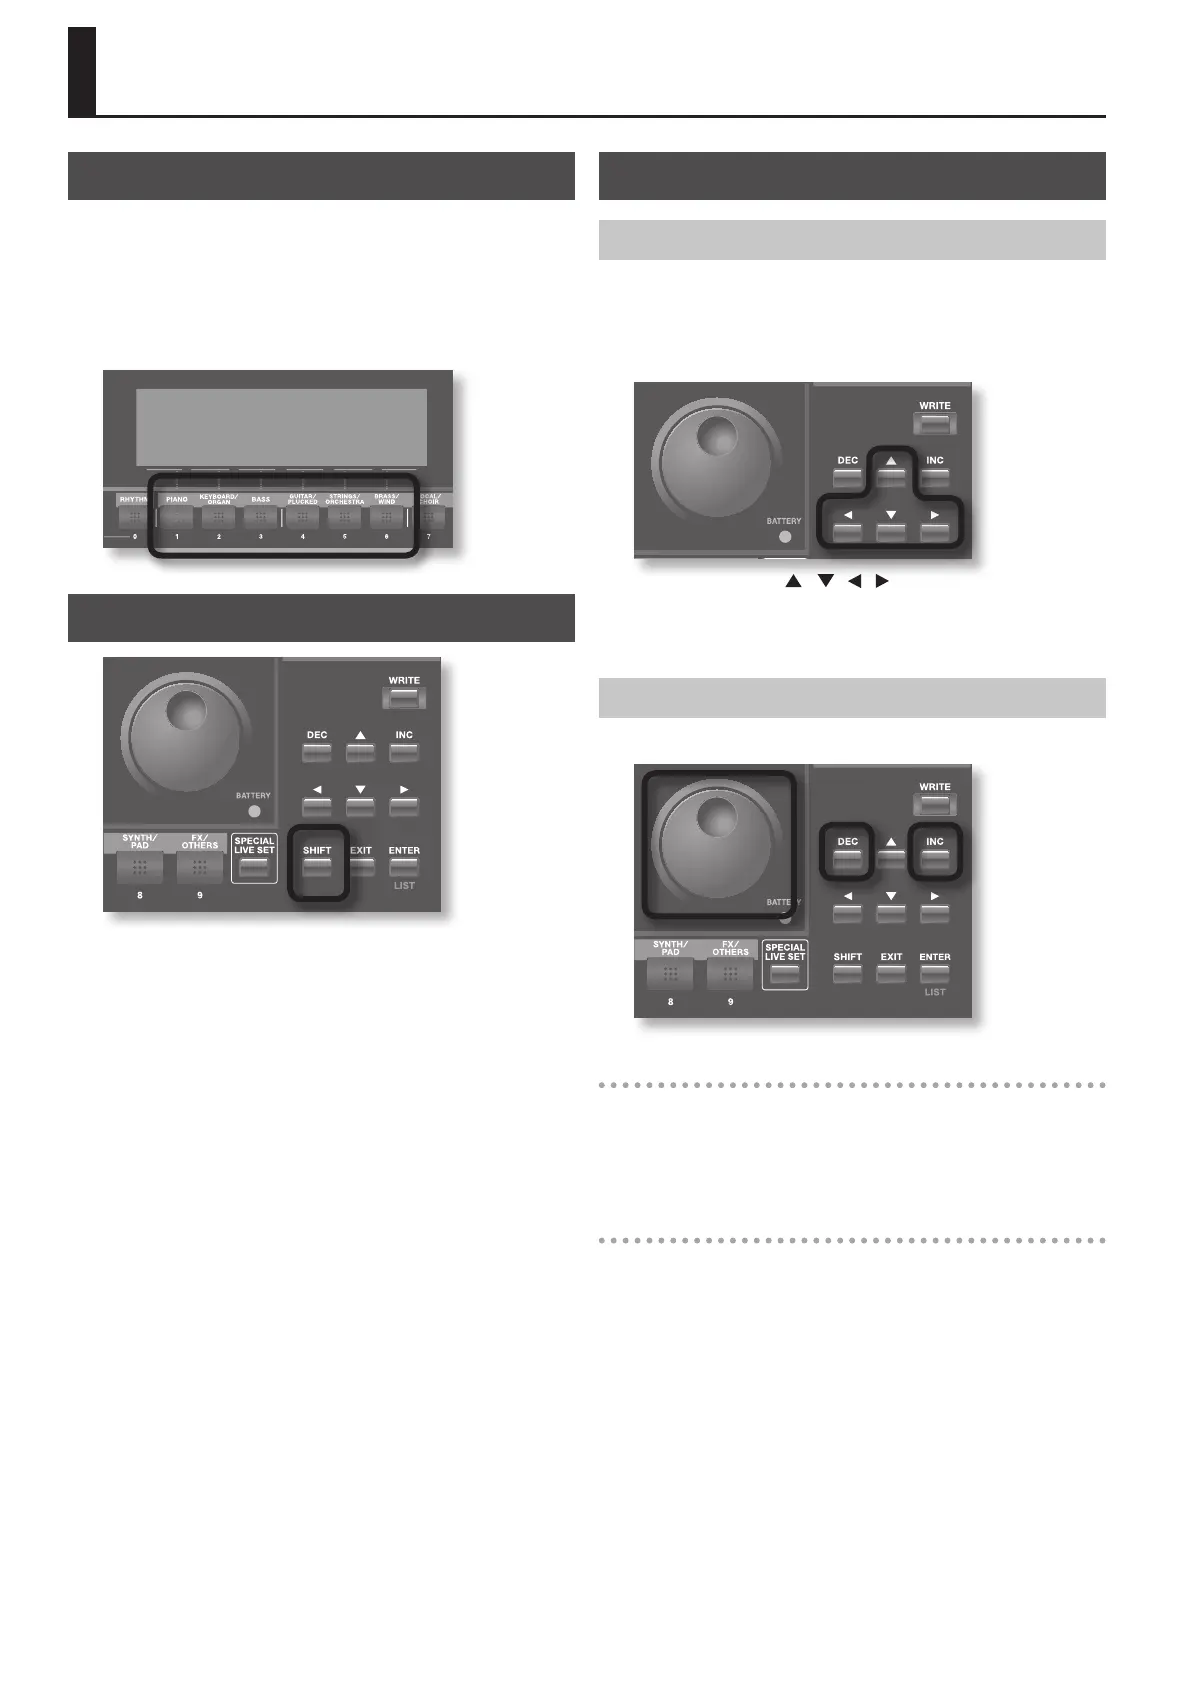
Changing a Value
To change the value, use the VALUE dial or the [DEC] [INC] buttons.
VALUE dial
Turning the VALUE dial clockwise increases the value, counterclockwise
decreases the value.
The value will change in larger steps if you hold down the [SHIFT]
button while turning the VALUE dial.
[DEC] and [INC] buttons
Pressing the [INC] button increases the value, and the [DEC] button
decreases it.
• Keep the button pressed for continuous adjustment.
• For faster value increases, keep the [INC] button pressed down and
press the [DEC] button. For decreasing value faster, keep the [DEC]
button pressed down and press the [INC] button.
• The value will change in larger steps if you hold down the [SHIFT]
button while you press the [INC] or [DEC] button.
Basic Operation of the JUNO-Gi
 Loading...