10
Apr. 2000
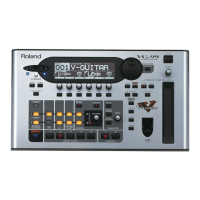
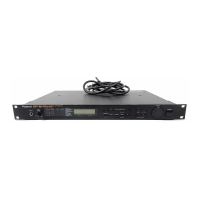
VG-88
TEST MODE
/テストモード
Precaution: When users' data are being stored, always make
backup the data in the sequencer (MC-50MK2),
etc. before starting the repair work. (For details of
the user's data storage method, refer to Sections
"Saving the data" and "Loading the data".)
注意: ユーザーのデータが入 っているときは、修理する前に必
ずデータをシーケンサー等(MC-50MK2)にバックアッ
プしておいて下さい。( ユーザ ーデータ保管の方法 は
データのセーブおよびデータのロードを参照して
ください。)
Test items
0.VERSION 10.G/A PITCH
1.LCD CONTRAST 11.OUTPUT
2.LCD DISPLAY 12.ESP TRS/TRR
3.SWITCH/LED 13.INPUT(GUITAR)
4.EXP PEDAL 14.INPUT(GK)
5.SUB EXP PEDAL 15.NOISE(GUITAR
→
OUT)
6.BATTERY 16.NOISE(GK
→
OUT)
7.MIDI 17.PEDAL CALIBRATE
8.GK VOL 18.FACTORY RESET
9.GK DOWN/S2 UP/S2
◎テスト項目
0.VERSION 10.G/A PITCH
1.LCD CONTRAST 11.OUTPUT
2.LCD DISPLAY 12.ESP TRS/TRR
3.SWITCH/LED 13.INPUT(GUITAR)
4.EXP PEDAL 14.INPUT(GK)
5.SUB EXP PEDAL 15.NOISE(GUITAR
→
OUT)
6.BATTERY 16.NOISE(GK
→
OUT)
7.MIDI 17.PEDAL CALIBRATE
8.GK VOL 18.FACTORY RESET
9.GK DOWN/S2 UP/S2
Necessary parts and instruments
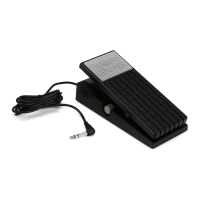
• Expression Pedal (Roland EV-5)
• MIDI cable
• Noise meter (DINAUDDIO)
• Oscilloscope (0.5mS/DIV, 2V/DIV)
• Oscillator (Rectangular waves 400Hz,5Vp-p and rectangular
waves 400Hz,40mVp-p)
• Shorting plugs
• Guitar equipped with GK-2A
◎用意するもの
・ Expression Pedal(Roland EV-5)
・ MIDI ケーブル
・ ノイズメーター (DIN AUDIO)
・ オシロスコープ (0.5mS/DIV、2V/DIV)
・ 発振器
( 矩形波 400Hz,5Vp-p および矩形波 400Hz,40mVp-p)
・ ショートプラグ
・ GK-2A 付きギター
How to enter the test mode
• Connect the expression pedal (EV-5) to the [SUB EXP
PEDAL/SUB CTL 1,2] jack.
• Connect the MIDI cable to the [MIDI IN] jack and the [MIDI
OUT] jack.
• Connect the guitar equipped with GK-2A to the GK IN jack.
(1) To start from "0. VERSION"
Turn on the power switch while depressing the [CURSOR
(DOWN)] button and the [NAME/CHAIN] button simultaneously.
The program version will appear on the display
◎テストモードへの入り方
・ エクスプレッションペダル (EV-5) を [SUB EXP PEDAL/SUB
CTL 1,2] ジャックに接続してください。
・ MIDI ケーブルを [MIDI IN] ジャックと [MIDI OUT] ジャックに
接続してください。
・ GK IN ジャックに GK-2A 付きギターを接続してください。
(1) "0.VERSION" から始まる。
[CURSOR(DOWN)] ボタンと [NAME/CHAIN] ボタンを同時に押
しながら電源を入れます。
プログラムのバージョンが表示されます。
(2) To start from "10. G/A PITCH"
Turn on the power switch while depressing the [CURSOR(DOWN)]
button and the [PEDAL/ASSIGN] button simultaneously.
(2) "10.G / A PITCH" から始まる。
[CURSOR(DOWN)] ボタンと [PEDAL/ASSIGN] ボタンを同時に
押しながら電源を入れます。
Regarding respective inspection items
0. VERSION
The program version will appear on the LCD.
◎各検査項目について
0. VERSION
LCD にプログラムのバージョンが表示されます。
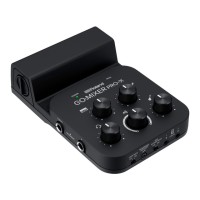
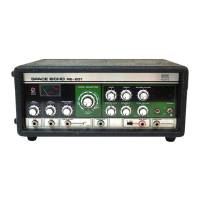
1. LCD CONTRAST
Check if the LCD contrast changes when the [VALUE] encoder
knob is turned in the following order.
1. LCD CONTRAST
以下の順に [VALUE] エンコーダノブを回して、LCD コントラス
トが変化することを確認します。
When the knob is turned clockwise??, the contrast will be come
sharper.
時計回りにノブを回すと、コントラストが濃くなります。
When the knob is turned clockwise??, the contrast will become
more moderate.
時計回りにノブを回すと、コントラストが薄くなります。
When the contrast of the LCD is changed in the order of "8
→
16
→
1", the equipment proceeds to the next inspection
automatically.
LCD コントラストを「8 → 16 → 1」と変化させると、自動的に
次の検査に進みます。
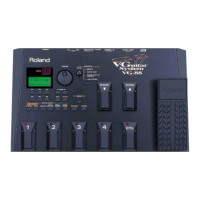
2. LCD DISPLAY
Press the [OUTPUT SELECT] switch 3 times in succession to
check that no abnormal indications appear on the LCD.
2. LCD DISPLAY
[OUTPUT SELECT]SW を 3 回押して、LCD 表示に異常が無い
か確認します。
When the switch is pressed for the 1st time (White) :
Check and make sure nothing appears on the display.
1 回目 ( 白 ) : 画 面全体に何も表示されていないことを確認し
てください。
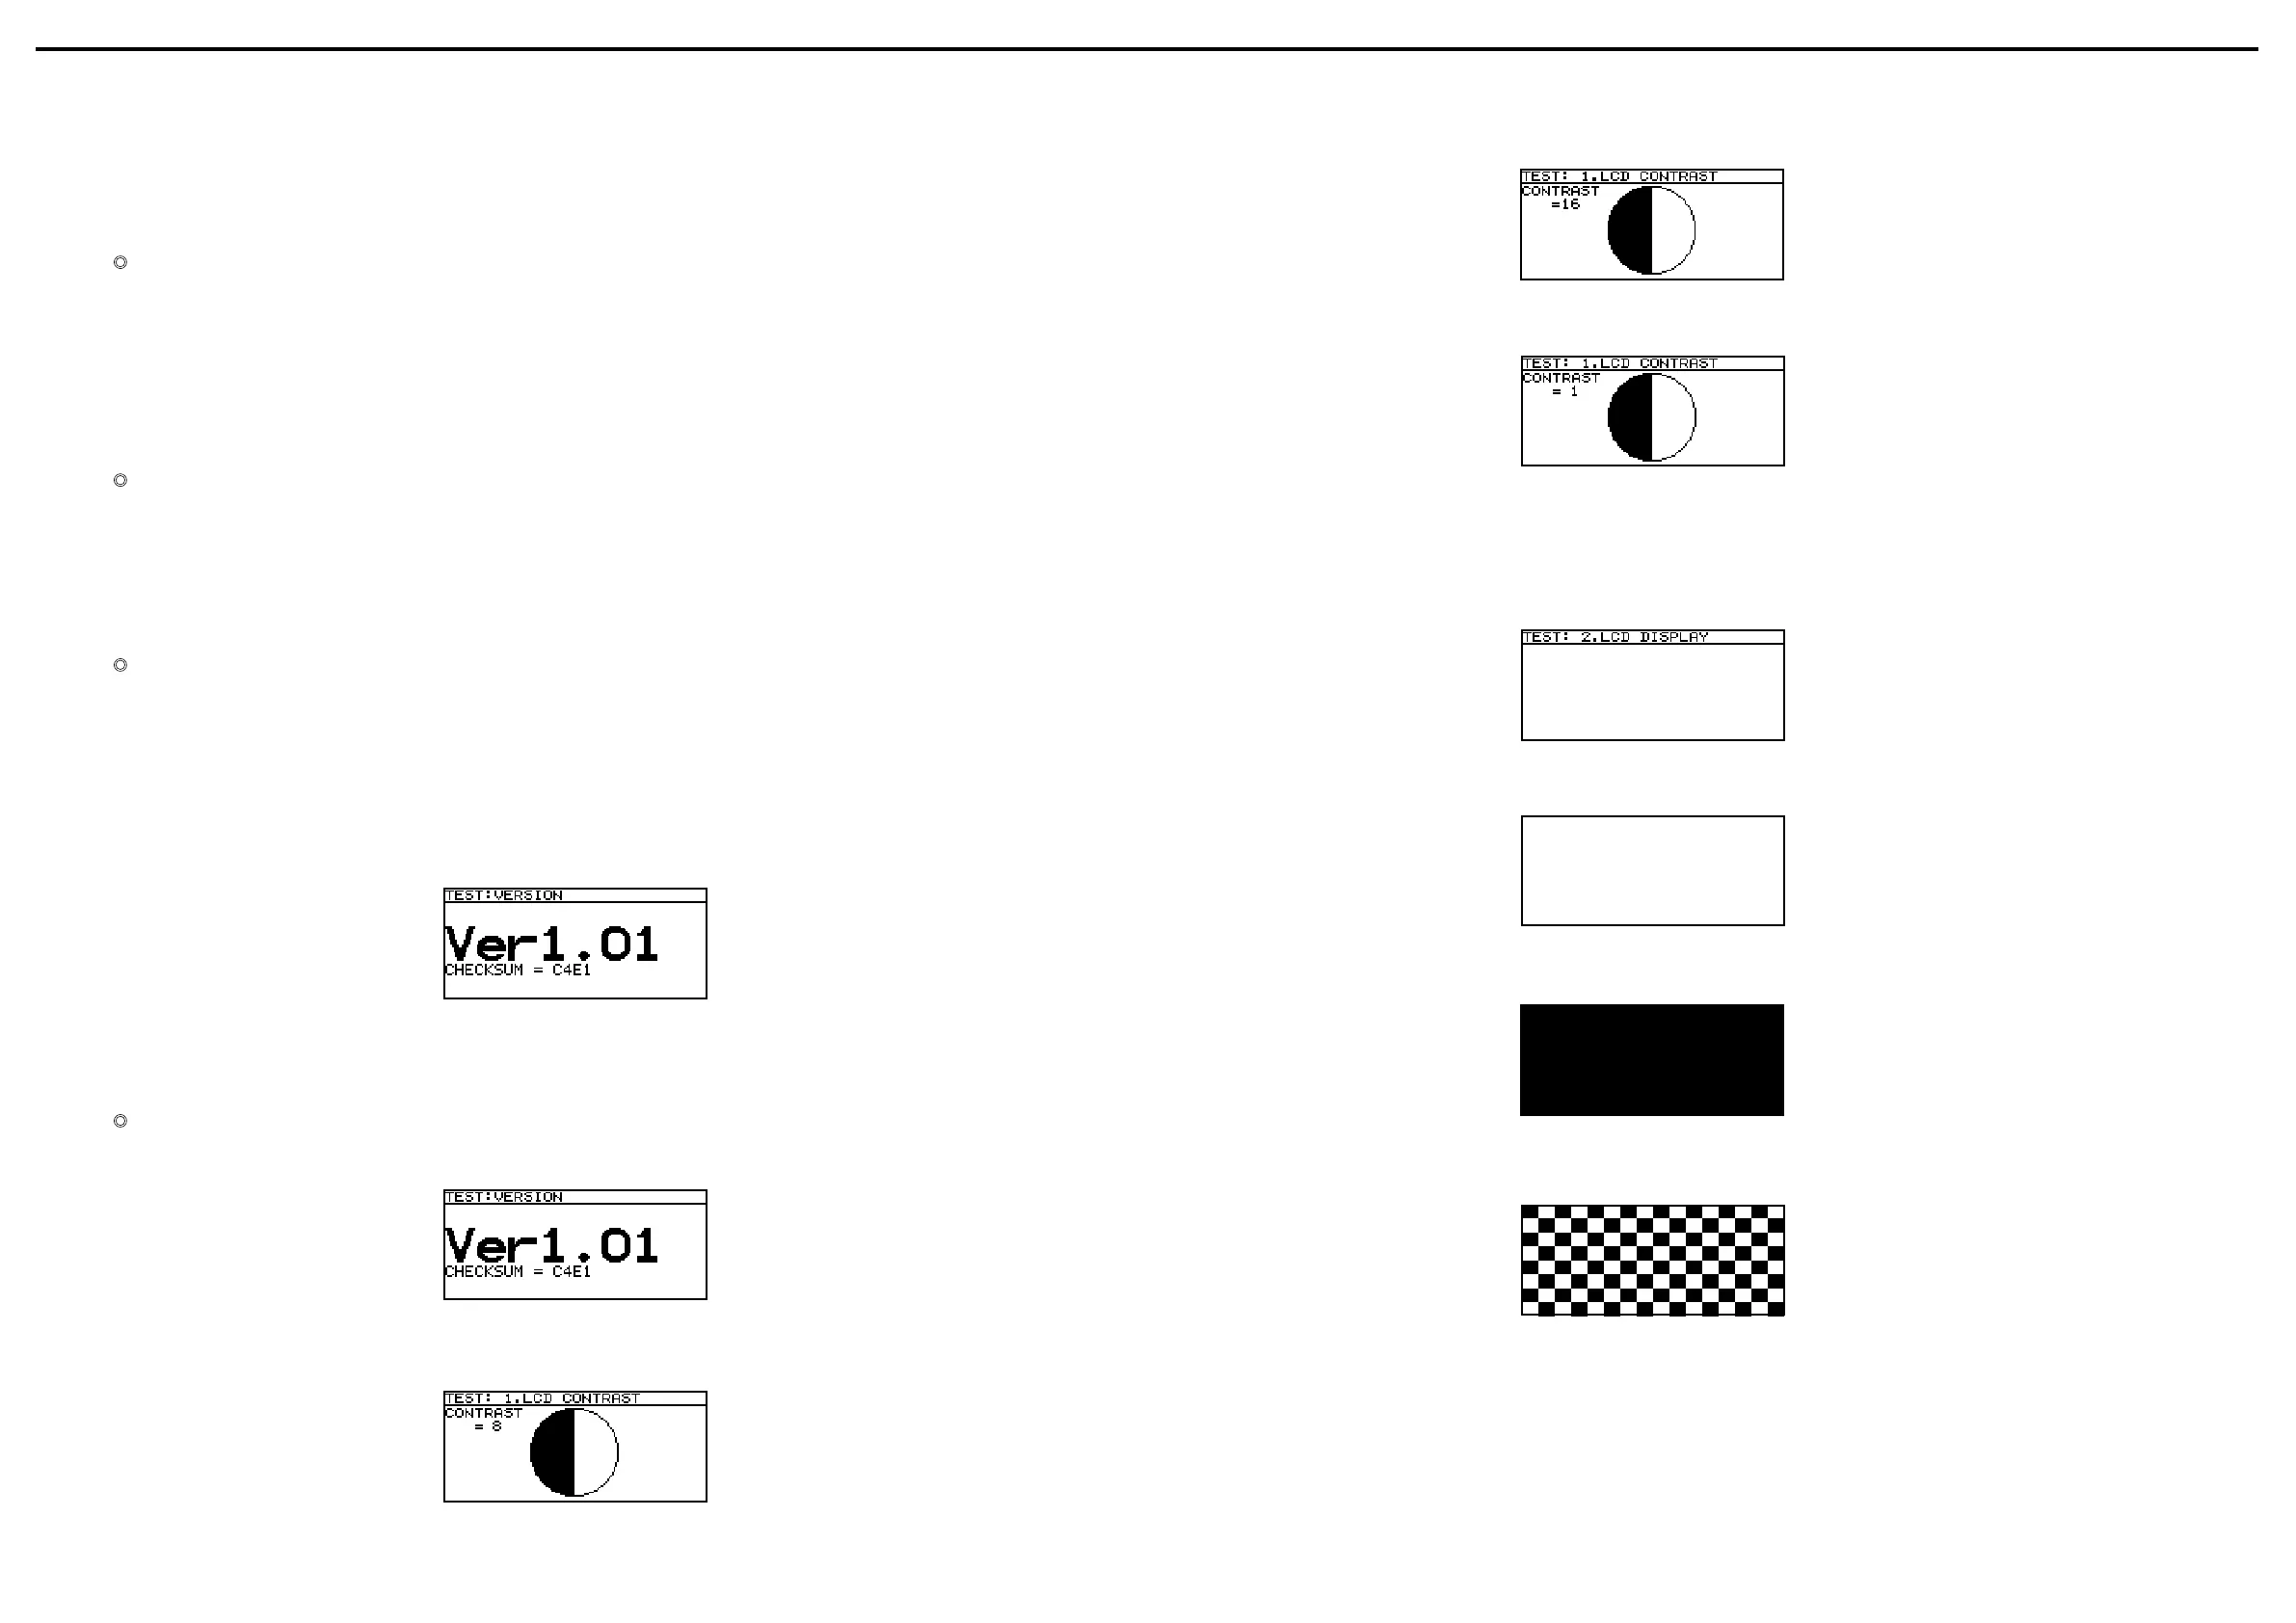
When the switch is pressed for the 2nd time (Black) :
Check and make sure the whole screen is blackened out.
2 回目 ( 黒 ) : 画 面全体が黒く塗りつぶされることを確認して
ください。
When the switch is pressed for the 3rd time (Mosaic pattern) :
Check and make sure the whole screen becomes mosaic-
patterned.
3 回目 : 画面全体にチェック模様が表示されることを確
(
チェック模様
) 認してください。
When the inspection is completed, the equipment proceeds to
the next inspection automatically.
検査が終了すると、自動的に次の検査に進みます。
 Loading...