Segway Personal Transporter SE Service Manual
6–4
Powerbase Trim
Front and Rear Fascia
Removal and installation instructions are identical for both
front and rear fascia.
Removal
Tool Required: 4 mm hex wrench
1. Make sure the PT is powered off and unplugged.
2. Remove one Tire/Wheel Assembly.
− i2 SE (page 4–2)
− x2 SE (page 4–3)
− x2 SE Turf (page 4–4)
3. Remove both fenders.
− i2 SE Fenders (page 5–2)
− x2 SE Fender Frames (page 5–4)
4. Remove the Console Cover (page 6–3).
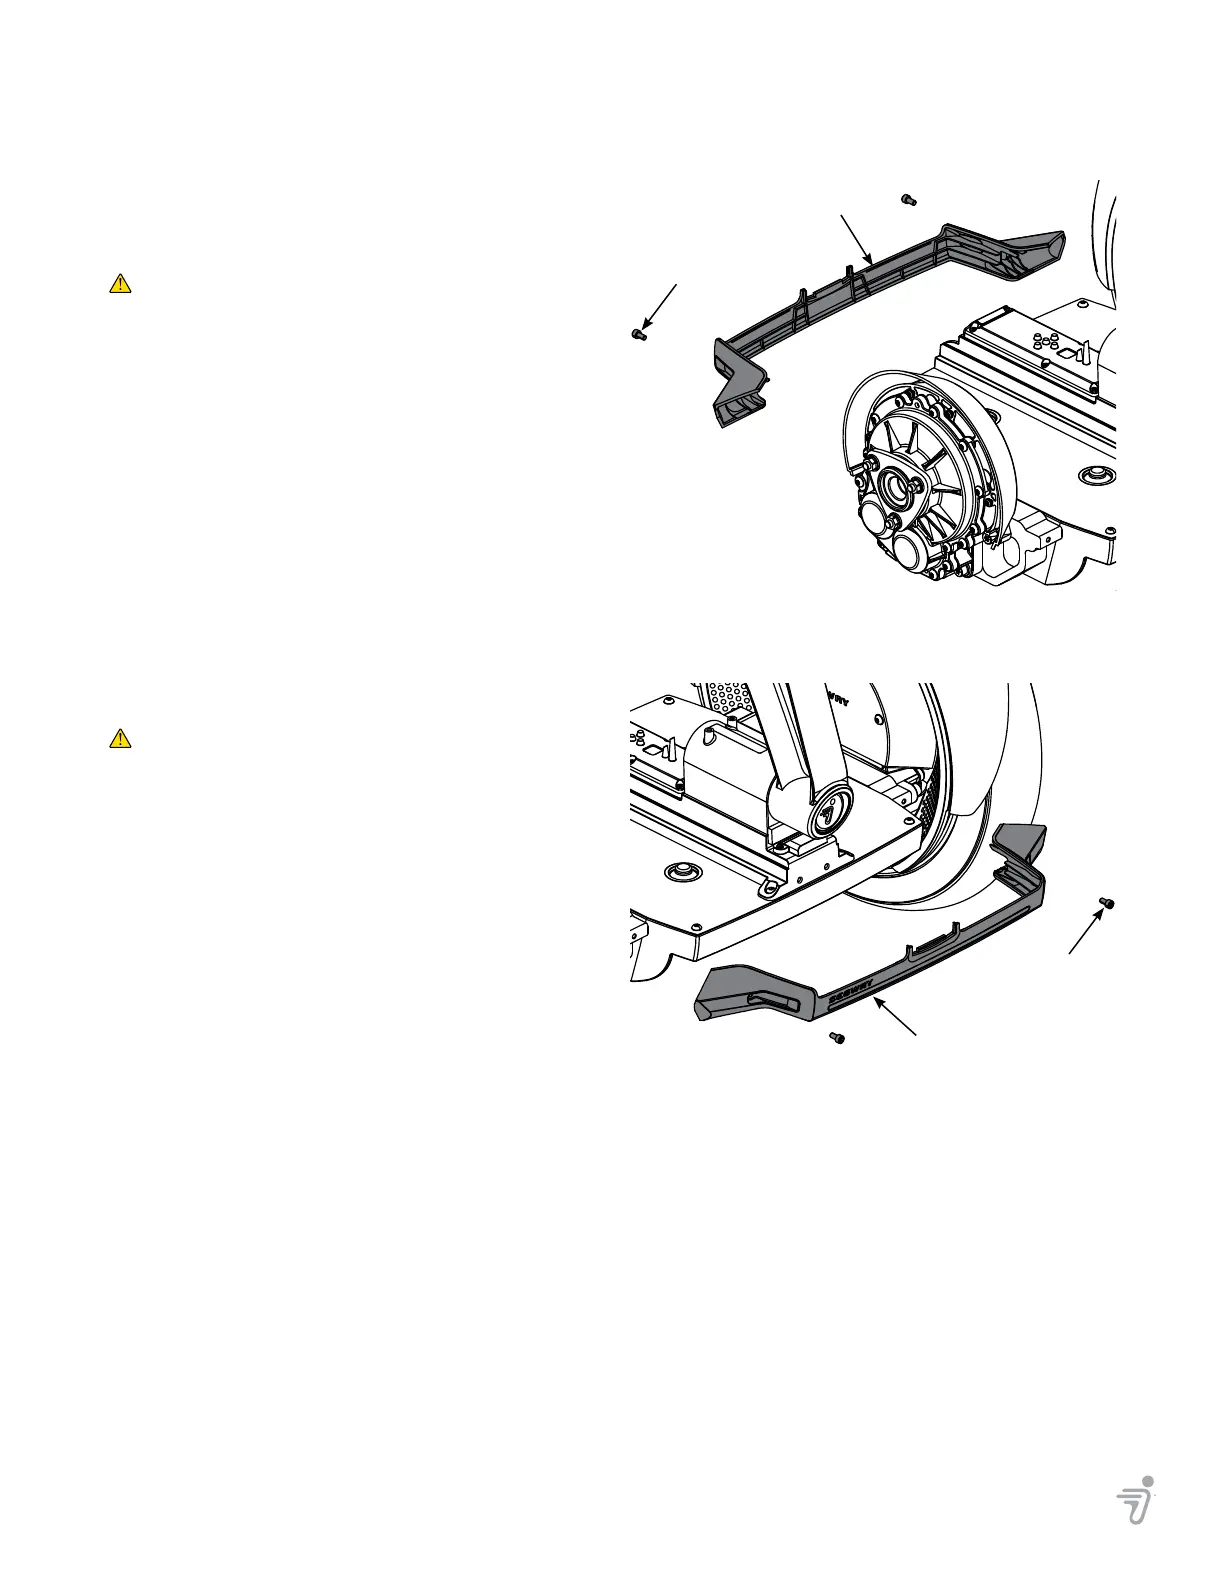
5. Using a 4 mm hex wrench, remove the two fasteners
holding the Fascia. See Figure 6–4 and Figure 6–5.
6. Remove the Fascia.
Installation
Tools Required: 4 mm hex wrench
Torque wrench
1. Make sure the PT is powered off and unplugged.
2. Place the front Fascia onto the front of the
powerbase (Figure 6–5) and the rear Fascia onto
the rear of the powerbase (Figure 6–4).
3. Using a 4 mm hex wrench, install the four fasteners.
Torque to 1.5 N-m (13 in-lbf).
4. Install the Console Cover (page 6–3).
5. Install the Fenders.
− i2 SE (page 5–2)
− x2 SE (page 5–4)
6. Install the Tire/Wheel Assembly.
− i2 SE (page 4–2)
− x2 SE (page 4–3)
− x2 SE Turf (page 4–4)
7. Perform post-service tests (page A–1).
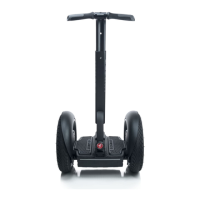
Figure 6–4: Rear Fascia
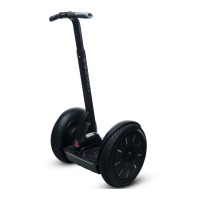
Figure 6–5: Front Fascia
Front Fascia
20554-00001
1.5 N-m (13 in-lbf)
Rear Fascia
20554-00001
1.5 N-m (13 in-lbf)
 Loading...