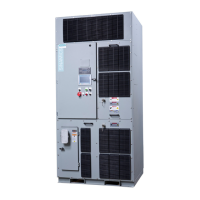
6.7 Cable Gland Plates Removal and Installation Guidelines
Cable Gland Plates Removal and Installation Guidelines
Removal of gland plates is necessary to complete input and output power cable installation.
Gland plates are attached to the drive enclosure and can be removed by unfastening the
hardware.
Gland Plate Installation Preparation and Procedure:
1. Place the unfastened hardware in a safe place to allow for quick retrieval when re-installing
the gland plates.
2. Fit the cable entries with a proper water-tight seal.
3. If cable size permits, make holes for drilling cable entries.
4. Do not drill the gland plate while it is still mounted to the enclosure.
NOTICE
Gland Plate Drilling
Do not drill the gland plate while it is mounted to the enclosure.
Drilling the plate while it is mounted leads to metal dust accumulation on sensitive electronics
that are located inside of the unit, which may cause loss of component integrity and possibly
affect system operability.
Gland Plate Drilling Guidelines
1. Take care not to damage the rubber gasket seal material during the drilling process
2. Fit the cable entries with a proper water-tight seal.
3. Ensure that gland plates are properly fastened to the drive with the original hardware.
4. Be sure to check the integrity of the rubber gasket seal prior to installing the gland plate.
Note
Maintain IP Rating of Enclosure
To maintain the IP rating of the enclosure / cabinet, a proper gasket seal is required.
Inspect for any damaged gasket prior to and after installing the gland plates.
Electrical Connections
6.7 Cable Gland Plates Removal and Installation Guidelines
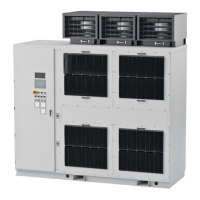
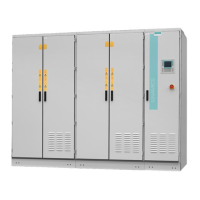
SINAMICS PERFECT HARMONY GH180 6SR41 manufactured in NMA Nuernberg, Germany
114 Operating Instructions Rev.201706301306
 Loading...