70
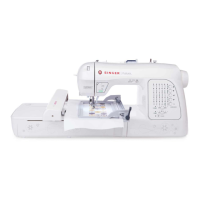
PREPARING THE MACHINE BEFORE
INSTALLING THE HOOP
7XUQKDQG ZKHHO FRXQWHUFORFNZLVHWRZDUG\RX XQWLO WKH
needle comes to its highest position.
1
(A)
2
1
Hoop mounting plate
Plaque de montage de cerceau
Placa de montaje de aro
Carriage
Chariot
Carro
Hoop release lever
Levier de retrait du cerceau.
Palanca de liberación del aro
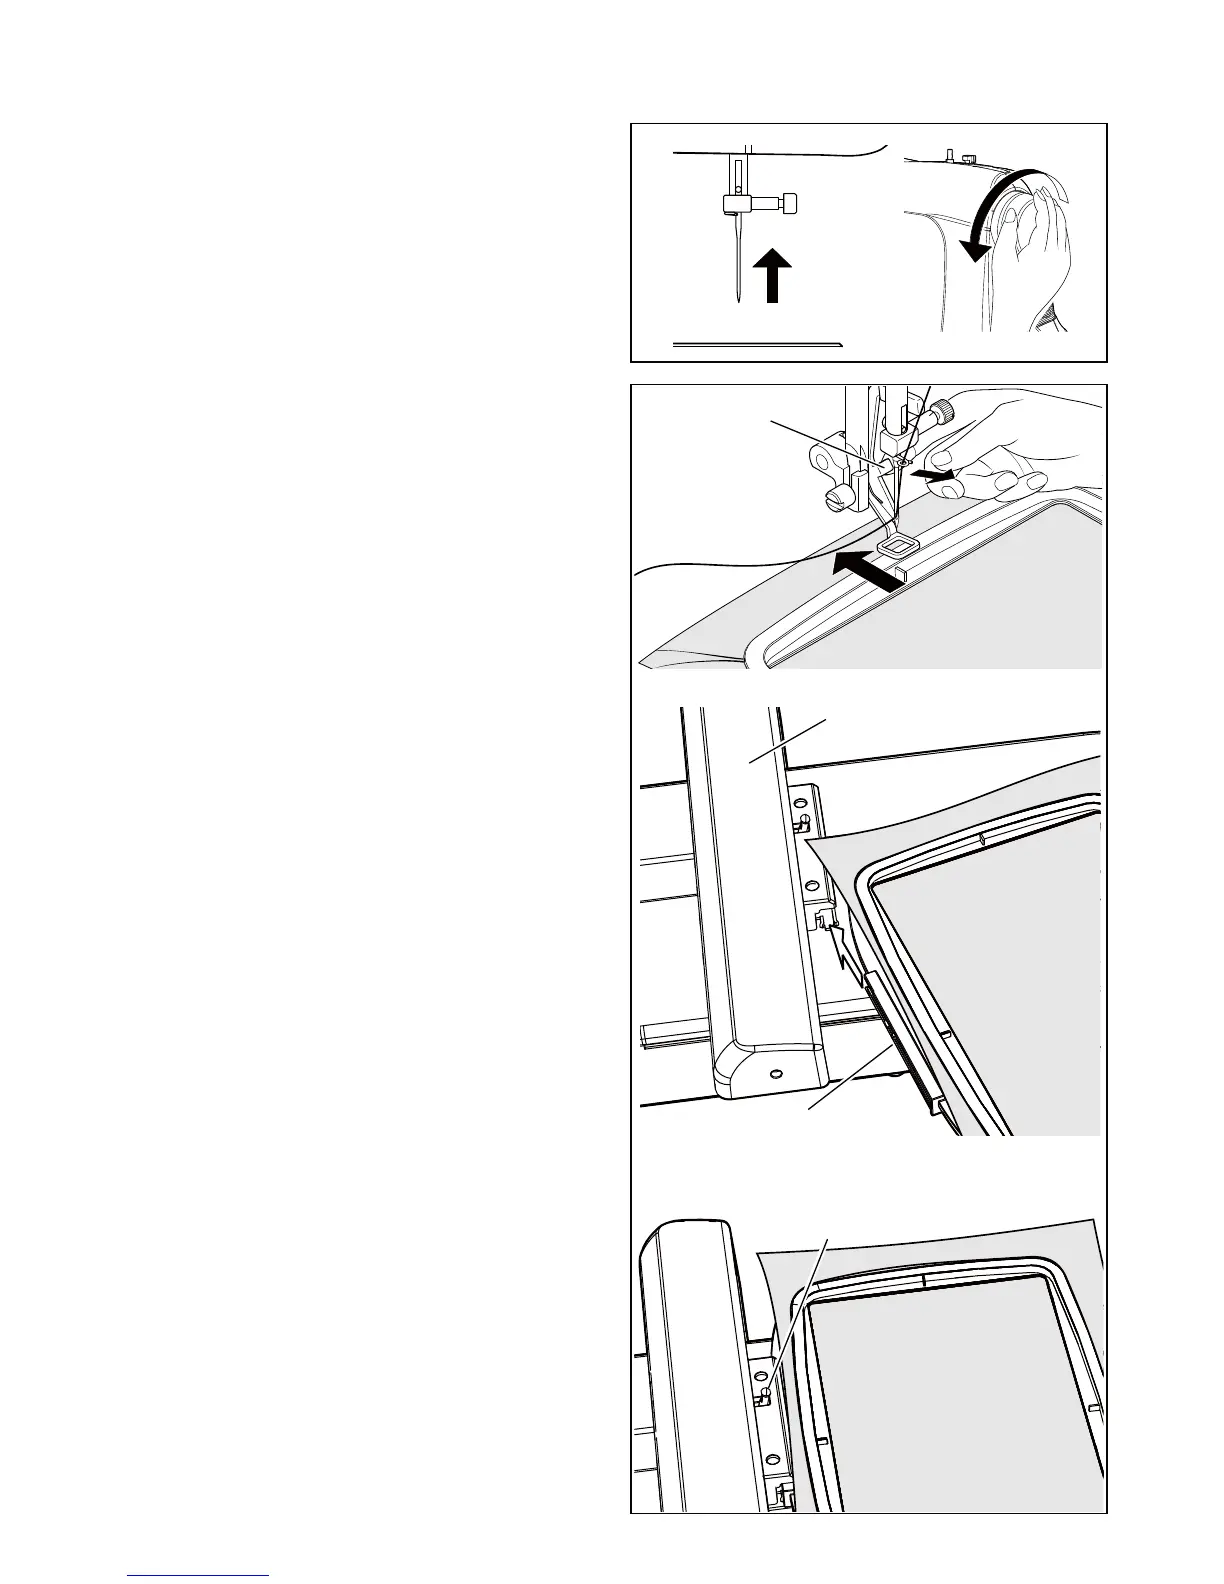
ATTACHING AND REMOVING
EMBROIDERY HOOP
1. Raise presser foot and needle, and push up lever (A) of
HPEURLGHU\IRRWZLWK\RXU¿QJHUDQGSDVVHPEURLGHU\KRRS
under it.
¿
To remove, pull the hoop forward to slide it out from
underneath the embroidery foot.
6OLGHWKHKRRSRQWRWKHHPEURLGHU\XQLWIURPIURQWWREDFN
XQWLOLWFOLFNVLQWRSODFH
¿
To remove, press the release lever and slide the hoop
towards you.
NOTE: Before attaching small hoop or endless hoop, turn on
power switch to move the carriage to embroidering
standby position.
 Loading...