Installation Procedure
The following is the procedure for installing and setting up a new SolarEdge site. Many
of these also apply to modification of an existing site.
1. Connecting Power Optimizers in Strings, page 27.
2. Recording power optimizer serial numbers (optional), page 56.
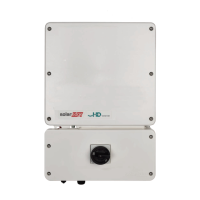
3. Mounting the inverter, page 35.
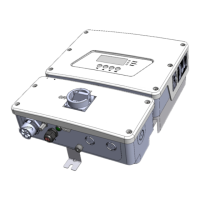
4. Connecting AC and Strings to the Safety Switch page 38.
5. Activating, Commissioning and Configuring the System Using the Inverter SetApp,
page 42
6. Connecting the inverter to the monitoring platform, page 57.
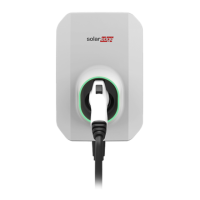
7. Installing and connecting the cable - Refer to the installation guide supplied with
the product. The cable and holder can be installed at the same time as the inverter
or added later.
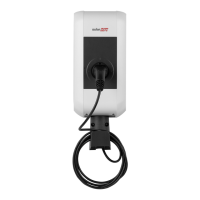
8. Configuring the EV Charger - Refer to the installation guide supplied with the EV
Charger Cable. Configuration can be done only after the EVCharger Cable is
connected to the inverter and the inverter is connected to the monitoring platform.
Installation Equipment List
Standard tools can be used during the installation of the SolarEdge system. The
following is a recommendation of the equipment needed for installation:
Allen screwdriver for 3mm screw type for the inverter cover, side screws, and Safety
Switch cover
Standard flat-head screwdrivers set
Non-contact voltage detector
Cordless drill (with a torque clutch)or screwdriver and bits suitable for the surface
on which the inverter and optimizers will be installed and for opening the
Connection Unit with Safety Switch drill guides. Use of an impact driver is
not
allowed.
Appropriate mounting hardware (for example: stainless bolts, nuts, and washers)
for attaching:
the inverter mounting bracket to the mounting surface
the power optimizer to the racking (not required for smart modules)
Wire cutters
17
EV Charging Single Phase Inverter Guide MAN-01-00588-1.1
 Loading...