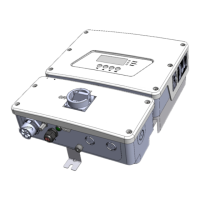
The Connection Unit with Safety Switch
6. Verify proper system operation.
Replacing an Inverter
1. Turn OFF the inverter ON/OFF/P switch, and wait until the green LED is blinking ,
indicating that the DC voltage is safe (<50V), or wait five minutes before continuing
to the next step.
2. Turn OFF the Connection Unit with Safety Switch.
3. Disconnect the AC to the inverter by turning OFF the ACcircuit breaker of the
distribution panel.
4. Open the Connection Unit with Safety Switch cover: Release the four Allen screws
and remove the cover.
5. Open the inverter cover as described in
Removing the Inverter Cover
on page 61.
6.
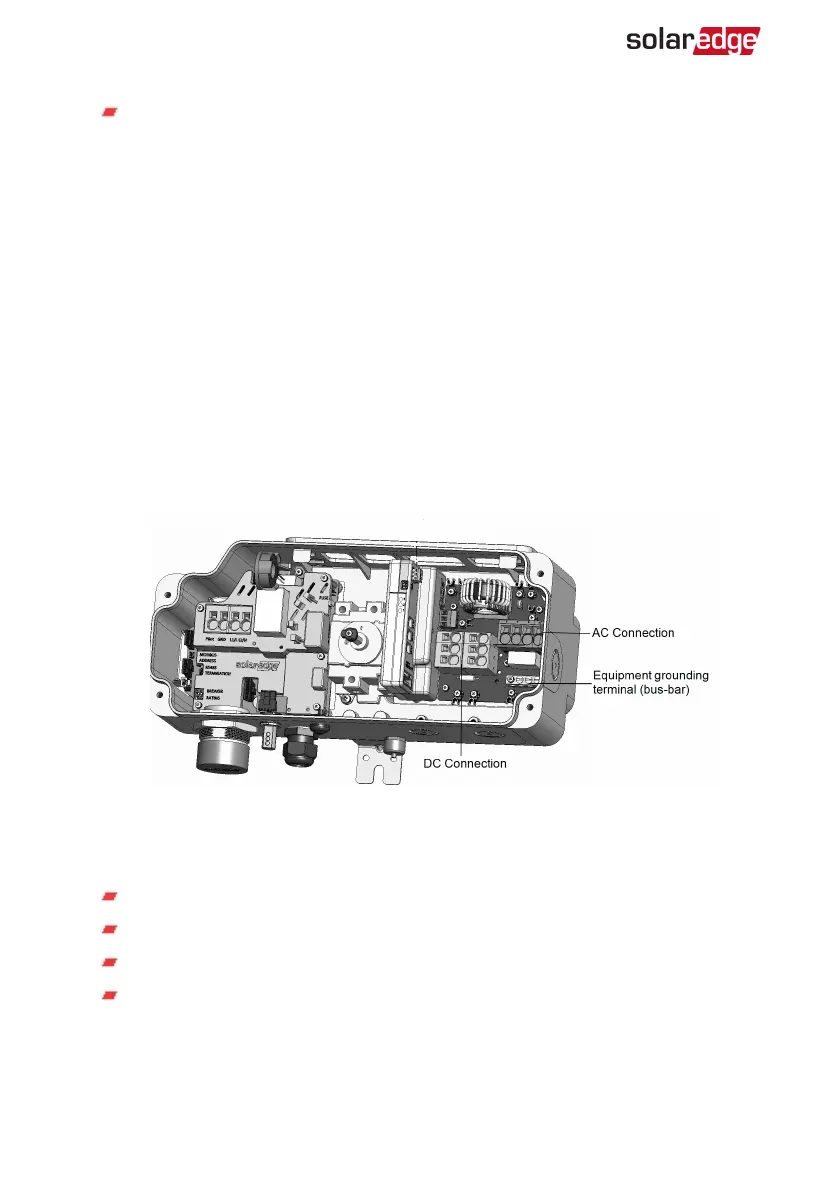
Disconnect the DC and AC cables from the Connection Unit with Safety Switch.
Figure 29: DC and AC connections
7.
Disconnect the wires connected between the inverter and the Connection Unit with
Safety Switch:
Antenna cable from the communication board
RS485 connection from the communication board
DC and AC wires in the Connection Unit with Safety Switch
Grounding cable
8.
Disconnect the Connection Unit with Safety Switch from the inverter by opening the
two clips securing the Connection Unit with Safety Switch to the inverter: Carefully
place a screwdriver between the clip and the enclosure and pull the clip.
EV Charging Single Phase Inverter Guide MAN-01-00588-1.1
78 Replacing an Inverter
 Loading...