11
Getting started
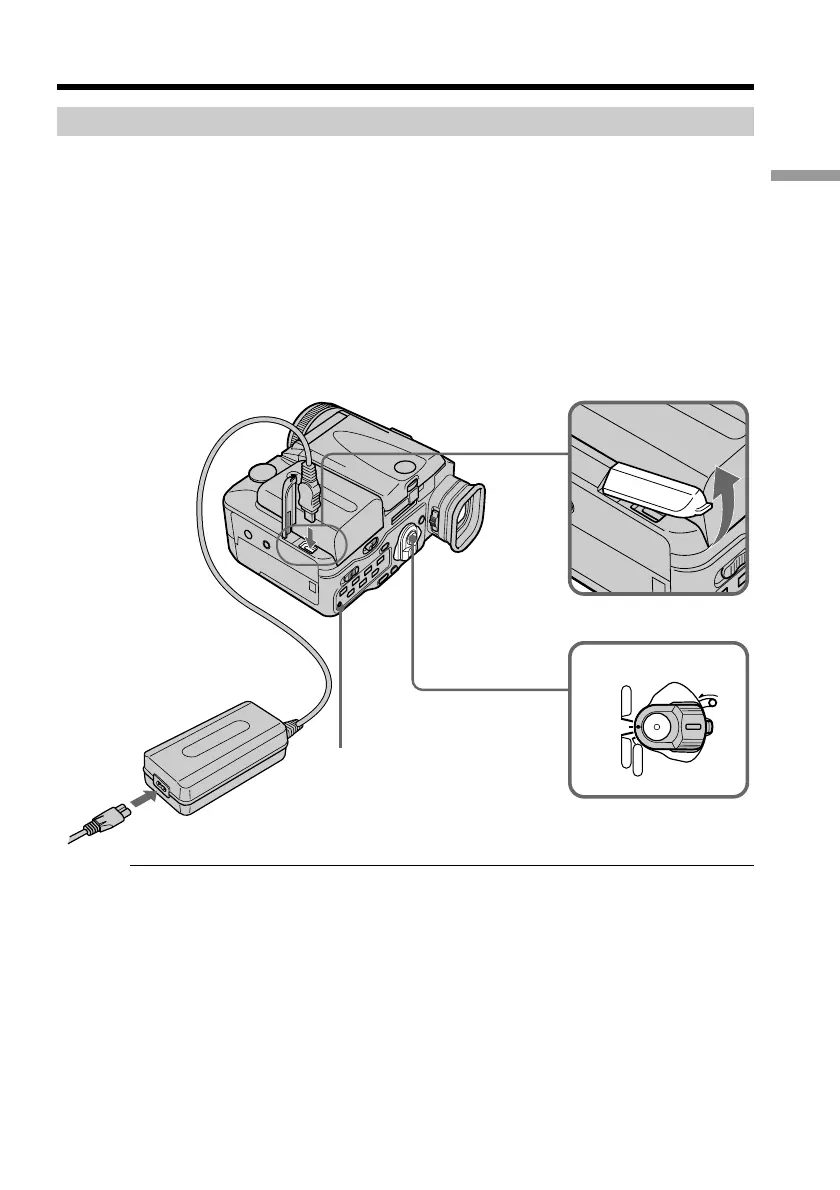
Charging the battery pack
Use the battery pack after charging it for your camcorder.
Your camcorder operates only with the “InfoLITHIUM” battery pack (M series).
(1) Open the DC IN jack cover and connect the AC power adaptor supplied with
your camcorder to the DC IN jack with the plug’s v mark facing up.
(2) Connect the power cord to the AC power adaptor.
(3) Connect the power cord to a wall outlet.
(4) Set the POWER switch to OFF. The CHARGE lamp (orange) lights up.
Charging begins.
When the CHARGE lamp goes out, normal charge is completed. For full charge,
which allows you to use the battery longer than usual, leave the battery pack in place
for approximately one hour after the CHARGE lamp goes out.
Note
Prevent metallic objects from coming into contact with the metal parts of the DC plug of
the AC power adaptor. This may cause a short-circuit, damaging the AC power
adaptor.
Step 1 Preparing the power supply
2
4
POWER
L
O
C
K
VTR
MEMORY
CAMERA
OFF
11
CHARGE lamp
 Loading...